This one came about as Dans car was due to be featured in Total Impreza magazine and as he had just returned from the Nurburgring the car wasn't exactly looking its best. I dont usually do mobile work as I feel it can compromise the final result due to weather conditions etc. but as the magazine shoot was only a few days away and Dan couldn't get the car up to my unit I decided to make an exception . The Wr1 was loaded up with as much equipment as it could carry and I started the long journey south !
The magazine shoot was booked for Thursday morning and I arrived at Dans house at about 2pm on Tuesday. After a quick brew Dan kindly offered to take me for a quick spin and I am pleased to report that this is by far the quickest Impreza I have had the pleasure of travelling in !
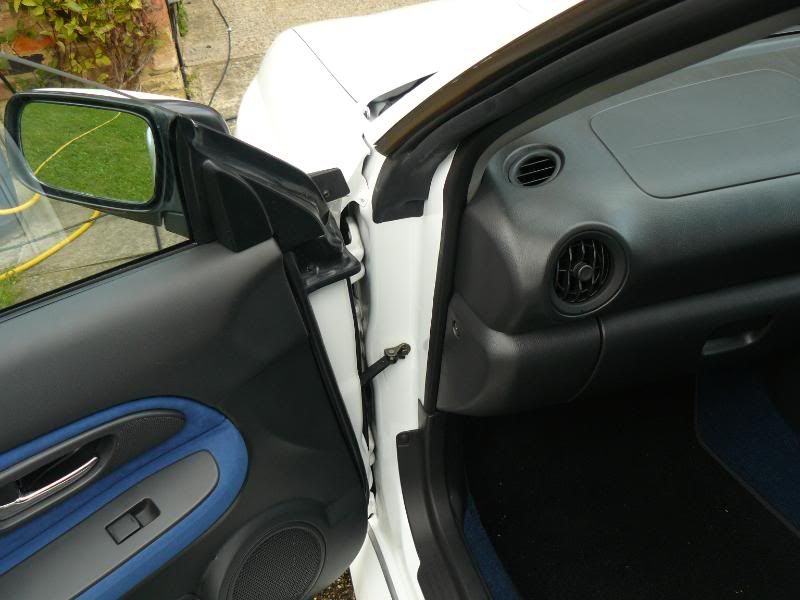
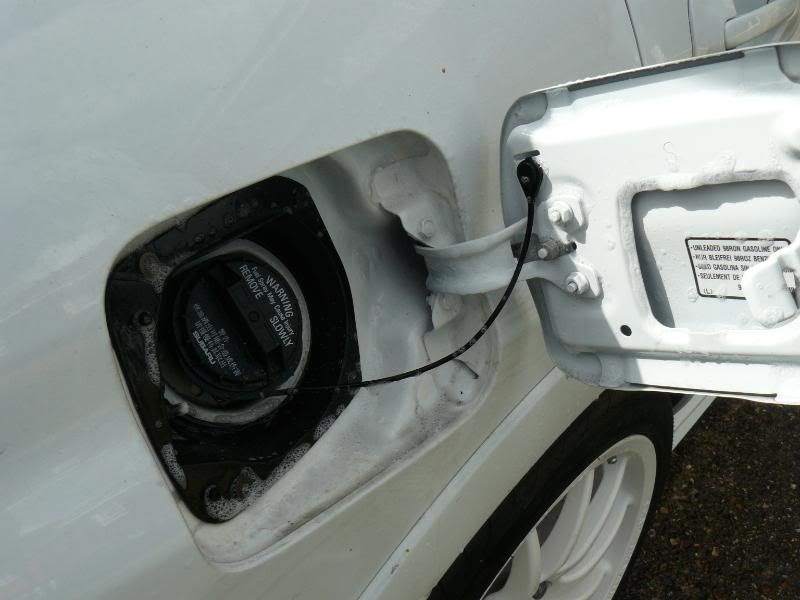
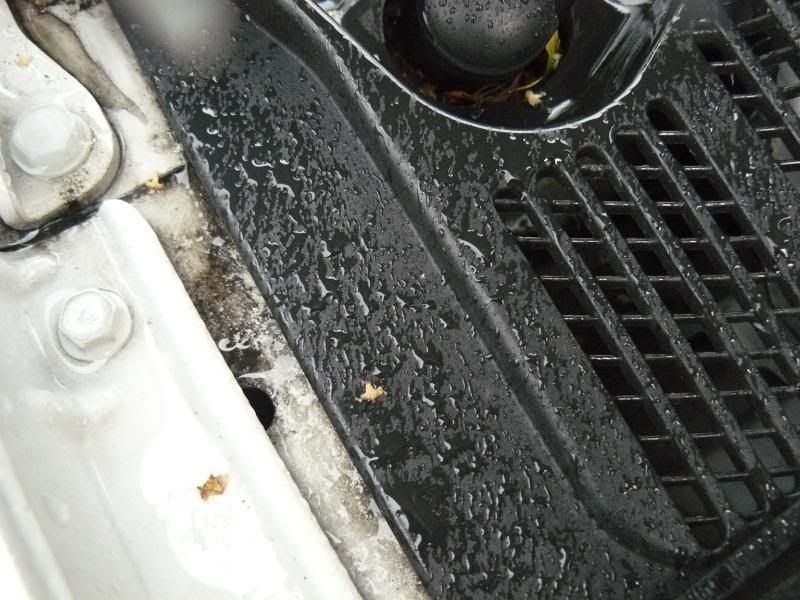
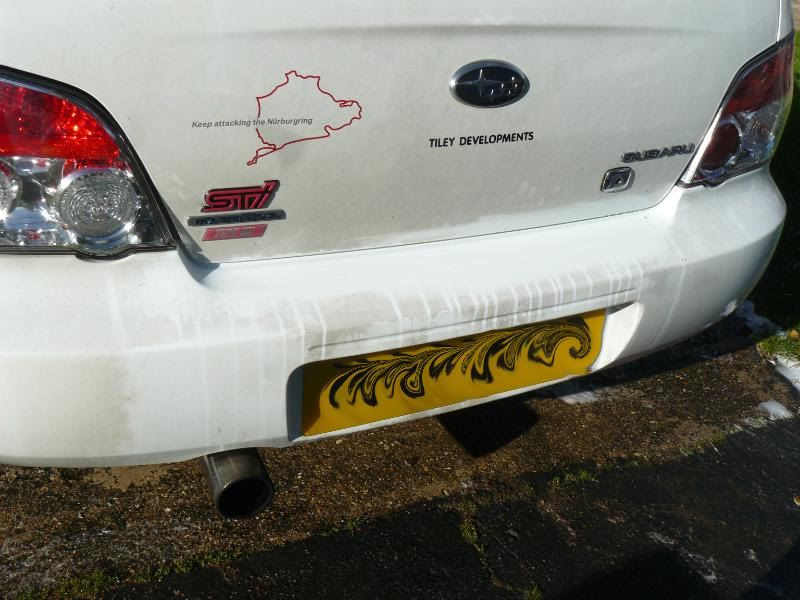
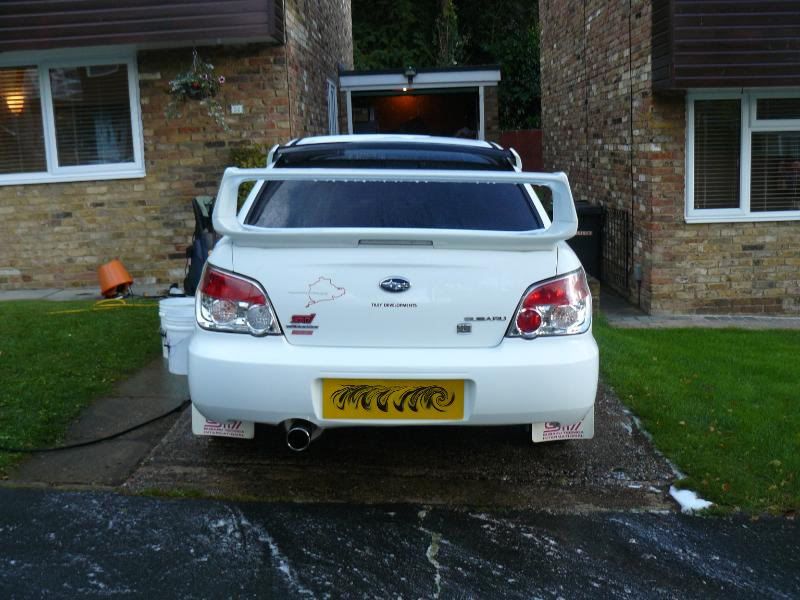
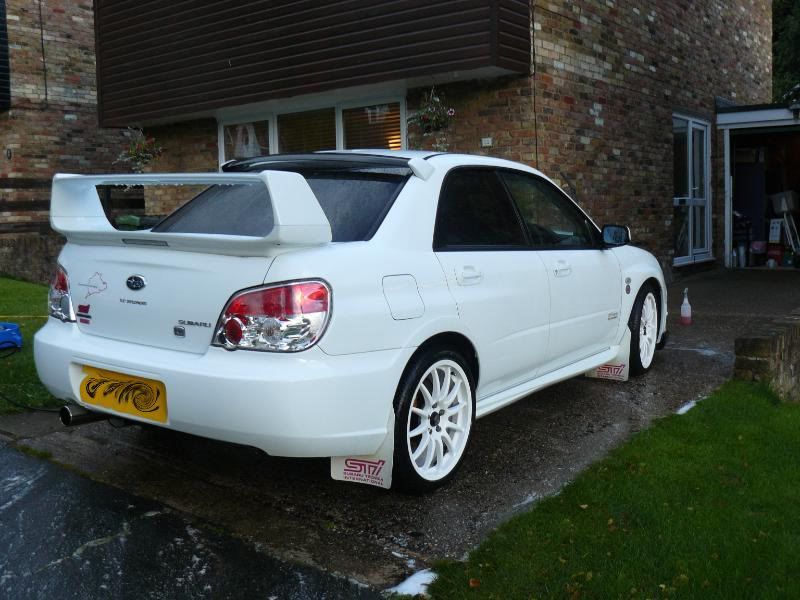
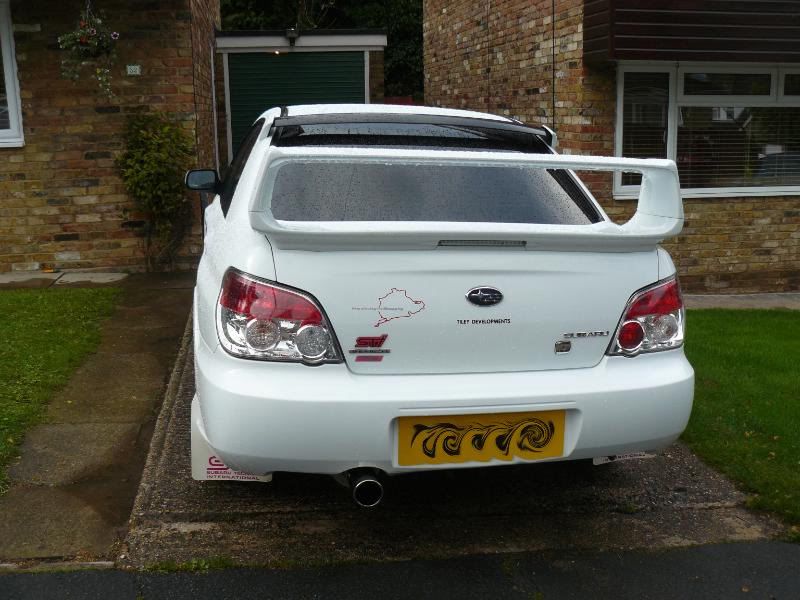
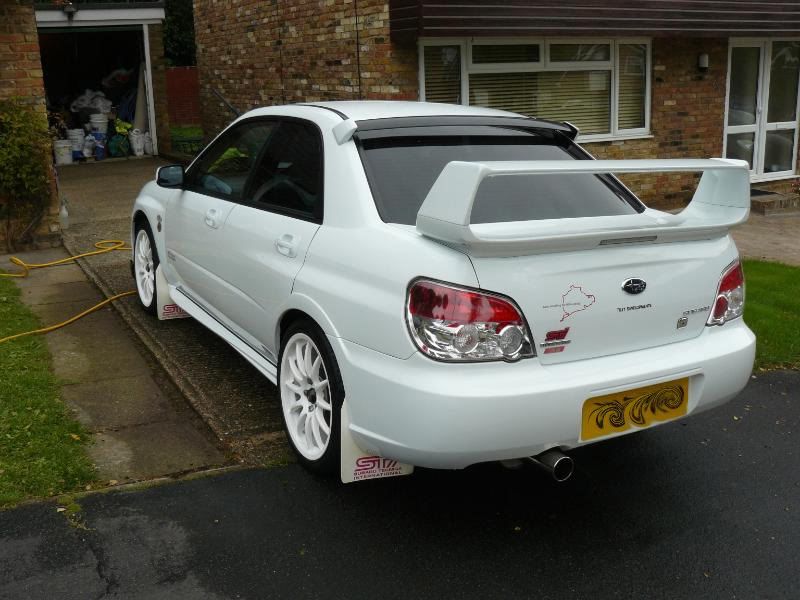
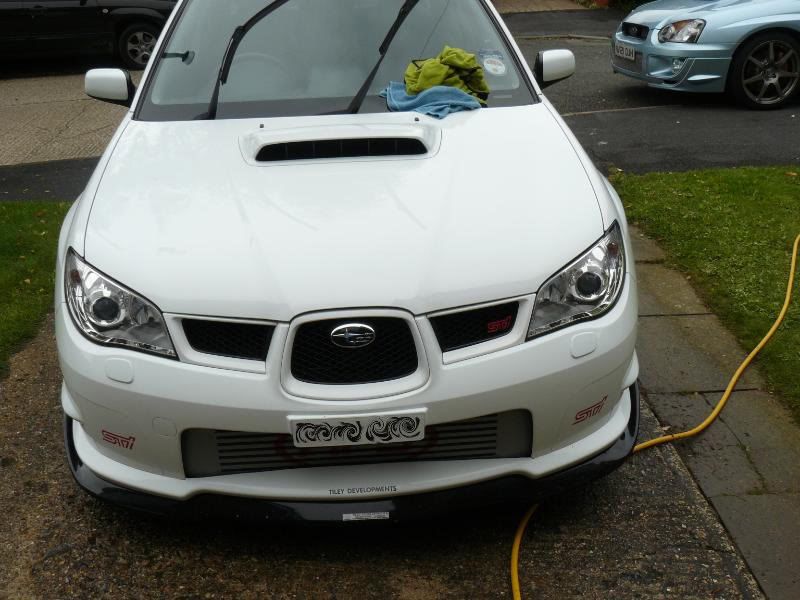
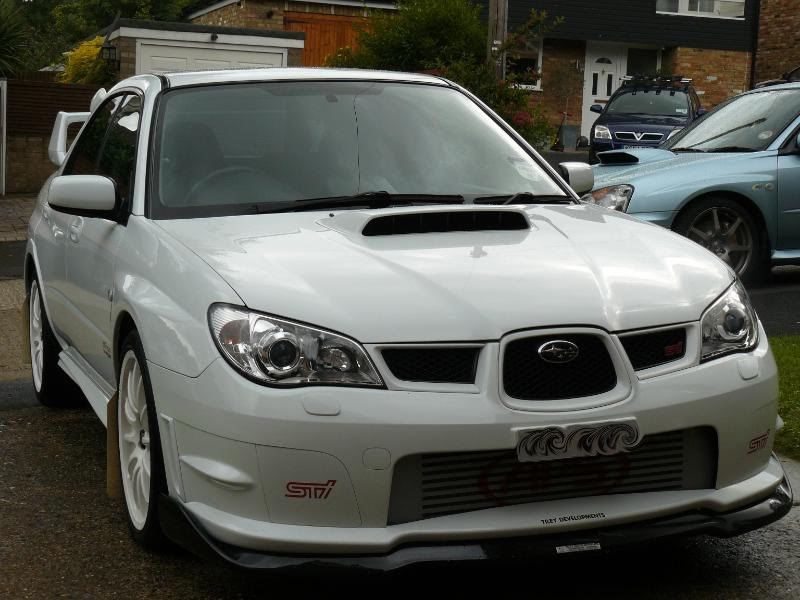
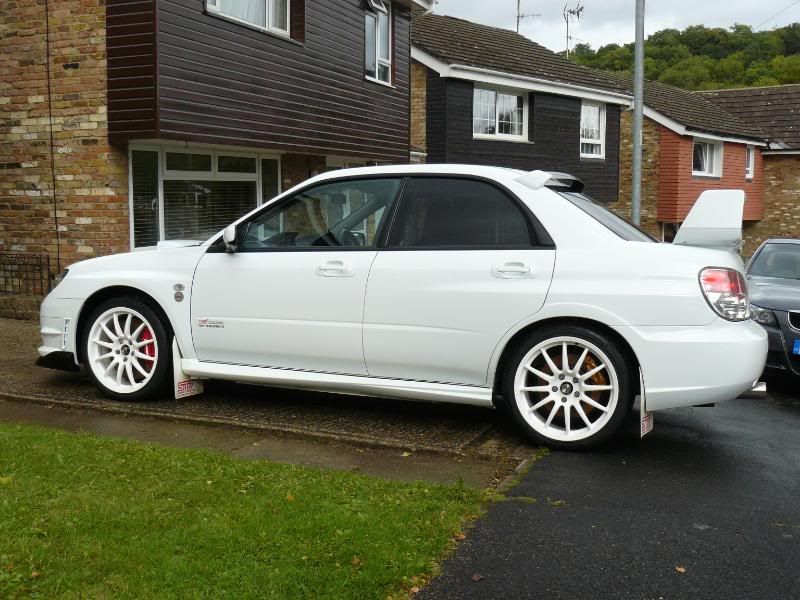
It was now time to get to work and when I arrived the car looked like this .
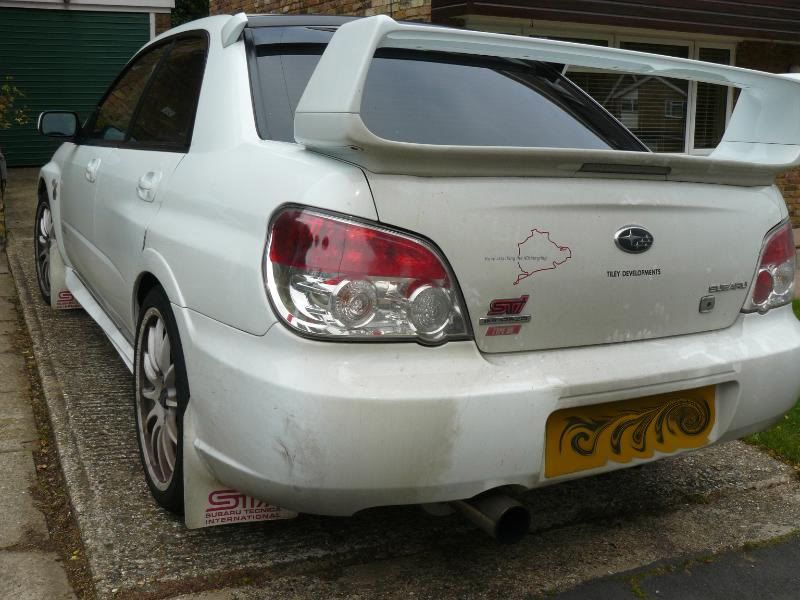
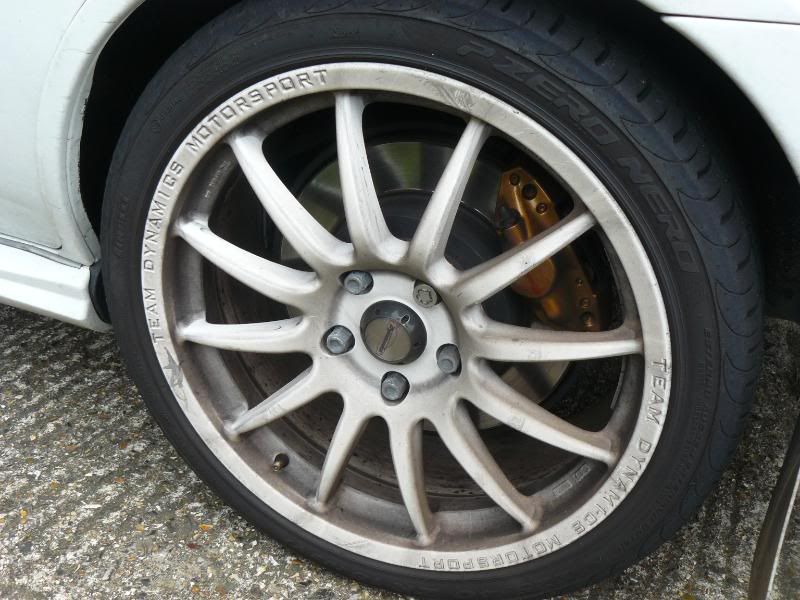
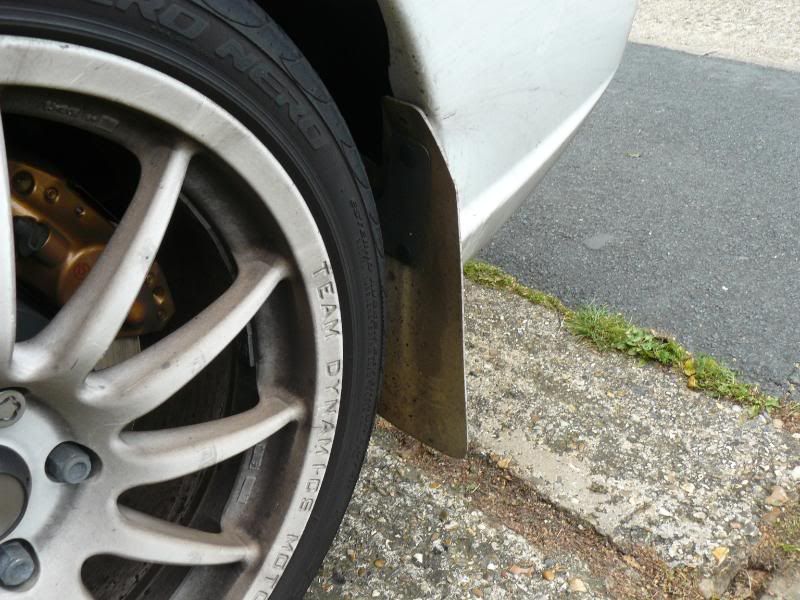
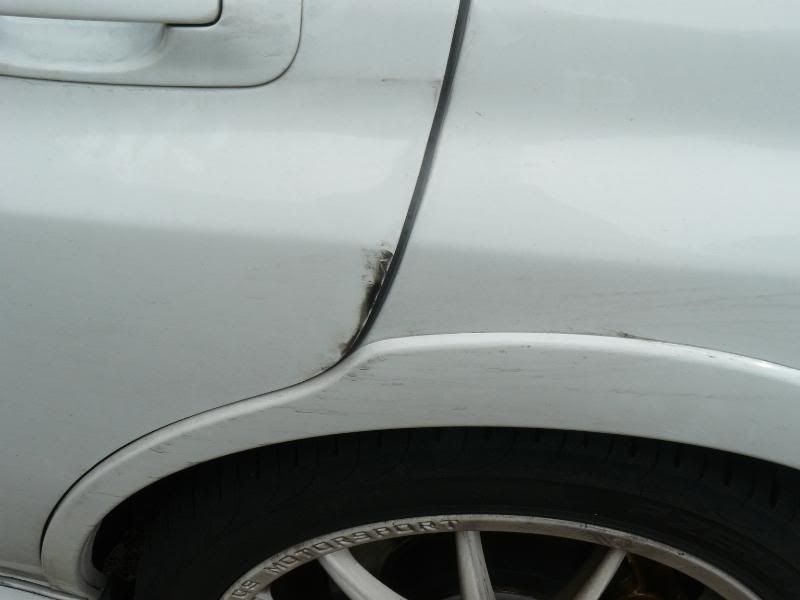
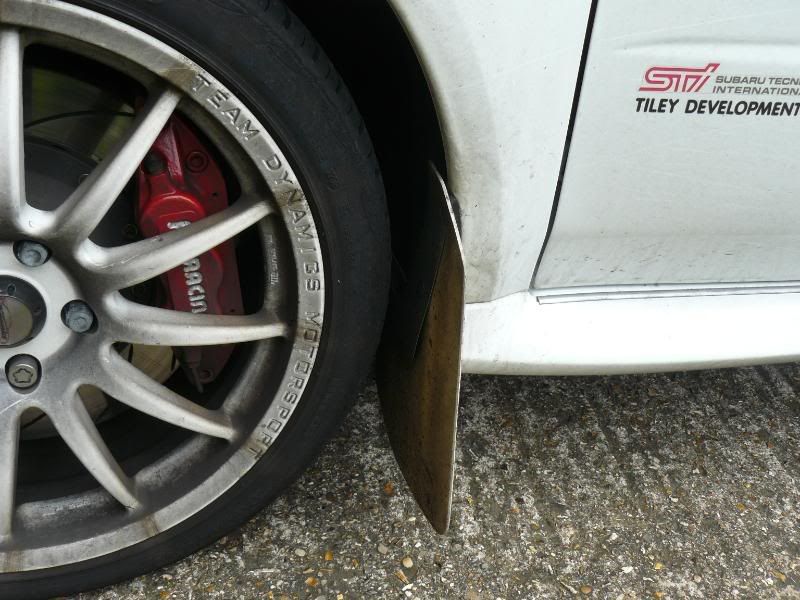
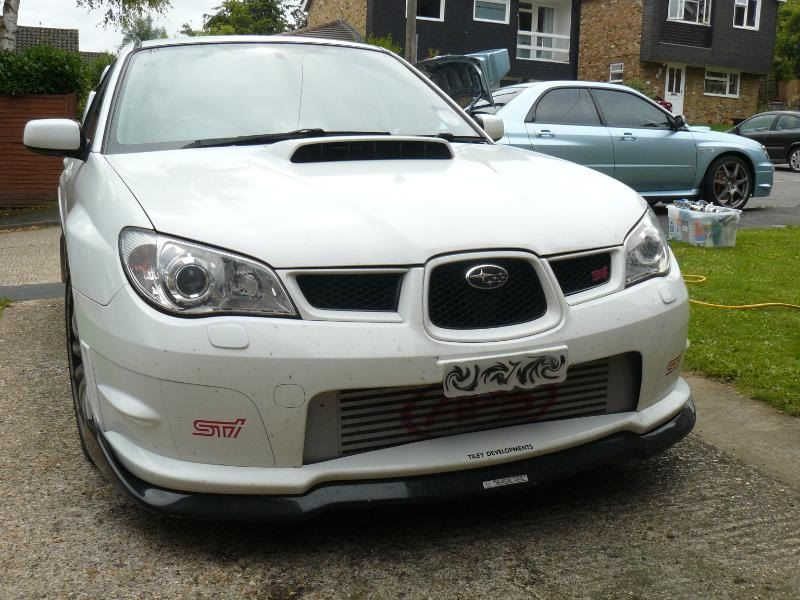
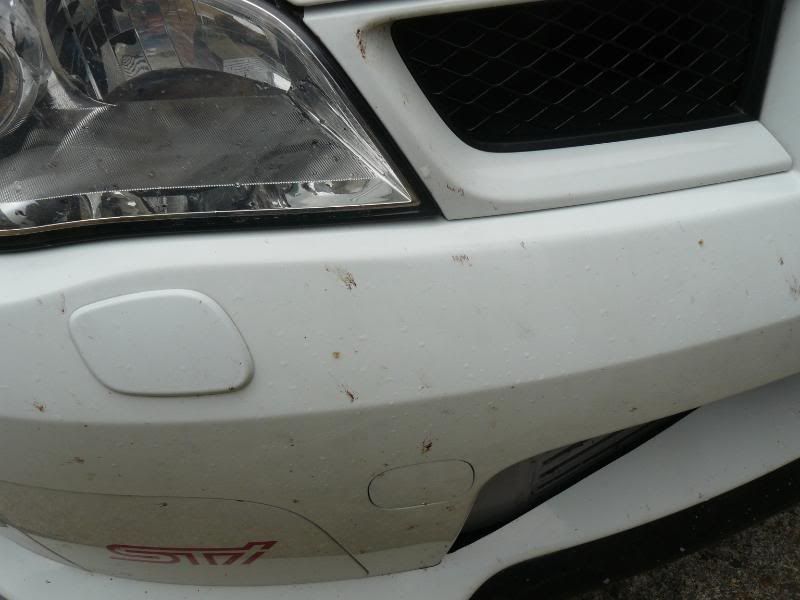
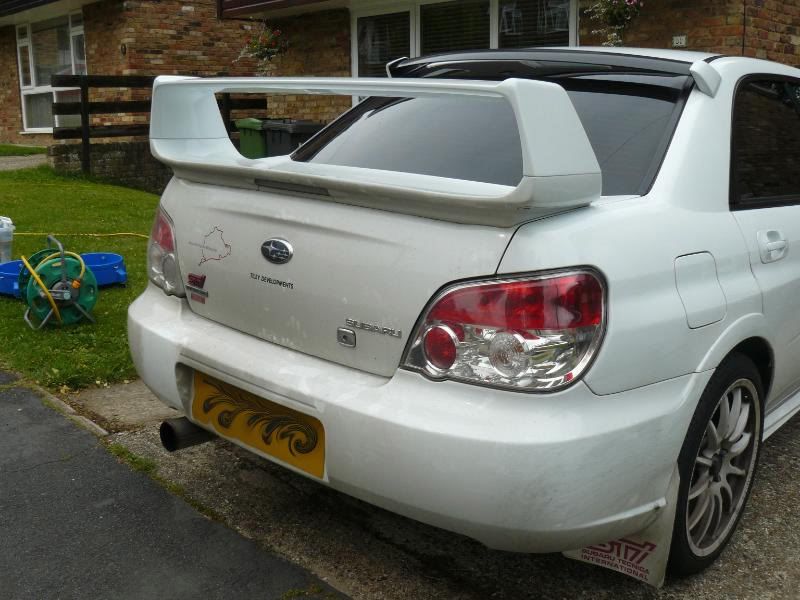
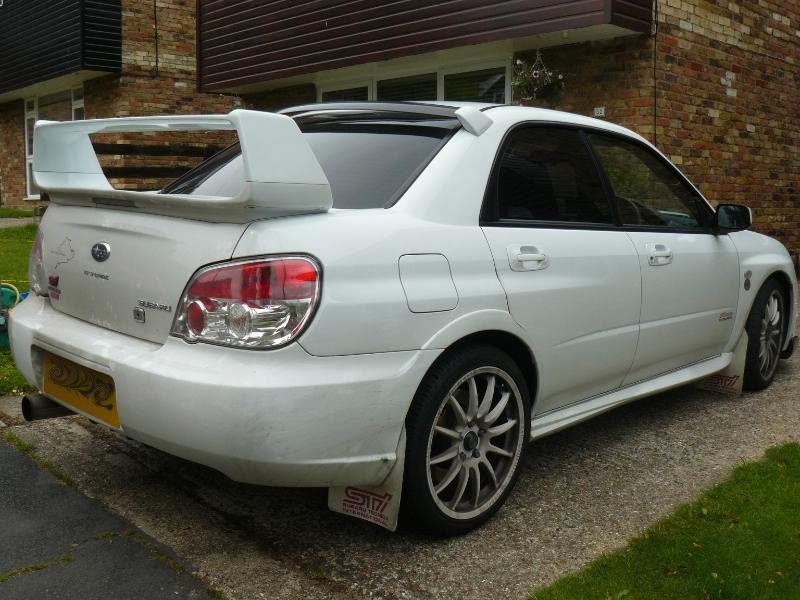
As the pictures show, the car was pretty dirty and I wasn't looking forward to tackling the white wheels and mudflaps !
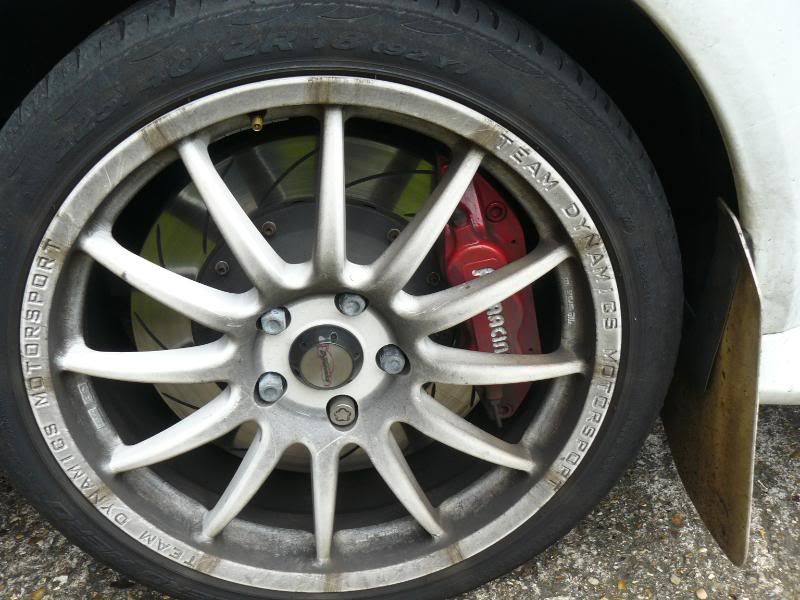
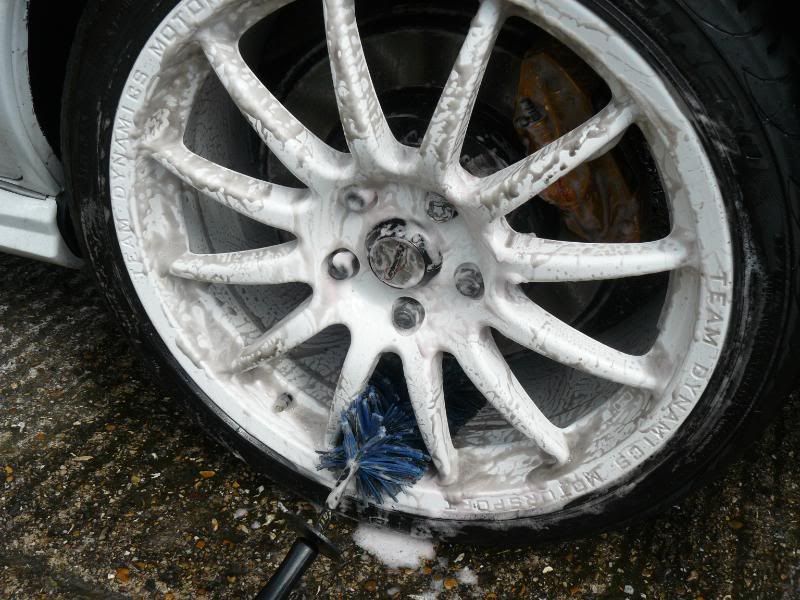
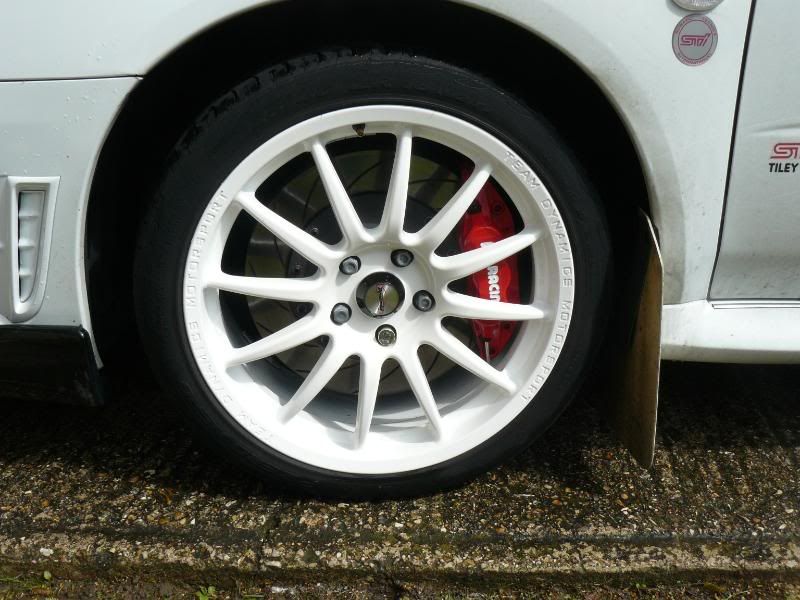
As the wheels were so bad I decided they would be a good place to start. I attacked the wheels with Bilberry Safe Wheel Cleaner and various brushes including the EZ detail brush. I was amazed at how well the Bilberry worked on the filthy wheels and calipers but I did need a little Megs Wheel Brightener on some really badly baked on brake dust and some Tardis was needed to shift the tar from the inner rims.

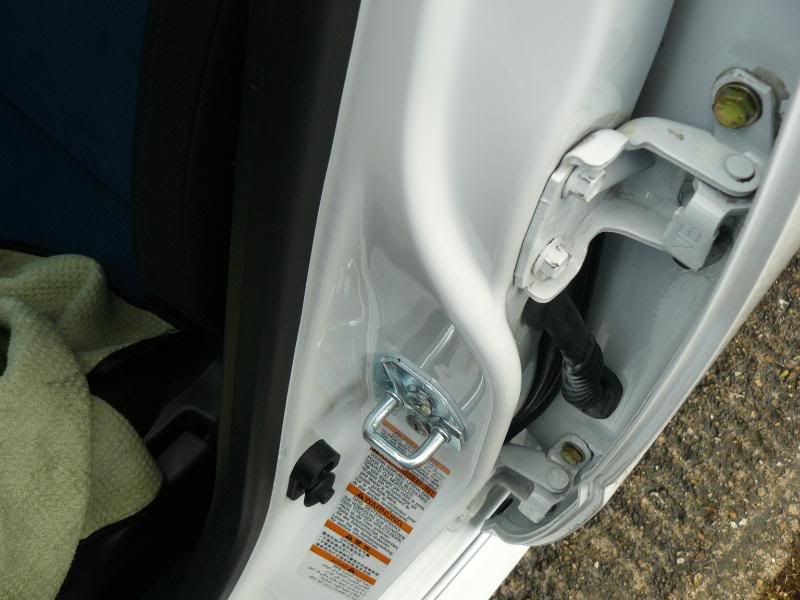
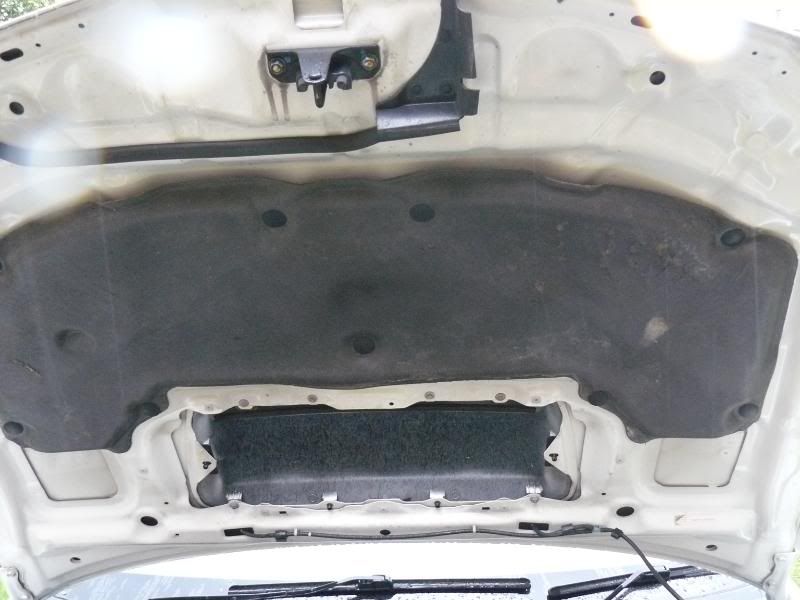
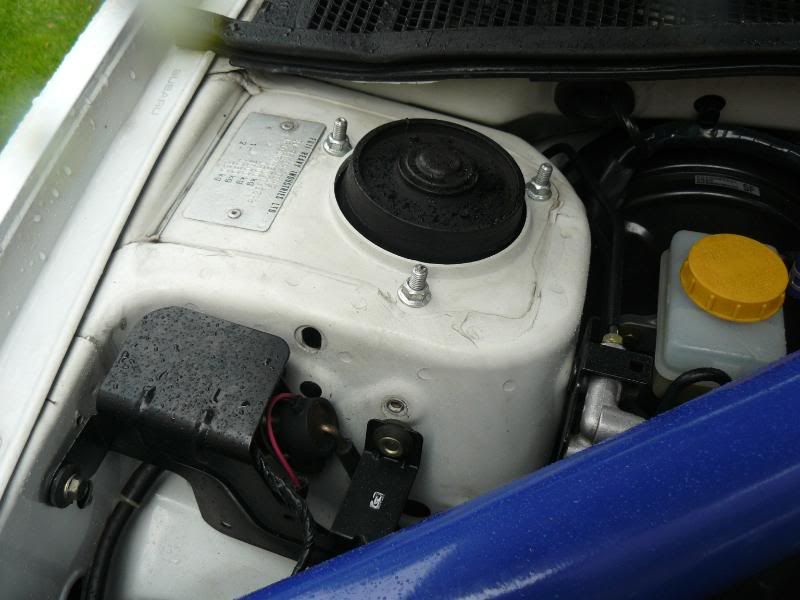
Next job was to clean inside all the door and boot shuts, I did this using diluted Megs All Purpose Cleaner , a microfibre mitt and various brushes including a Megs Slide Lock Brush. At this point the engine bay was also cleaned using Super Degreaser.
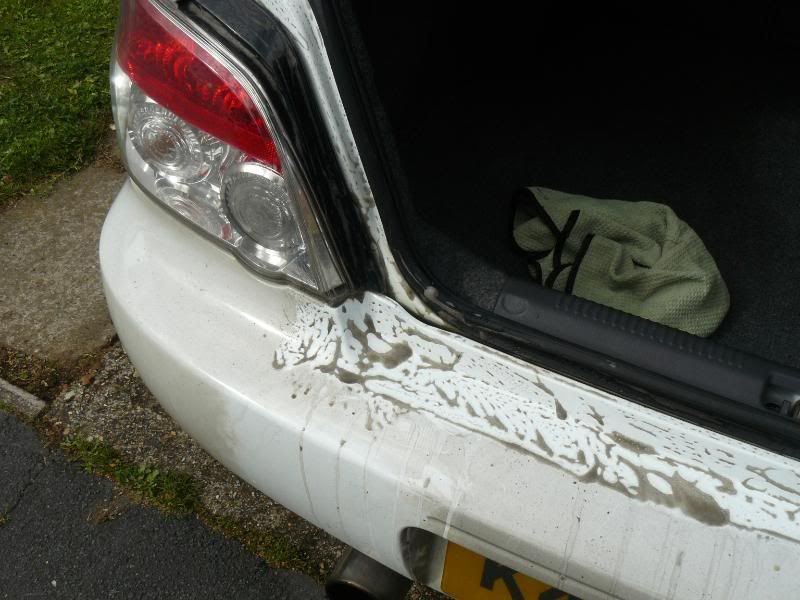

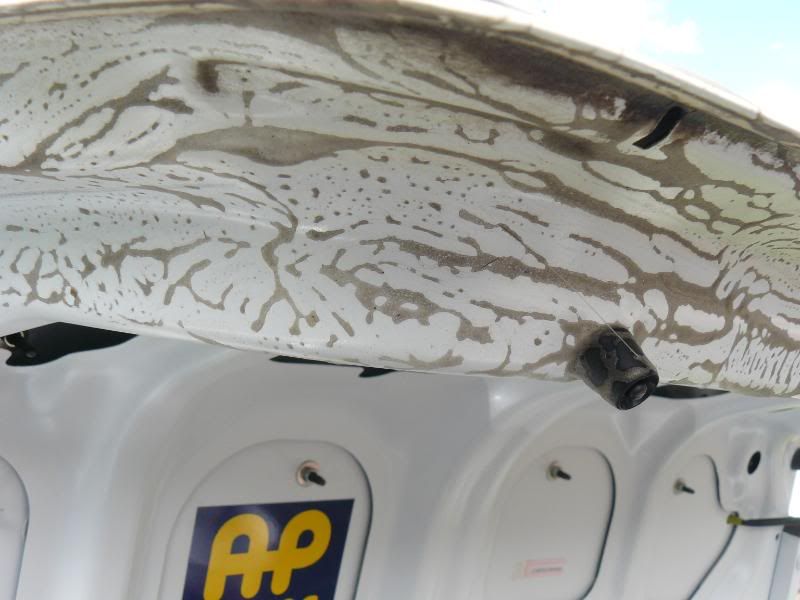
Once all the shuts and engine bay had been cleaned, rinsed and dried it was time to start washing the car. I had been given a sample of Bilt Hamber Autofoam (thanks Norman at Pro-Detailing) that I was keen to try. Although it didn't seem to foam as much as some similar products I was pretty impressed with its cleaning ability. While the foam was dwelling for a few minutes I took the opportunity to scrub the tyres and wheel arch liners with Super Degreaser.
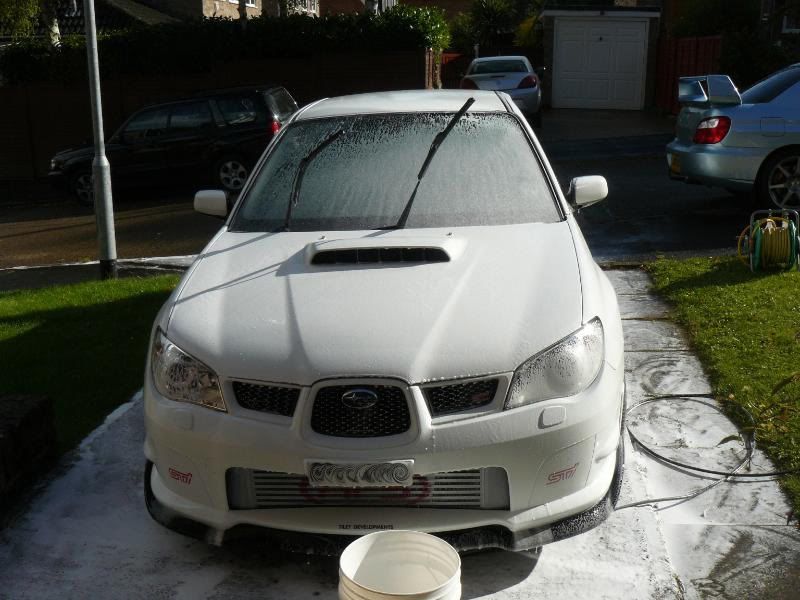

When the foam was rinsed it removed quite a bit of dirt but the paintwork was still pretty dirty and flat looking and it was showing no signs of any protection being present and no beading despite the fact that Dan said he had recently applied a sealant.
At this point the rain was now pouring down and I proceeded to wash the car using a lambswool mitt and two buckets. I had to be extremely careful from this point onwards as a neighbours tree was dropping bits all over the car and I didn't want to marr the paint.
I spent the rest of day one removing tar from the sides of the car , the wheels and the mudflaps. This was extremely difficult as tar removers dont work particularly well in the pouring rain and Dans driveway was extremely narrow making it difficult to work on the sides of the car without trampling on his neighbours lawn ! At about 7.45pm I was pretty relieved when Dan called me in for some dinner and a cold beer.
DAY 2
I started work on the car again at 7am the next morning. Thankfully the weather looked a little better but the car was covered in bits of tree again and had to be thoroughly hosed off before I could start to clay the bodywork and glass. I cannot stress enough what a massive problem the tree was causing as I needed to hose the car off several times throughout the day which isn't ideal when you want the car to be as dry as possible for polishing and waxing.
I had heard a lot of talk about the new Bilt Hamber Soft Autoclay and decided that now would be an ideal time to try it out for myself, one huge advantage of this product is the fact that it only requires water as a lubricant, this makes it extremely cost effective and easy to use as you can just drag a hose pipe around the car with you.
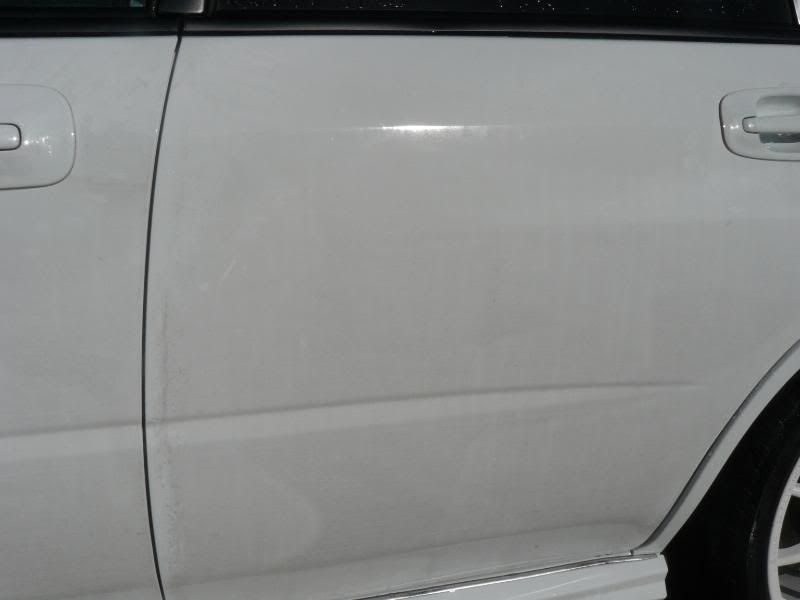
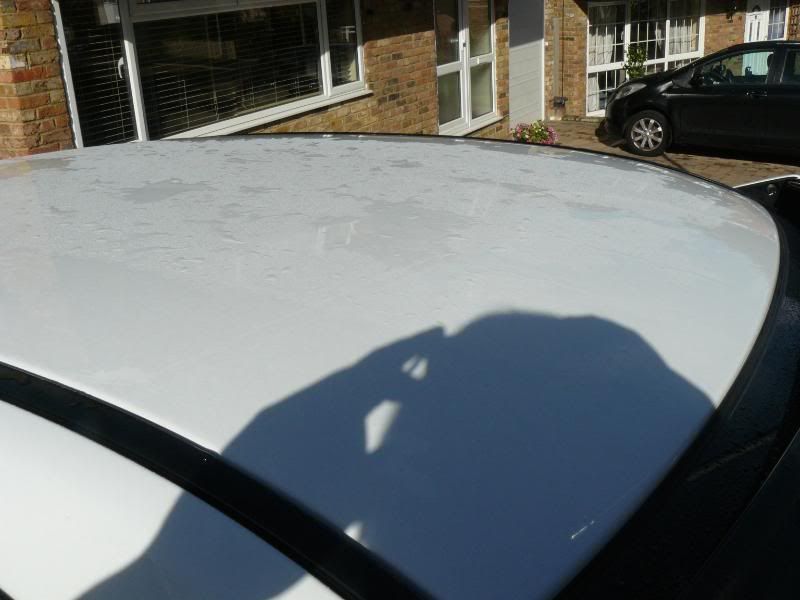
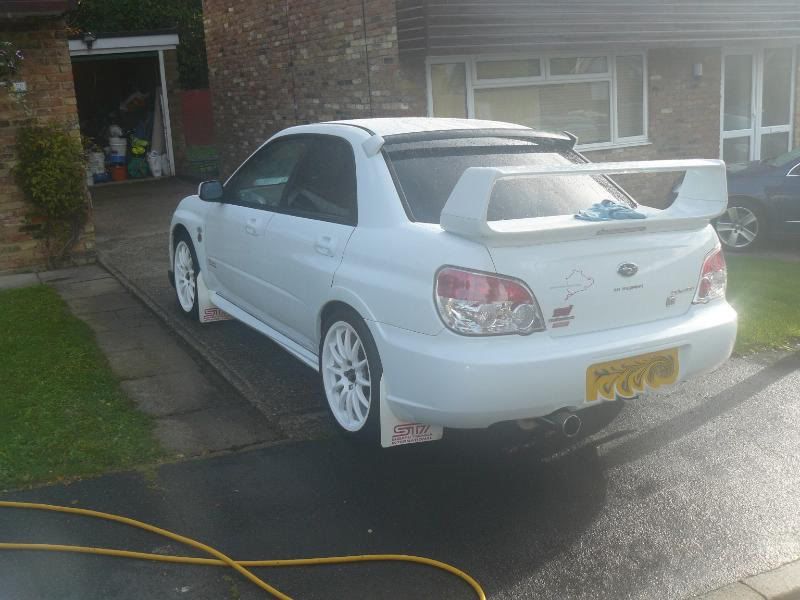
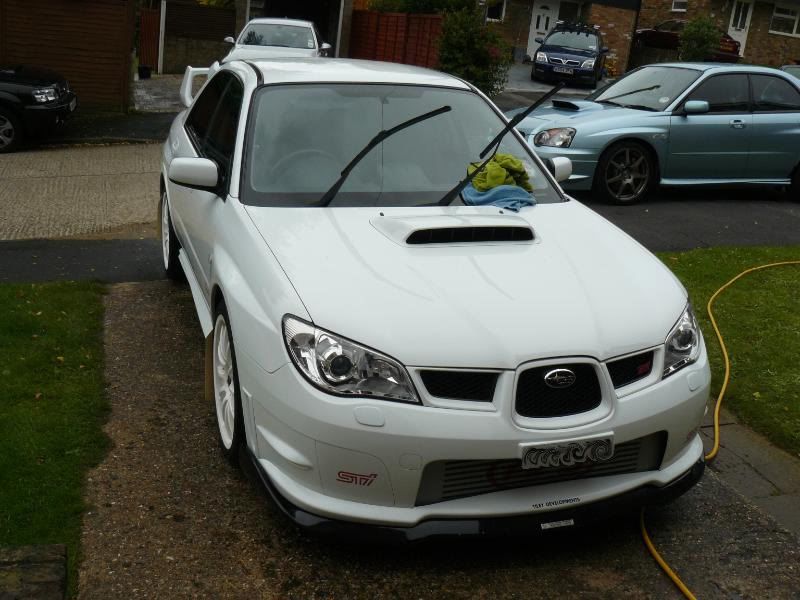
This is how the car looked at the start of day 2.

The Bilt Hamber Soft Autoclay
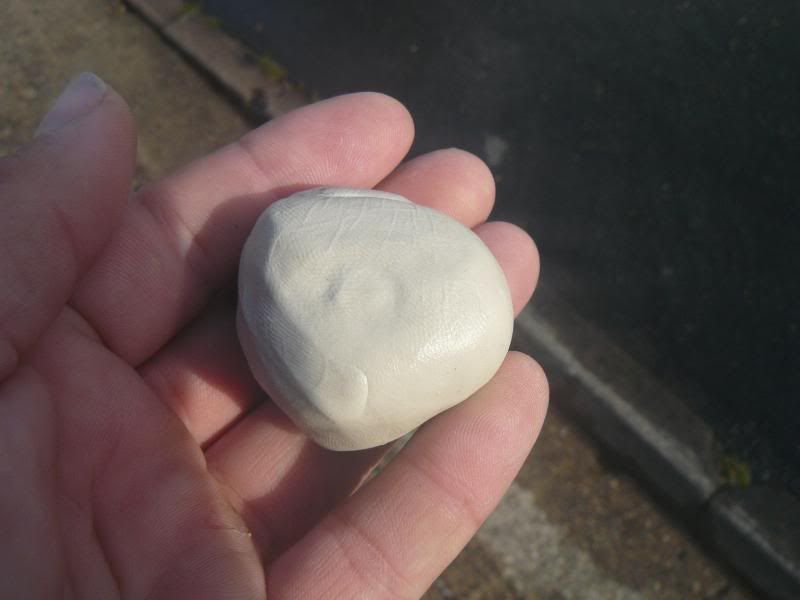
As time was against me I didn't take many pictures of the claying process but I did find that the clay tended to get very sticky after a while and started to degrade quite quickly but as it comes in huge bars this wasn't a problem and I just kept getting a fresh piece.
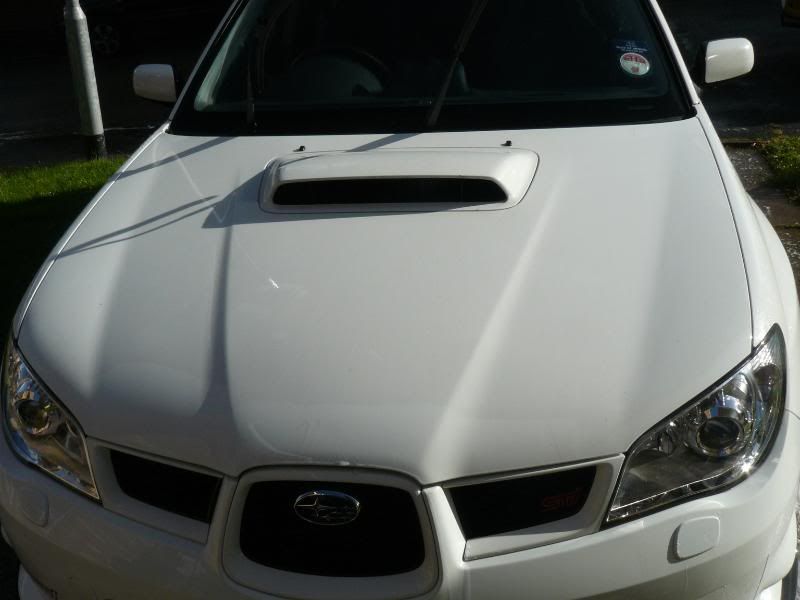
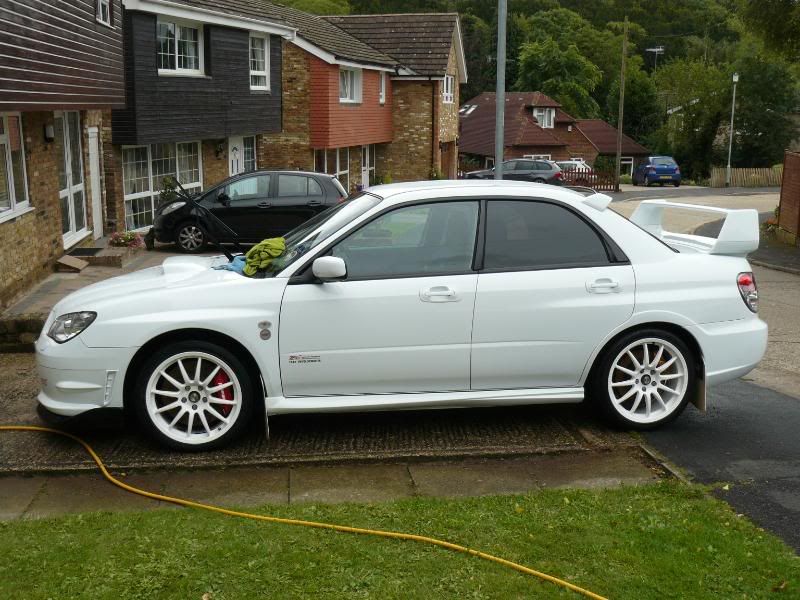
After claying the car it looked like this.
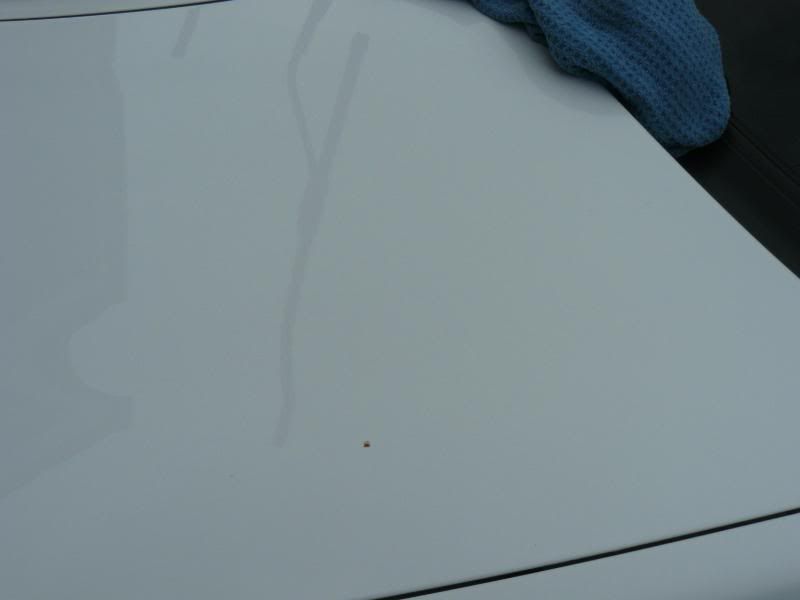
At this point it was time to think about machine polishing the car so I took paint thickness readings from all over the panels.
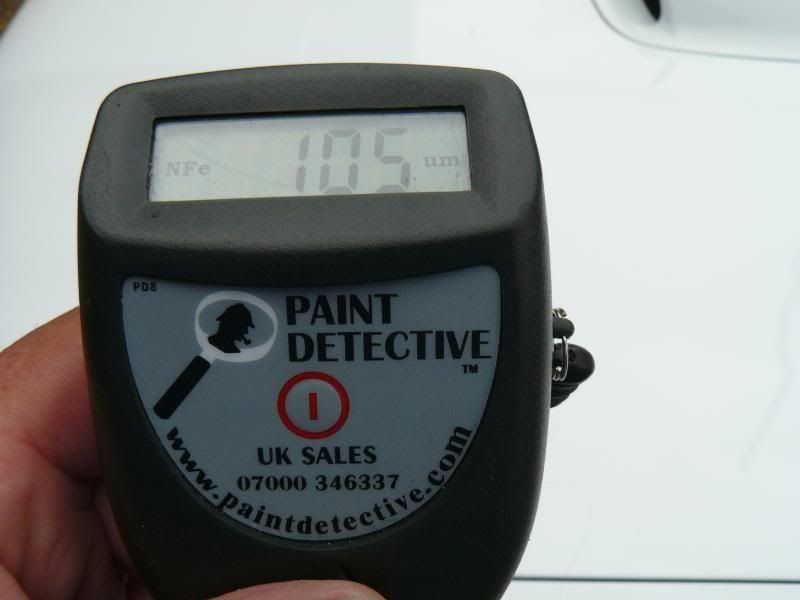
Most of the readings were very consistent but a couple of panels had seen a little paintwork at some point.
From this point onward the day started to go rapidly downhill, the weather had become pretty nasty with heavy rain and some gusty winds. Dan had kindly put up a gazebo but unfortunately it didn't cover the whole car and eventually the wind tore it apart ! Fortunately I managed to catch it before it hit any cars but the gazebo was wrecked and I must have looked pretty stupid trying to hold on to it while shouting for Dans assistance.
The rain was so persistant that I couldn't possibly polish the car effectively as the water was diluting the polish before it had chance to properly break down but the photoshoot was the following morning so I had no choice but to carry on. The most worrying part of the polishing process was the thoughts of holding a 240v polisher in the pouring rain. Luckily the car didn't really need any serious correction work , it just needed a light polish as the paint was looking rather flat. Eventually I had polished the whole car and the rain stopped for a little while.
I washed and dried the car again to remove the massive amount of splatters caused by polishing in the rain but unfortunately didn't get any photos of any of the polishing process because the weather was so bad.
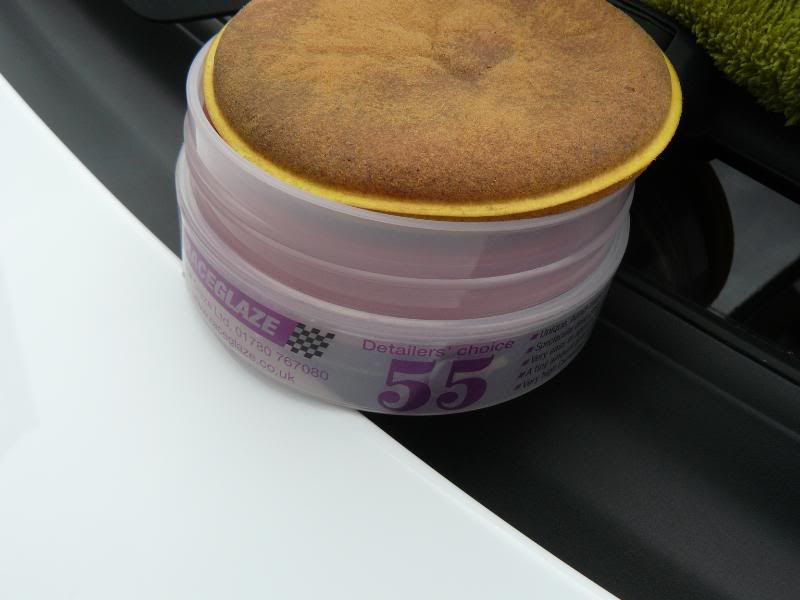
I had originally intended to use Zaino Z2 as a last stage product but Dan was quite keen to try a wax as he had been a little disappointed with sealants in the past and I was a little concerned that the Z2 may play up a little in the damp. I also wanted to use a product that could be buffed off panel by panel rather than having to cover the whole car with a product incase it rained again.
I decided to use Raceglaze 55 as it has never failed to impress me and appears to be very durable.
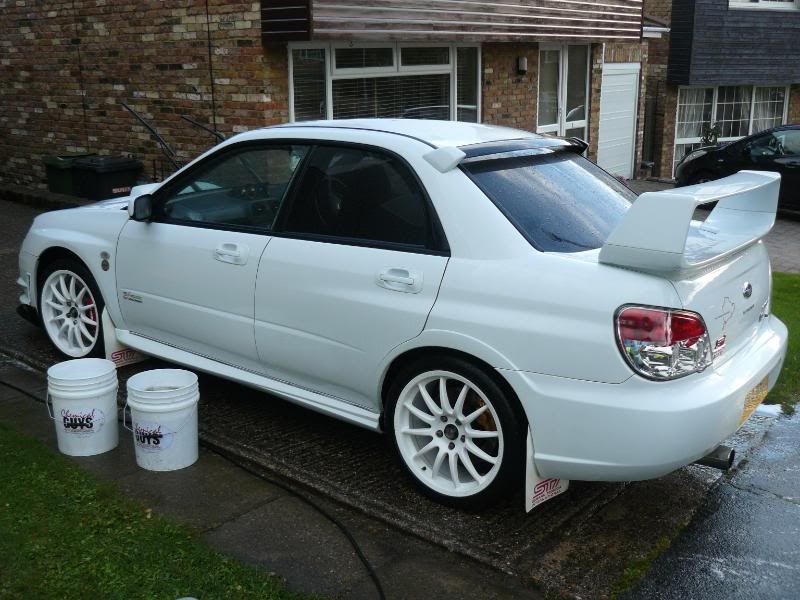
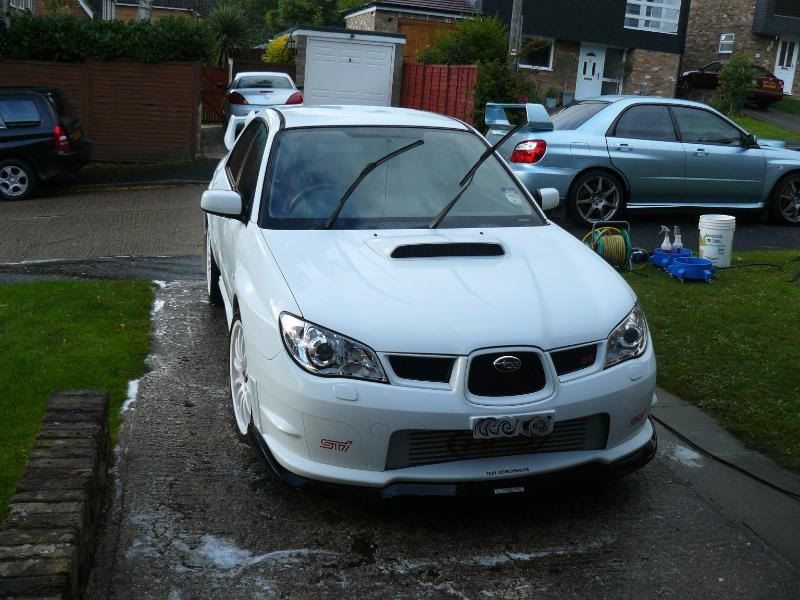
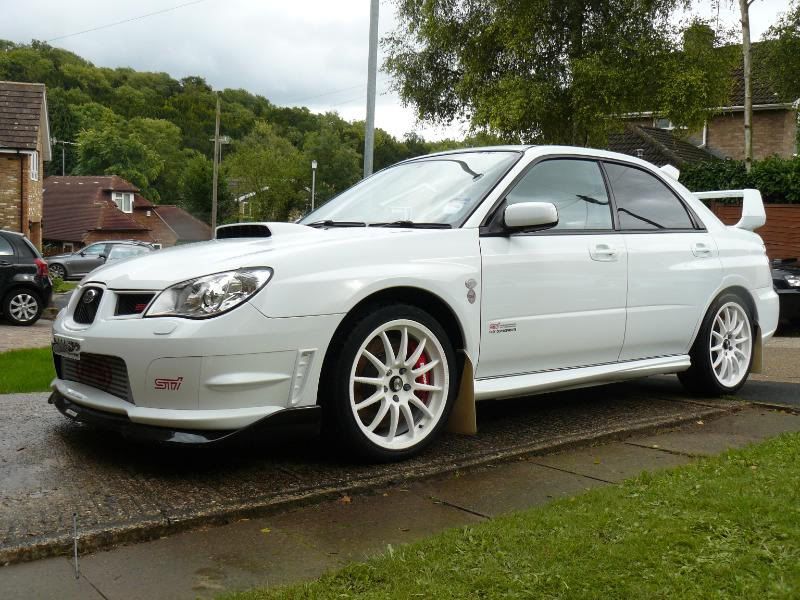
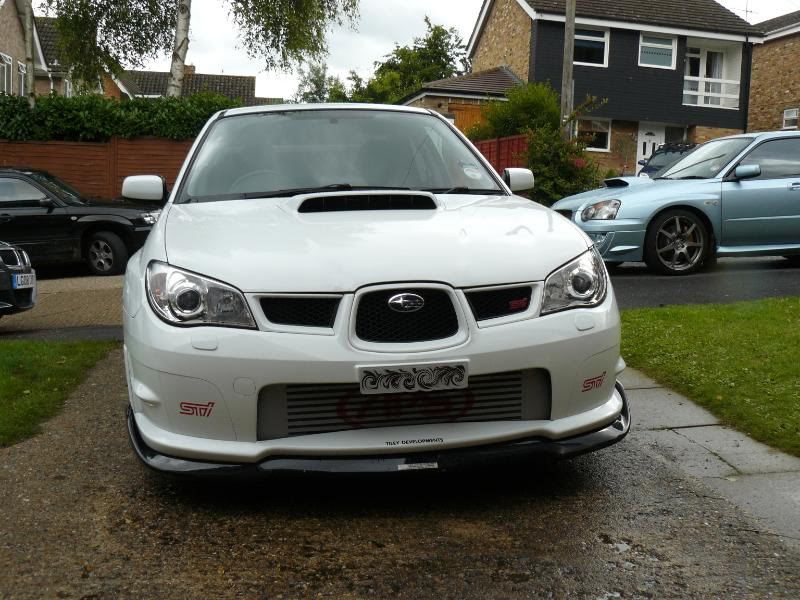
Fortunately the rain held off and after applying the wax the car looked like this.
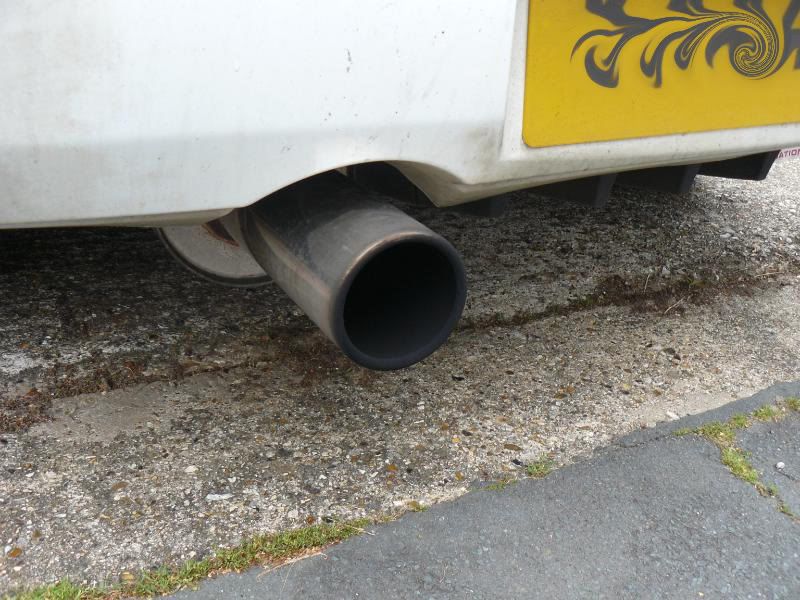
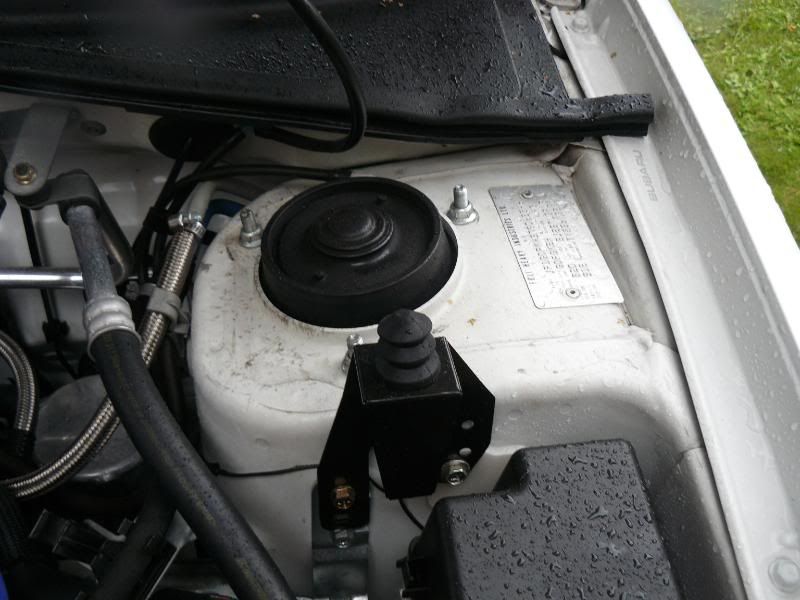
At this point the car was getting close to being finished but there were still loads of little jobs to do such as dressing the tyres with Blackfire gel and the arch liners with All Season Dressing and obviously the windows needed to be cleaned, the interior wasn't too bad but the vinyl needed to be cleaned and then dressed with Aerospace Protectant and the seats and carpets needed to be vacuumed. The tailpipe and the few alloy bits in the engine bay were polished with Autosol and the rest of the engine bay was dressed with Aerospace Protectant.
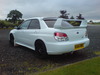
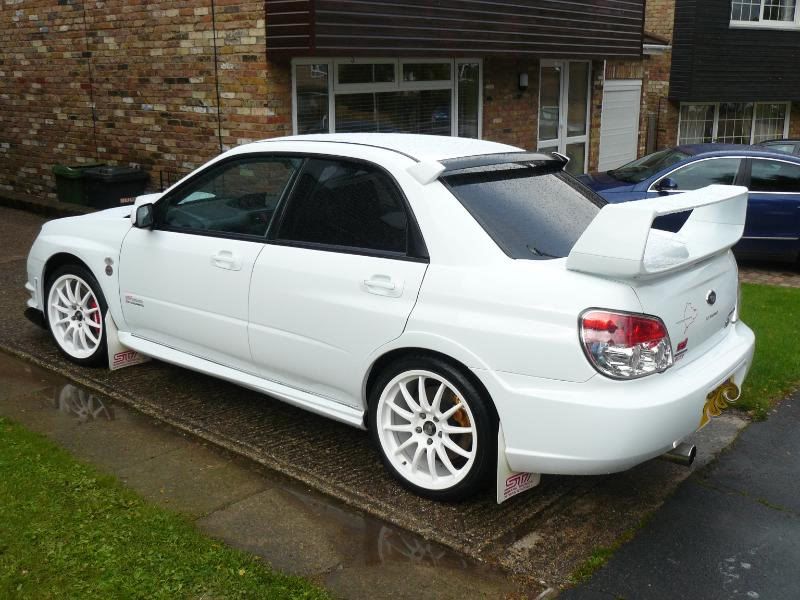
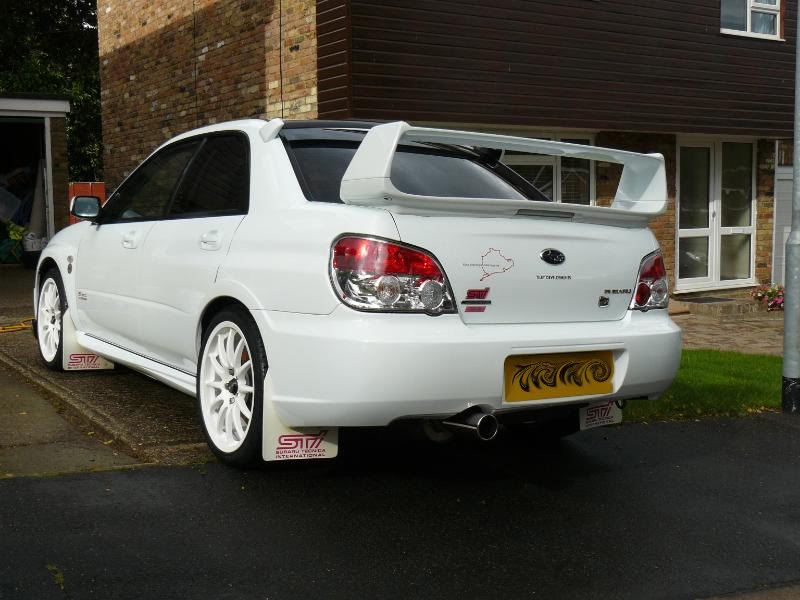
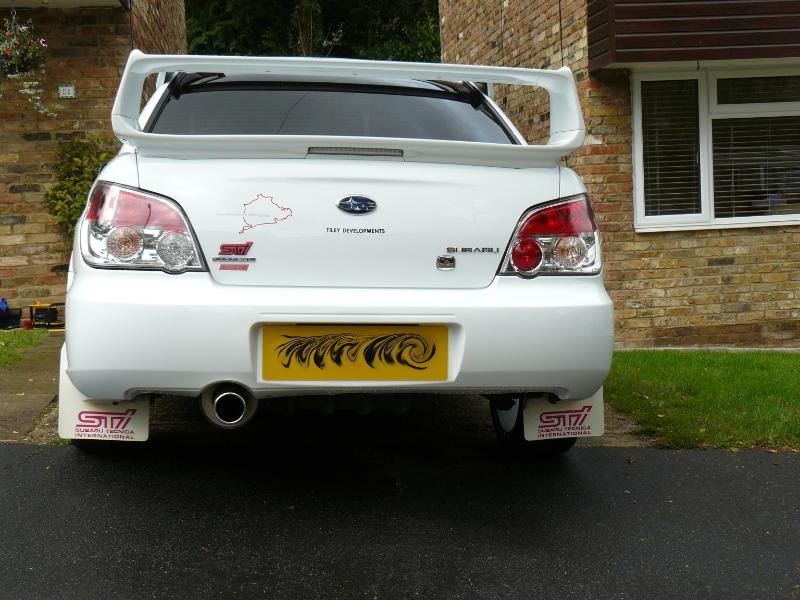
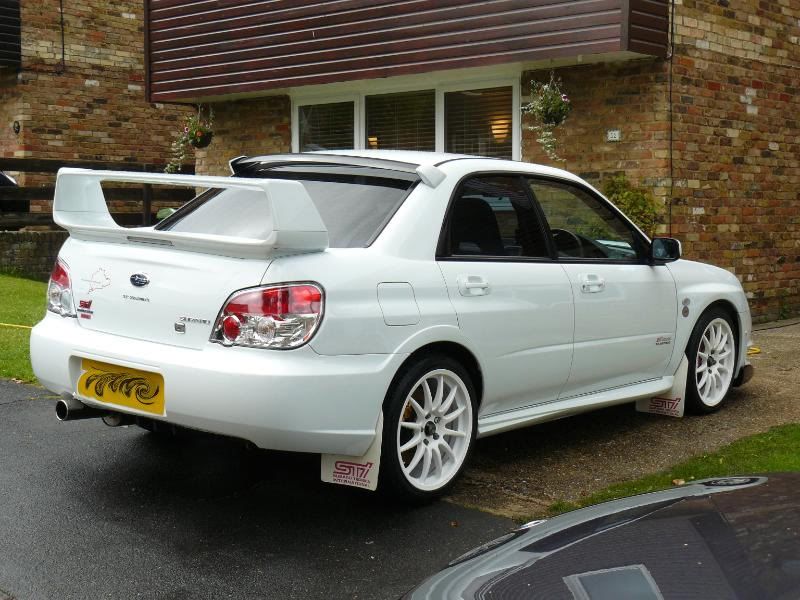
By About 6.30pm I was all done and the car looked like this.
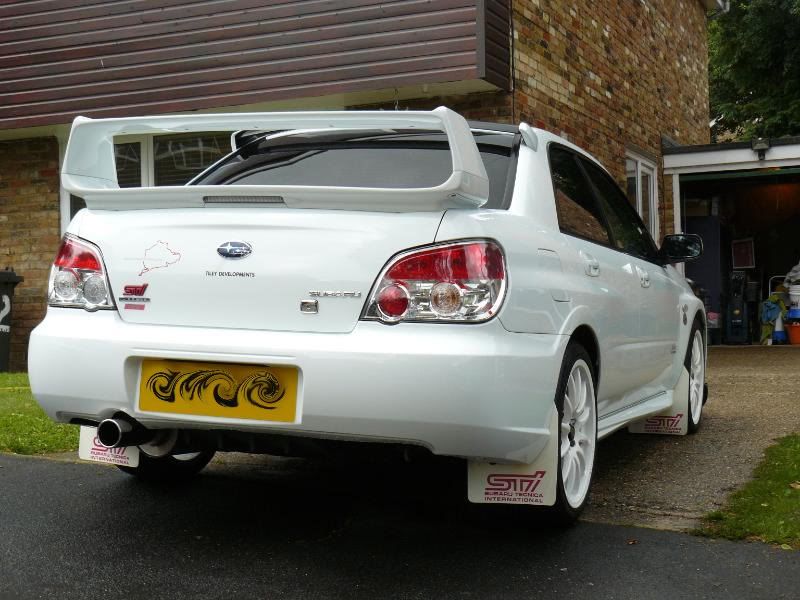
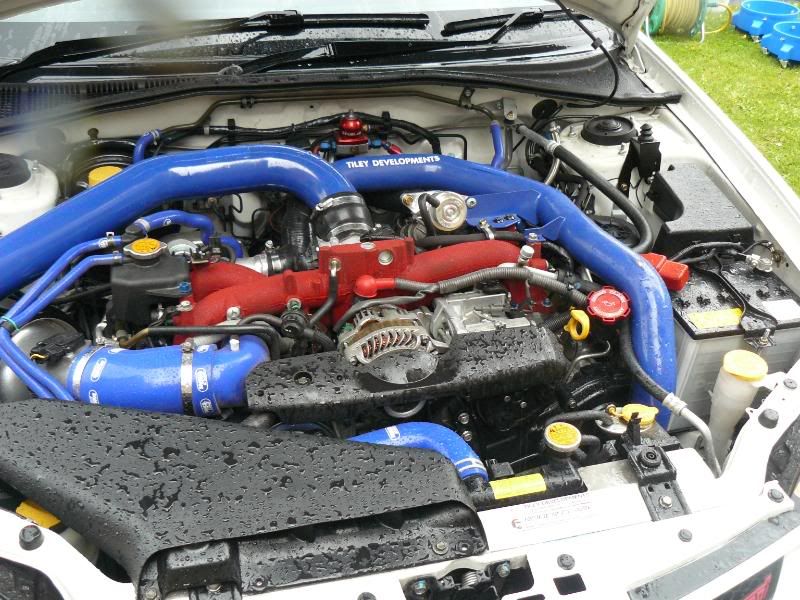
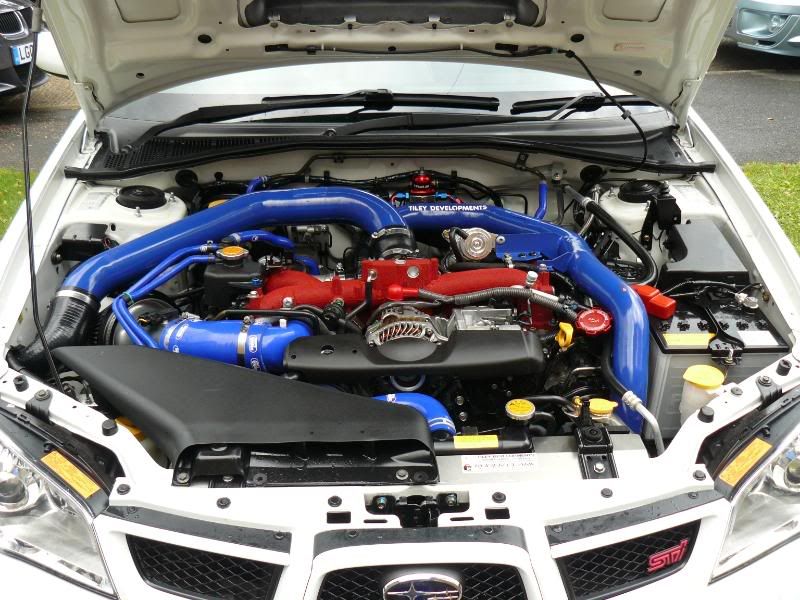
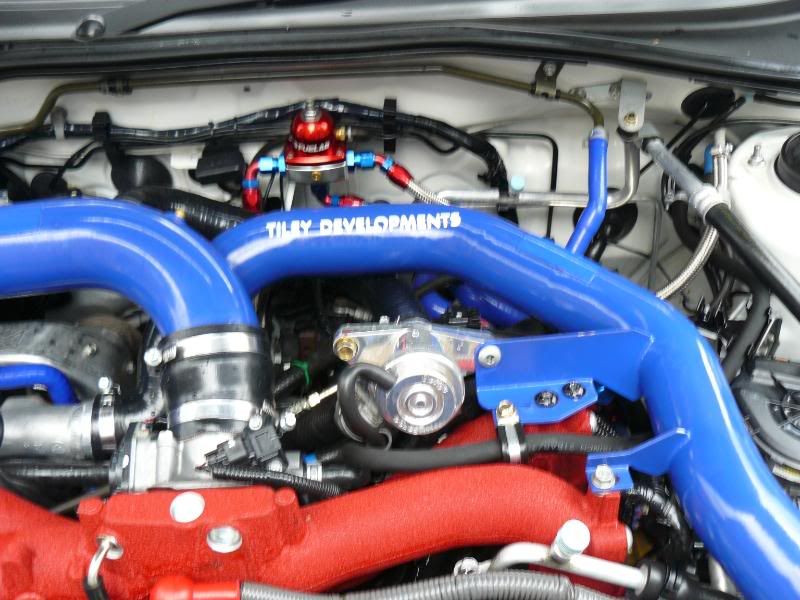
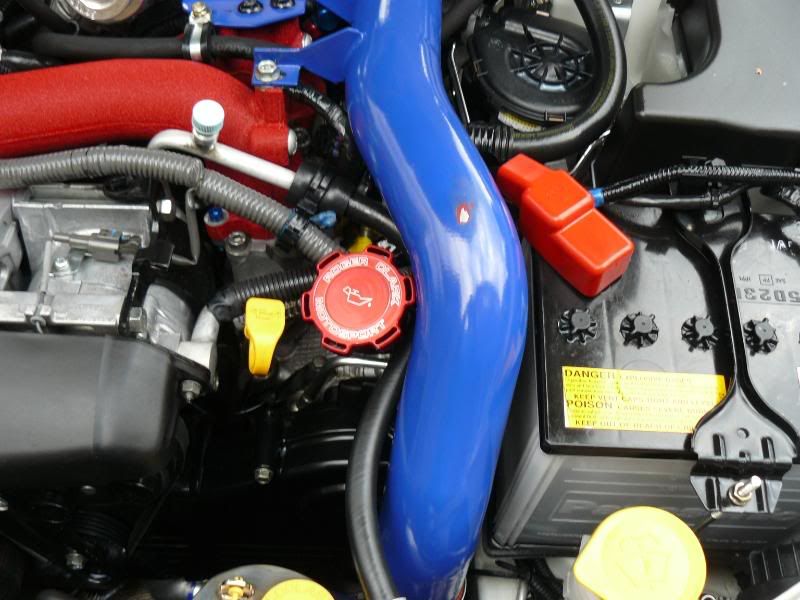
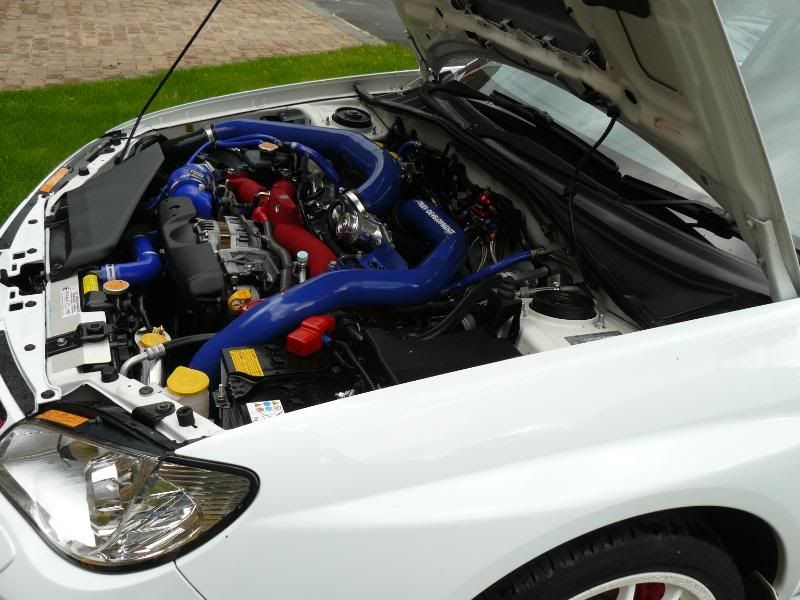
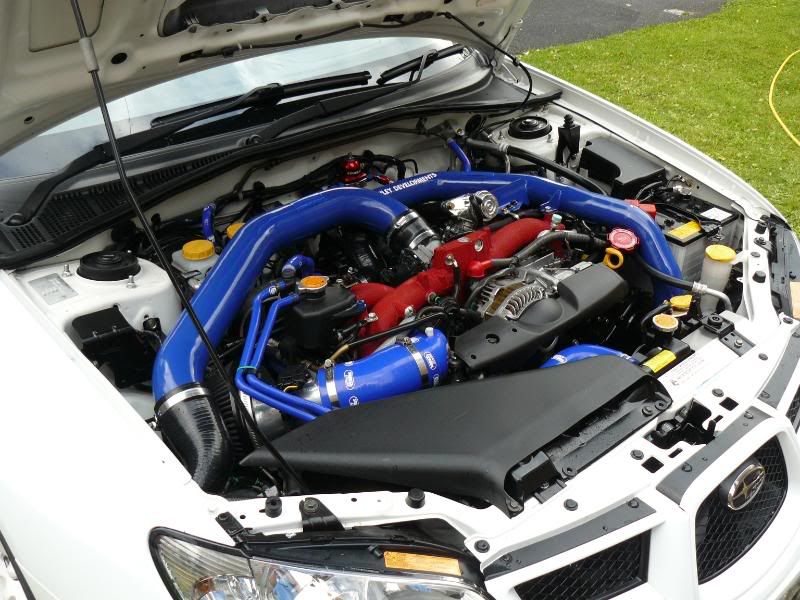
And finally some pics of the monster of an engine !
Despite the terrible weather I was pleased with the way the car had turned out and Dan seemed pretty happy too. At about 7pm I started the 3 hour journey back north and thought how lucky I was to have a warm dry unit to work in and thought how difficult it must be for the mobile guys who have to work out in the elements all the time.