Invisible Touch Detailing -Mini Cooper S 'The Ultimate Mini'
Hi,
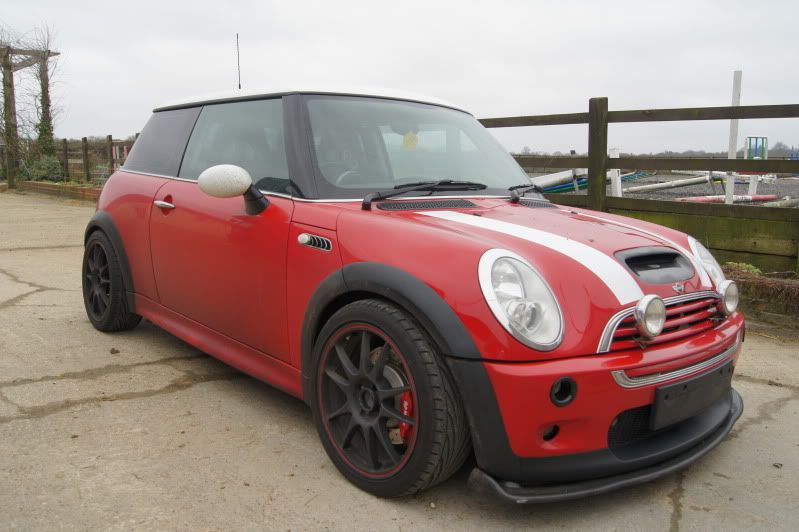
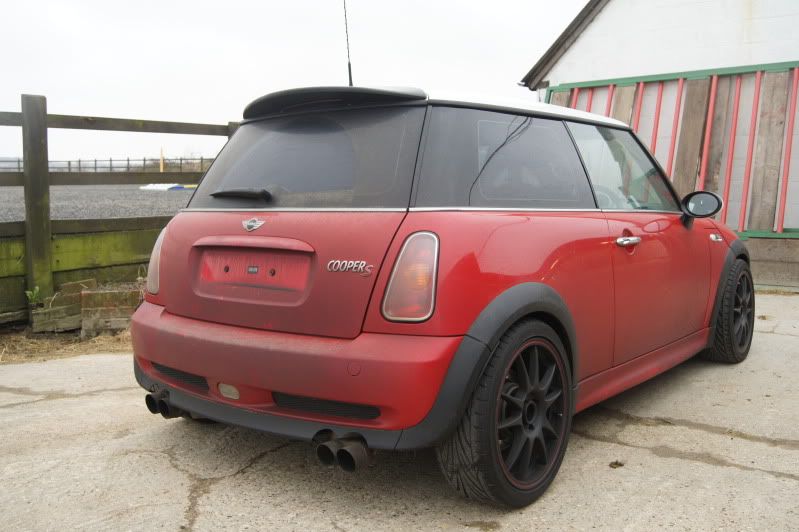
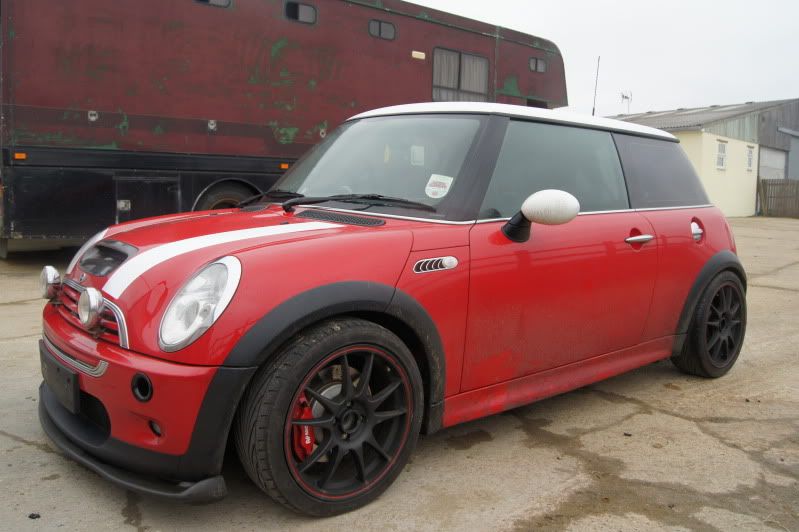
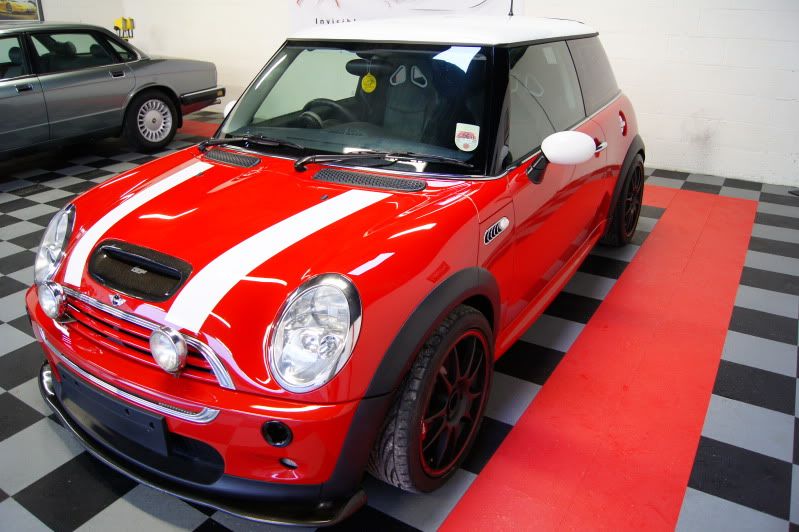
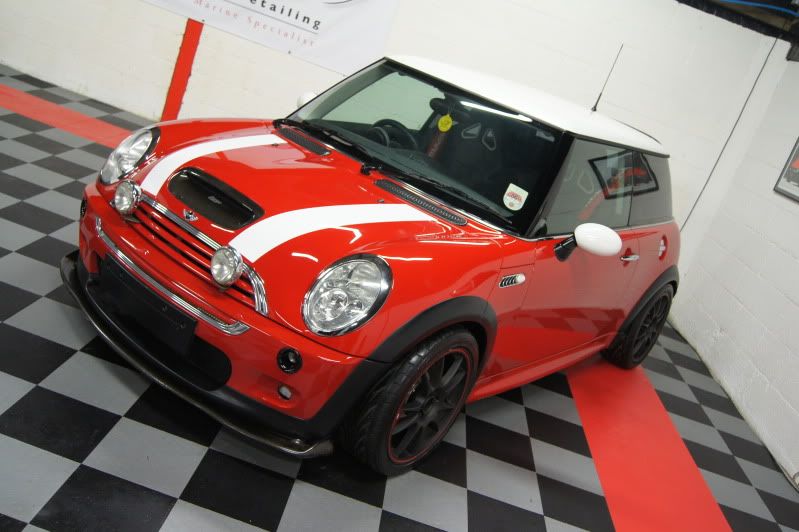
Here we have a Mini Cooper S, known by the owner as ‘The Ultimate Mini’ in for paint correction plus engine bay treatment.
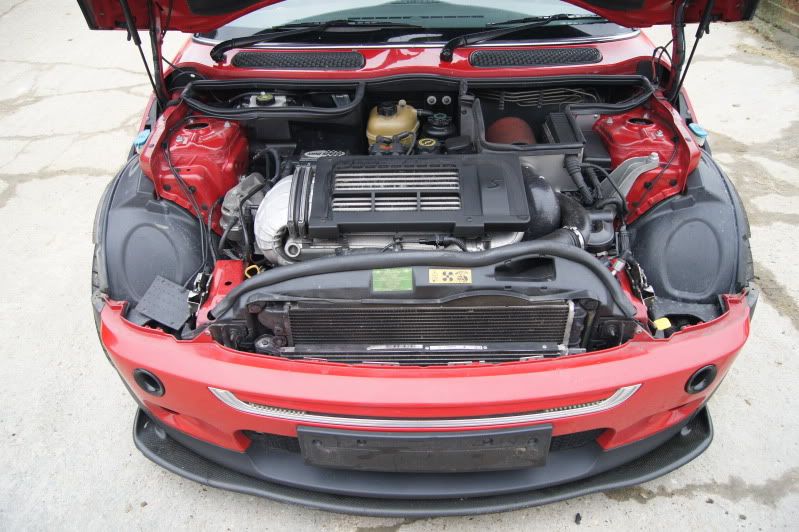
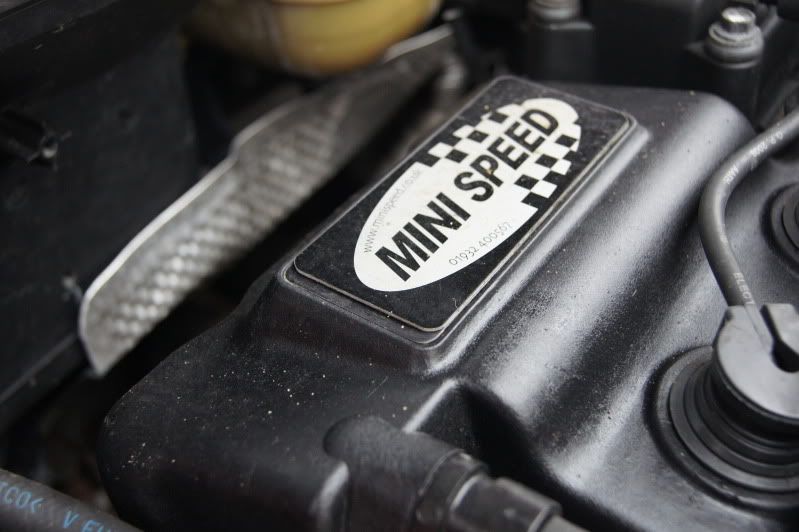
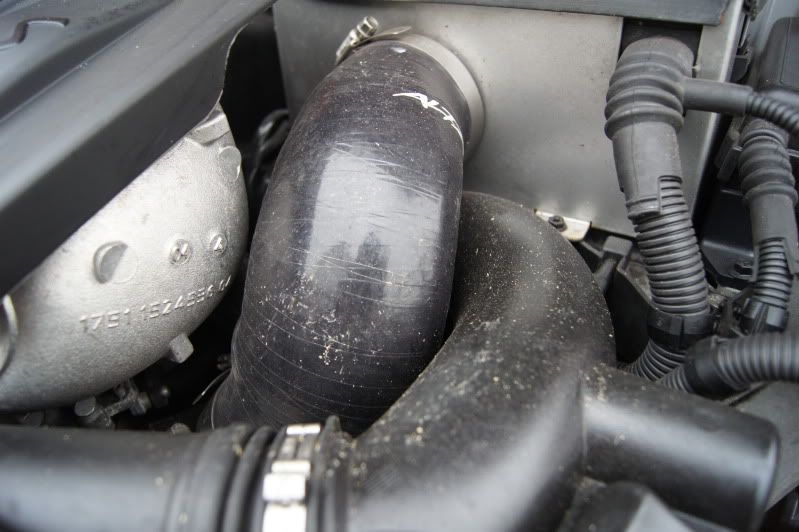
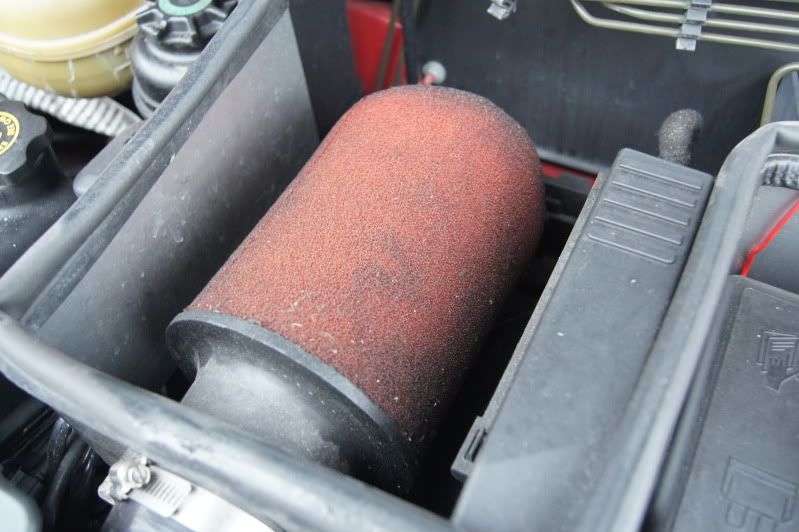
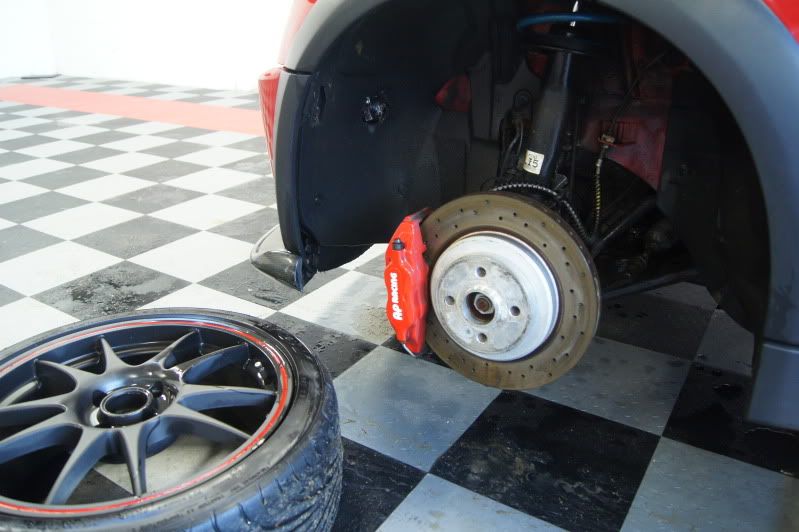
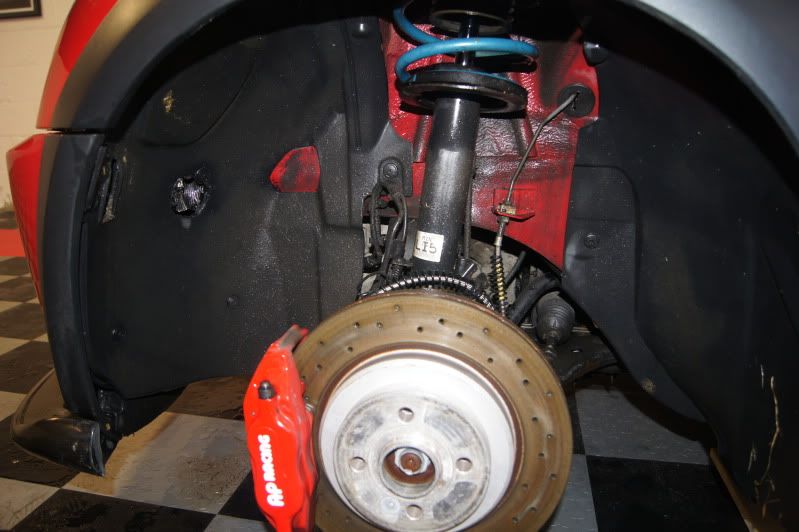
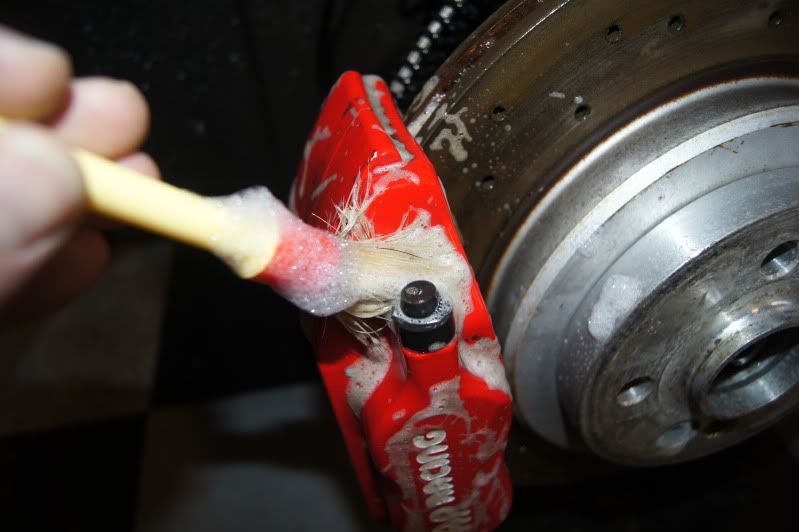
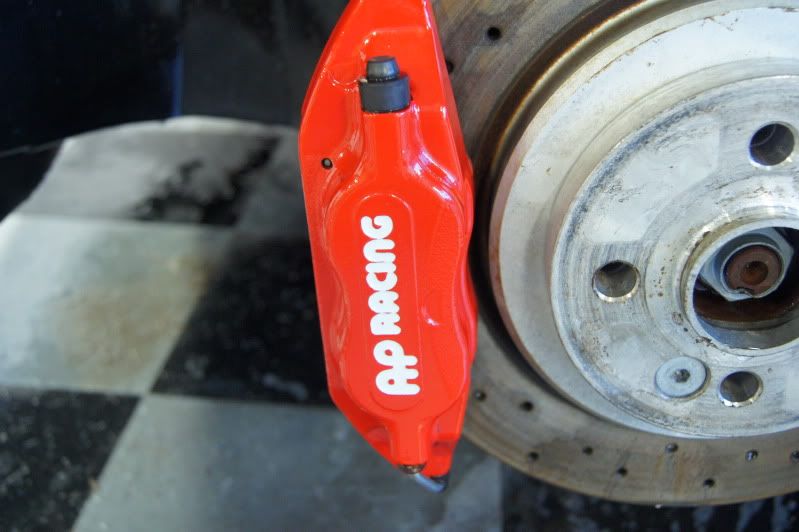
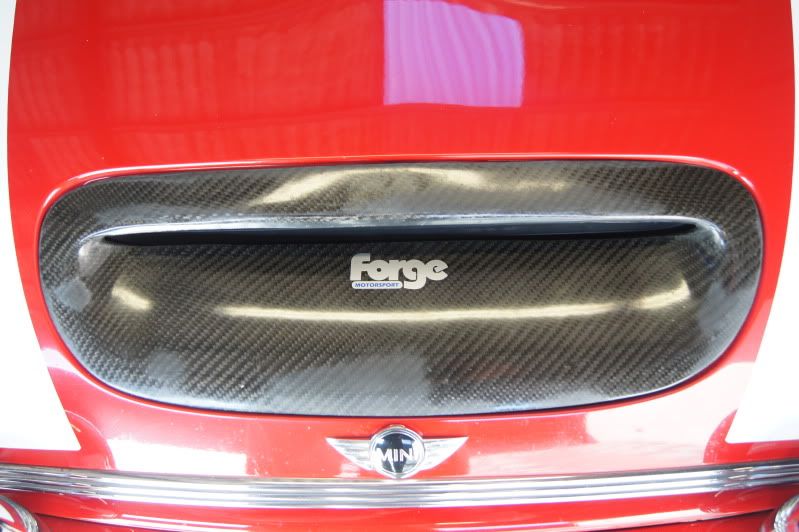
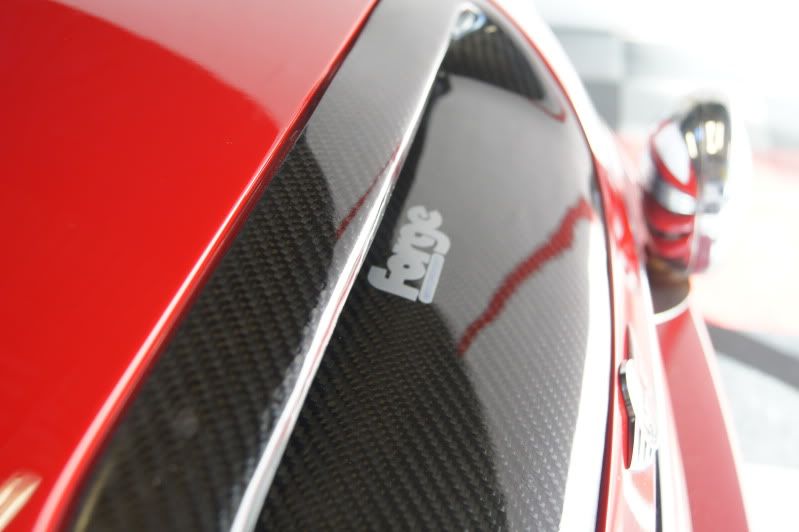
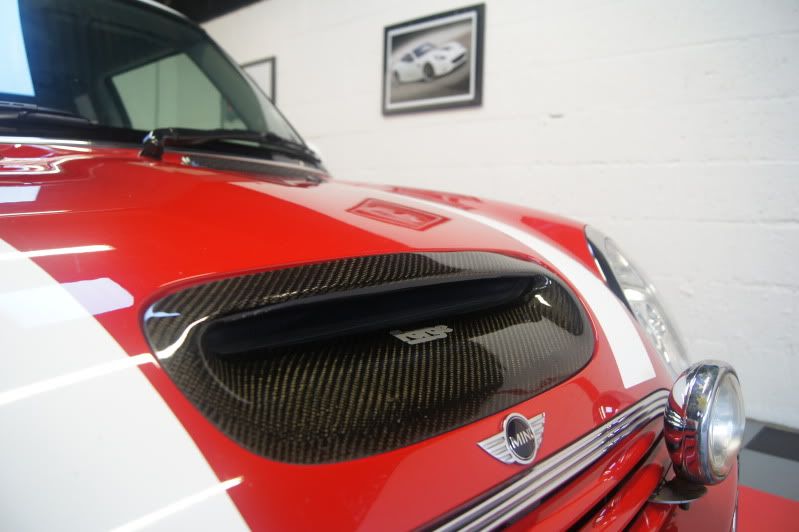
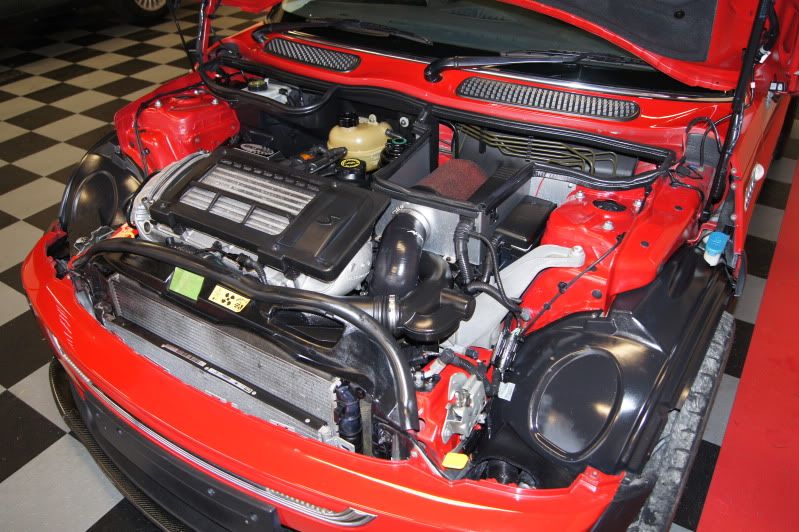
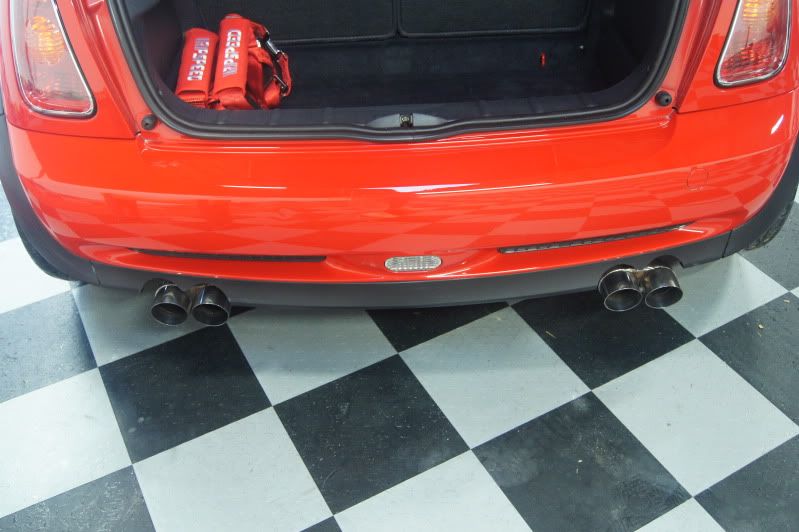
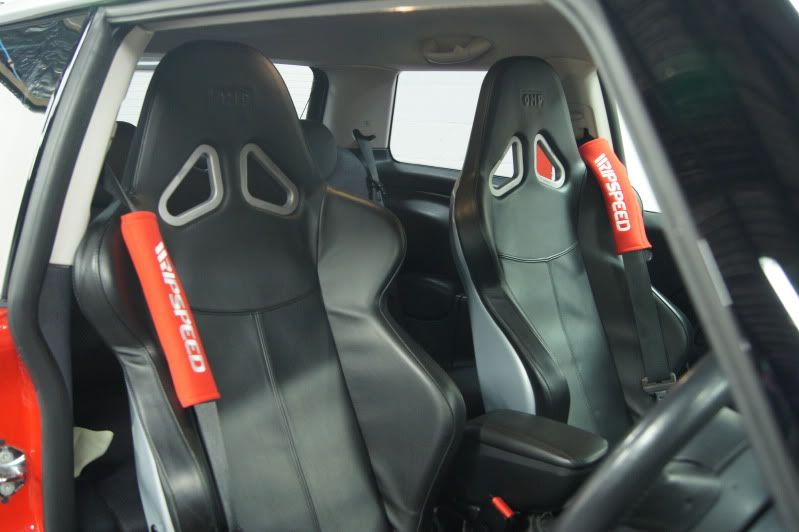
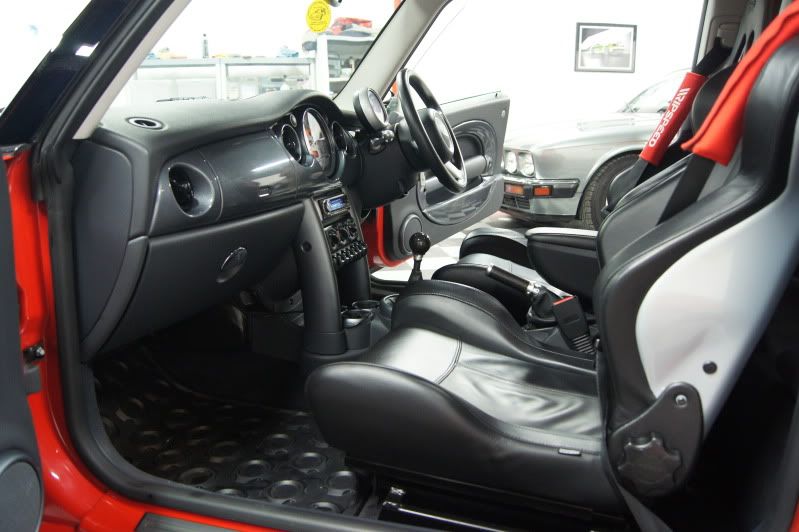
This special Mini had various upgraded parts fitted including, Eibach lowering springs, H&R anti roll bars all round, AP Racing front brake conversion and upgraded rear disks, performance racing decats, quad exhaust system, leather OMP bucket seats and harnesses, carbon exterior pieces, alloys and a stage 2 conversion by Mini Speed which included a modified intake, different sized pulley on the super charger and finally a remap.
Lets first have a walk around the car.
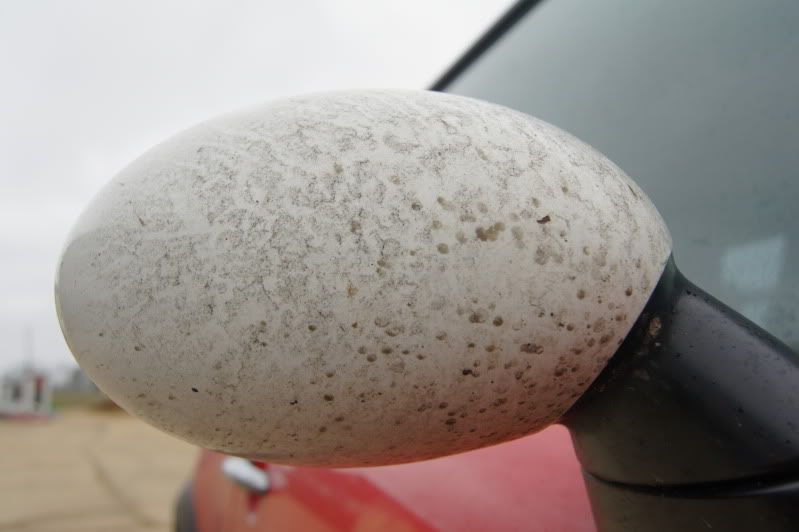

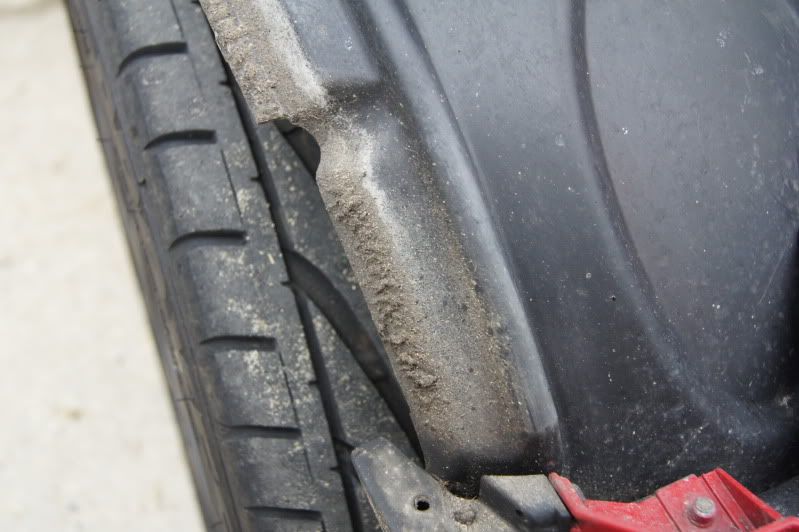
The car had been used for various track day events in the past and was showing various signs of abuse due to this.
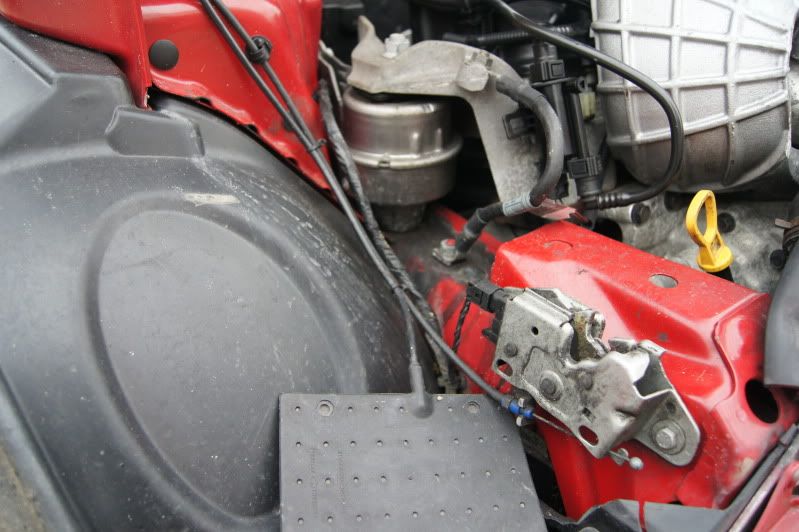
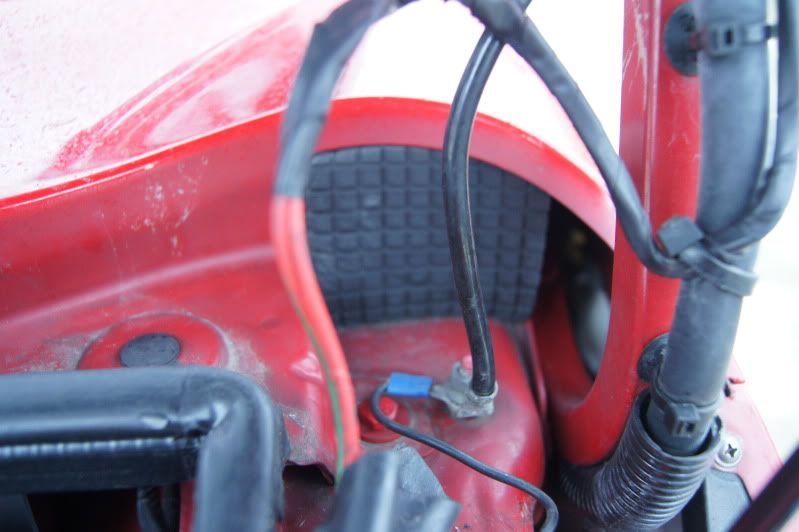
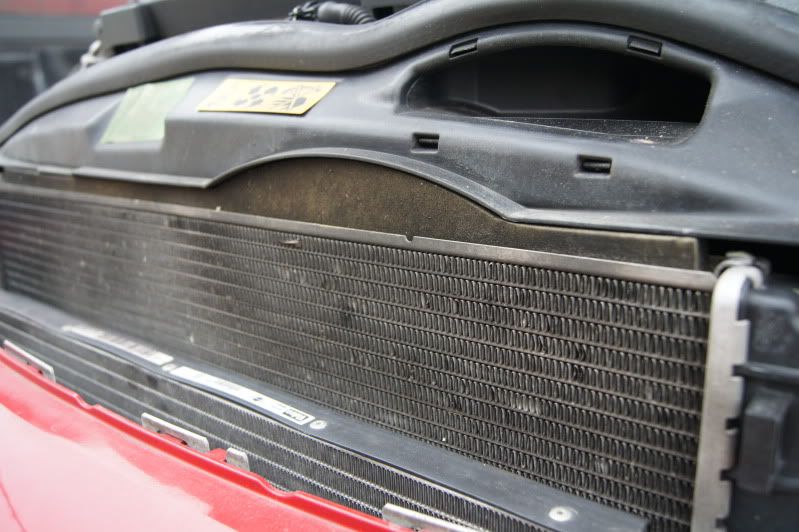
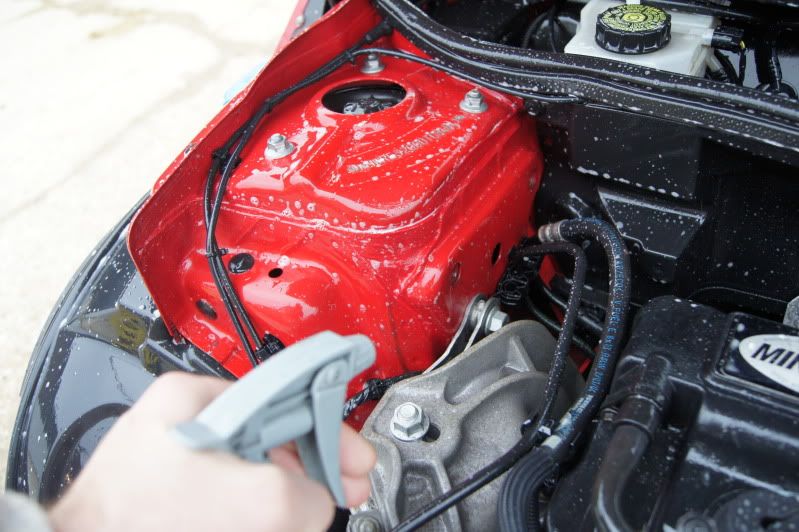
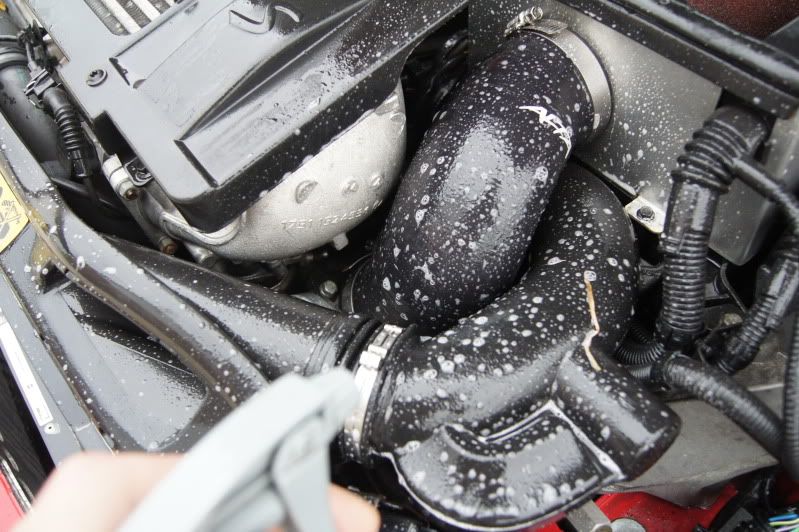
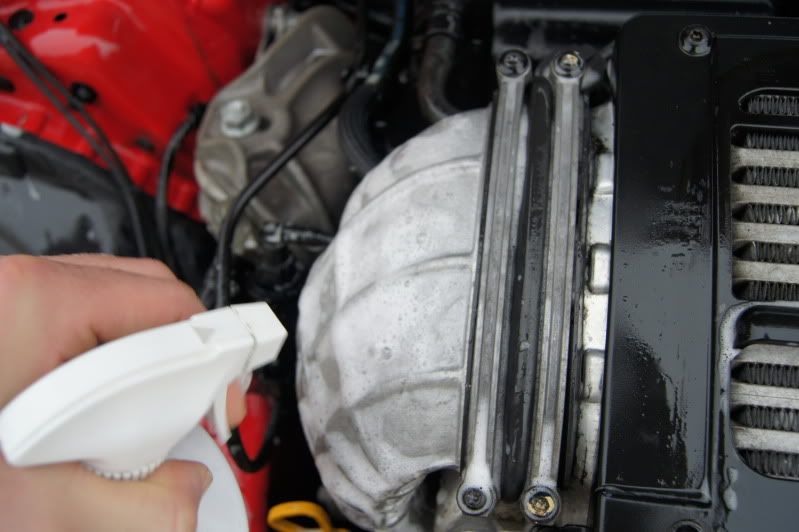
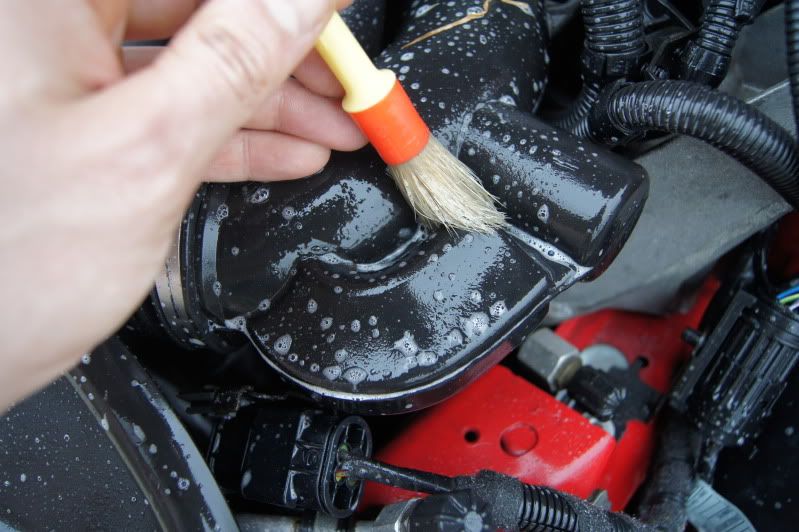
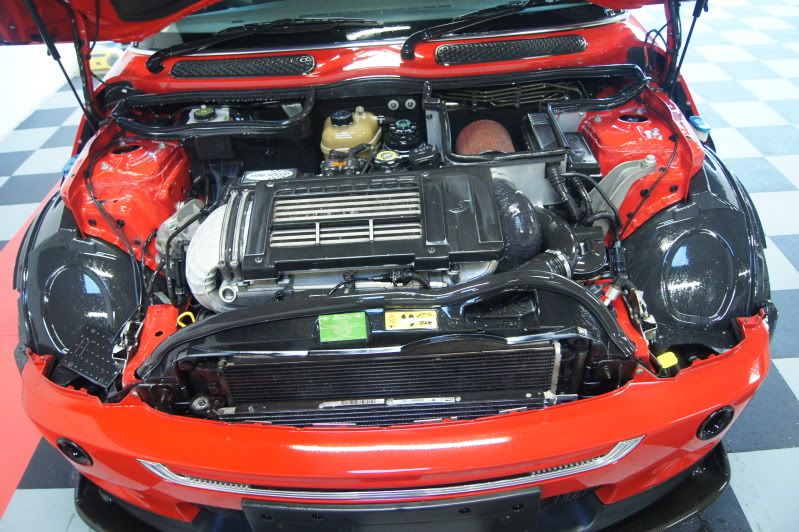
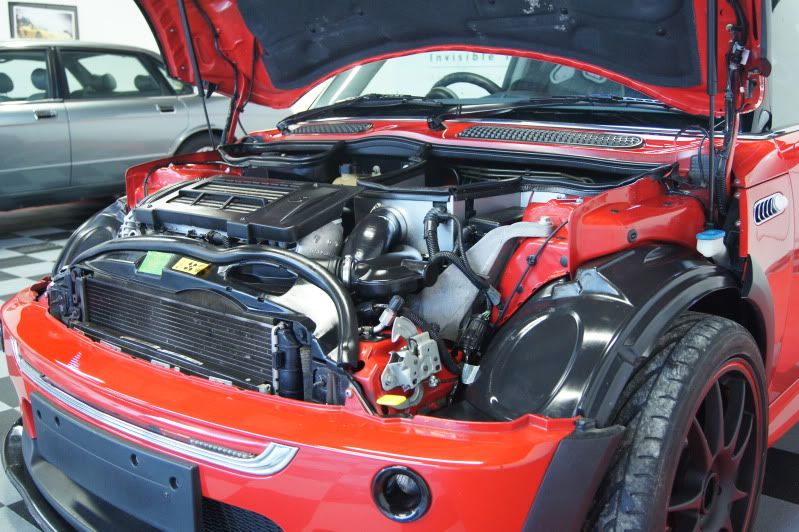
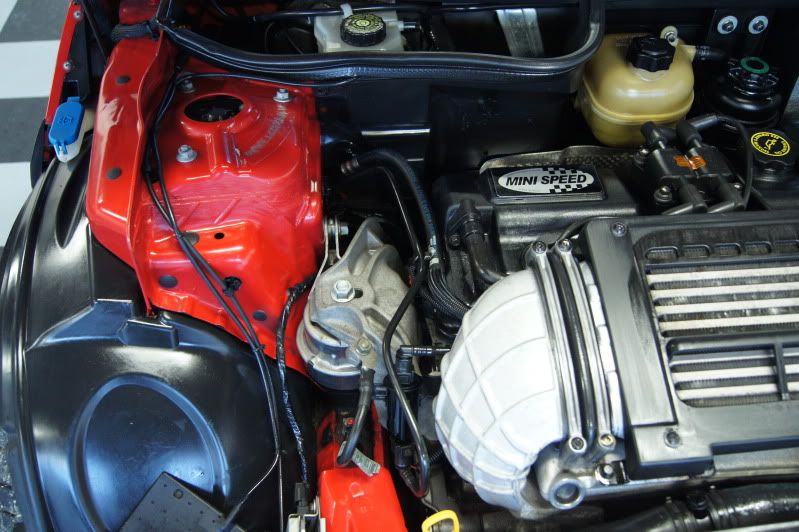
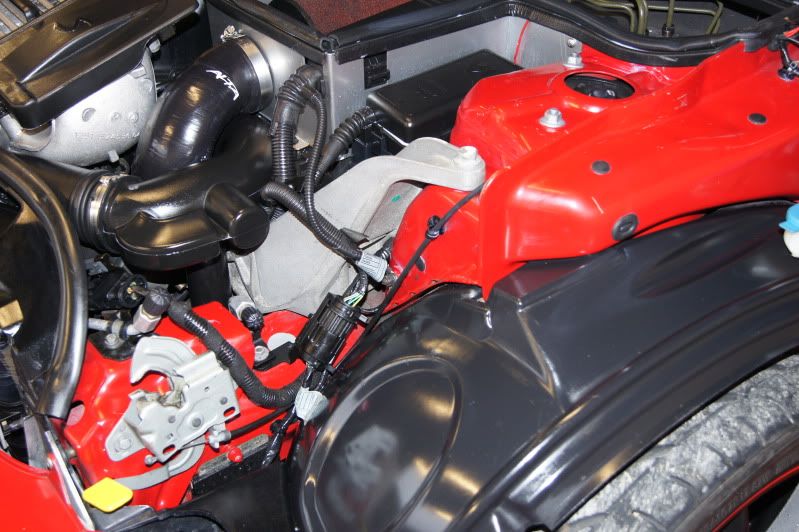
So, starting off, the engine bay was rinsed down and everything was sprayed with Meguiars APC and Engine & Machine Cleaner, then agitated with various brushes. This was then rinsed off.
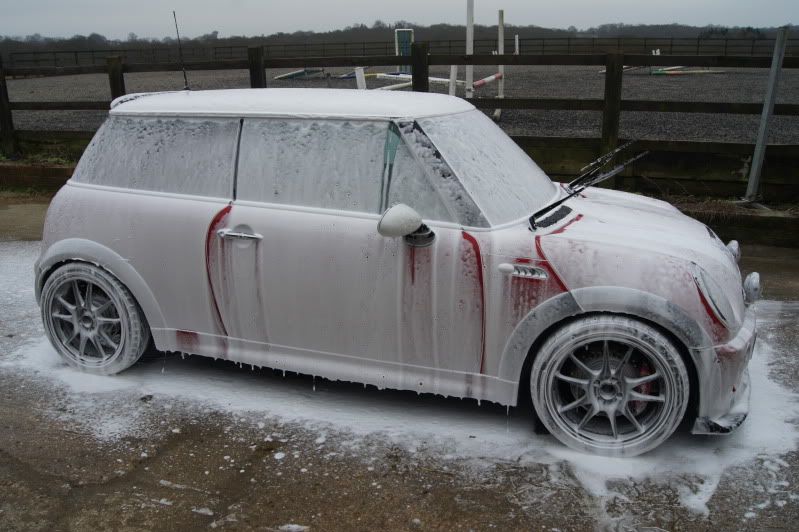
The car was then jet washed, snow foamed, left to dwell for 5 mins and then jet washed again.
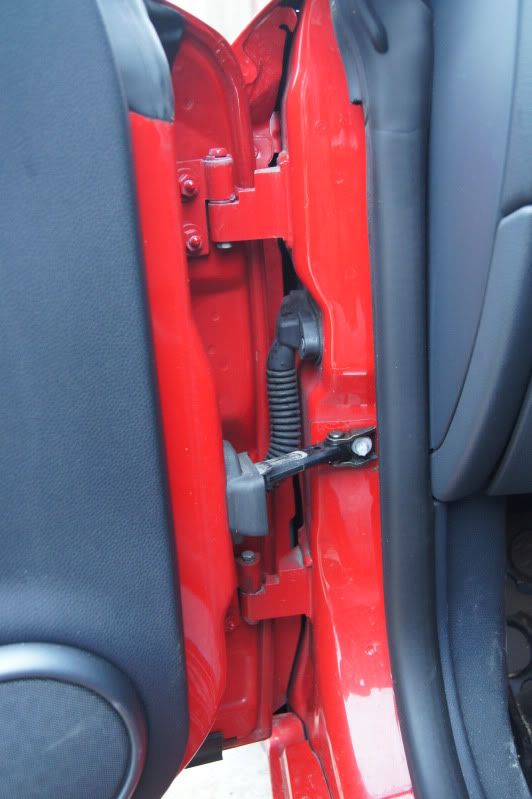
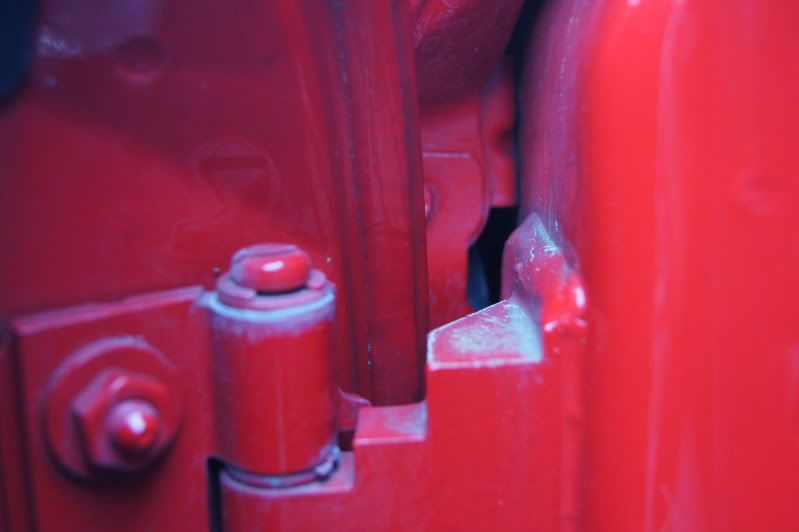
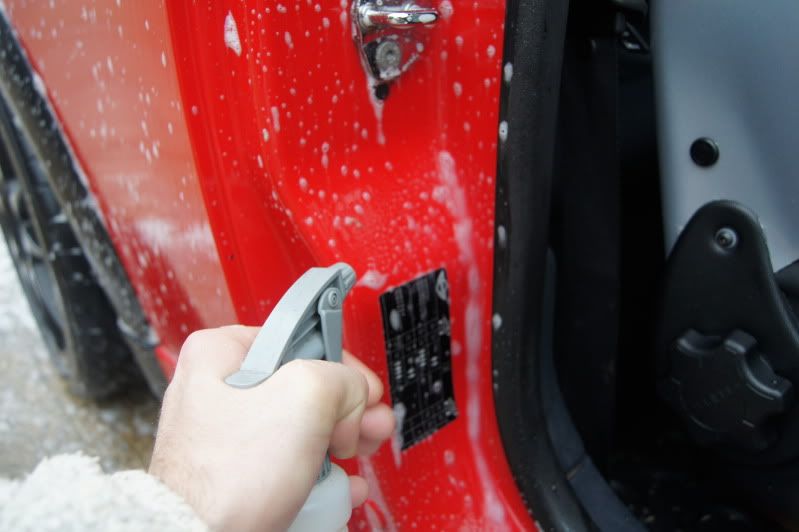
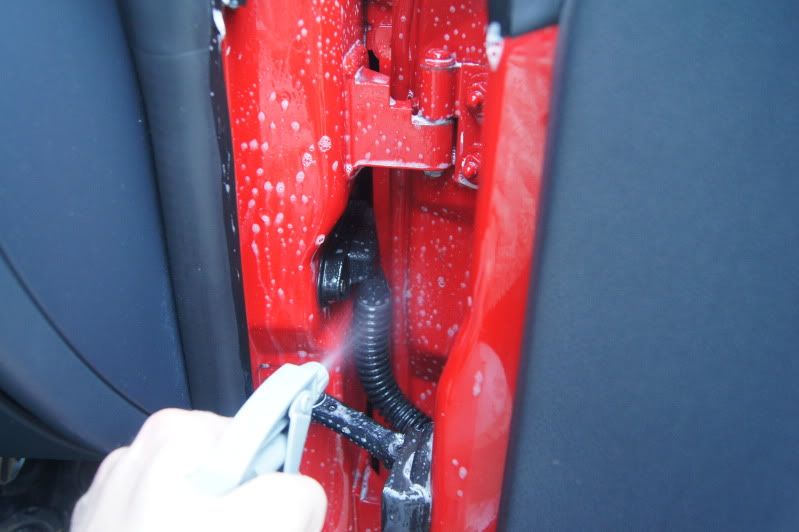
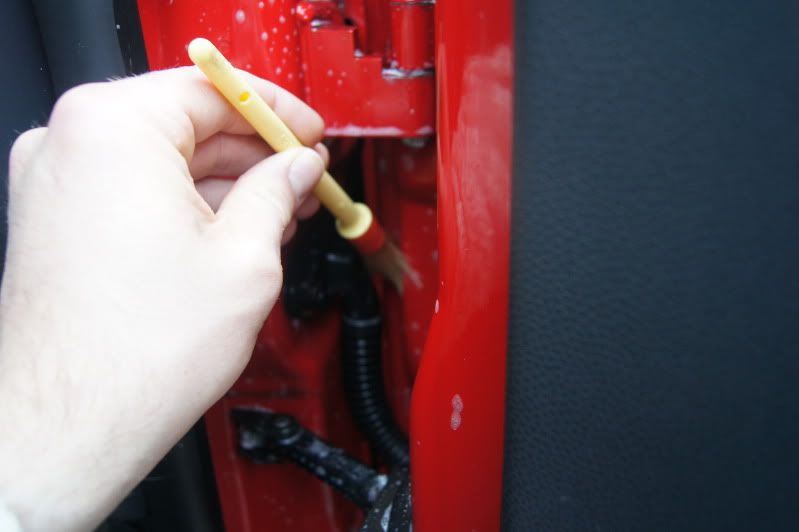
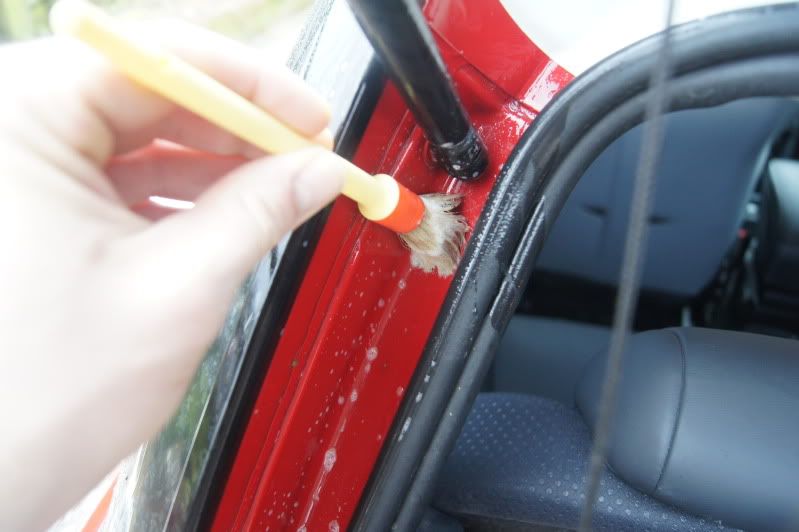
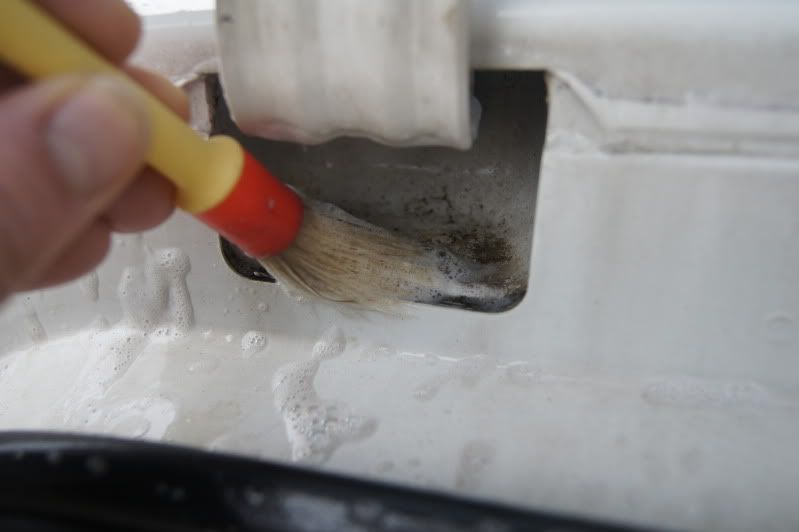
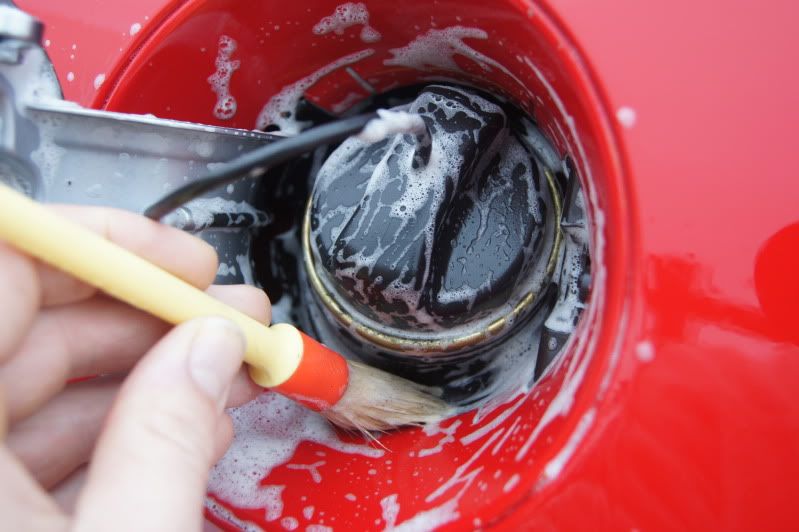
All door, boot shuts and fuel cap were then sprayed in Meguiars APC, agitated with brushes and rinsed off.
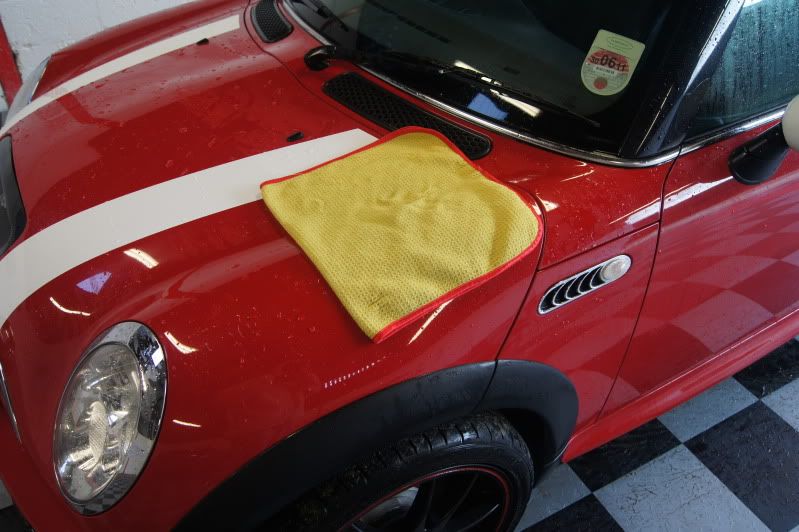
The car was then washed using Meguiars Shampoo Plus using the 2 bucket method.
It was then brought inside. Whilst still wet the engine bay was sprayed with Aerospace 303 to treat all rubbers and plastics. This was then left to dry naturally, we’ll come back to the engine bay later.
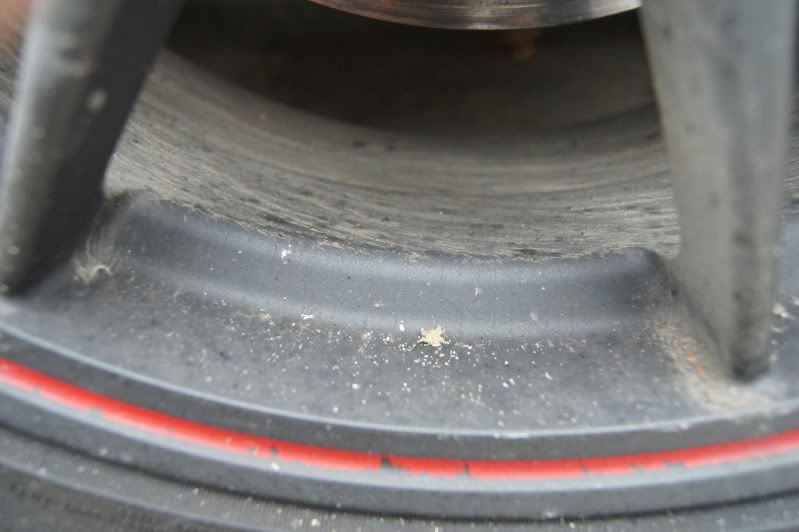
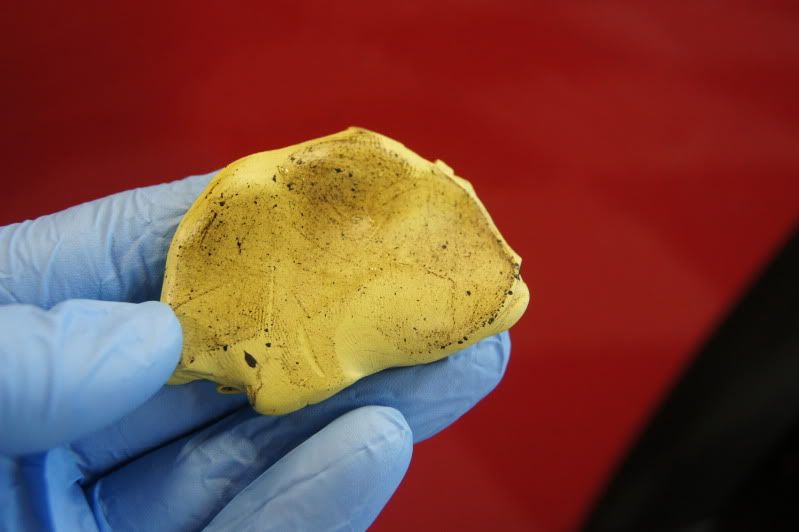
Now the car was clean it was easy to see there was a lot of contamination on the paint that required claying to remove.

After this the car was taken back outside to be washed again using the 2 bucket method and brought back inside to be dried.
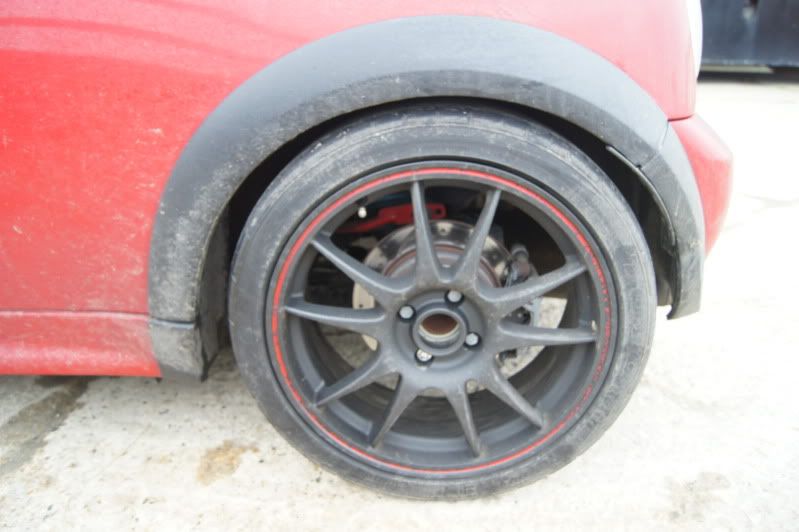
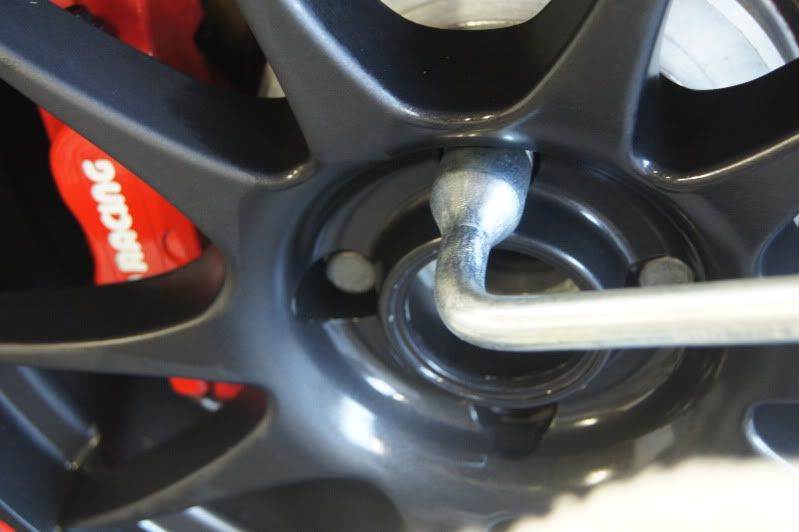
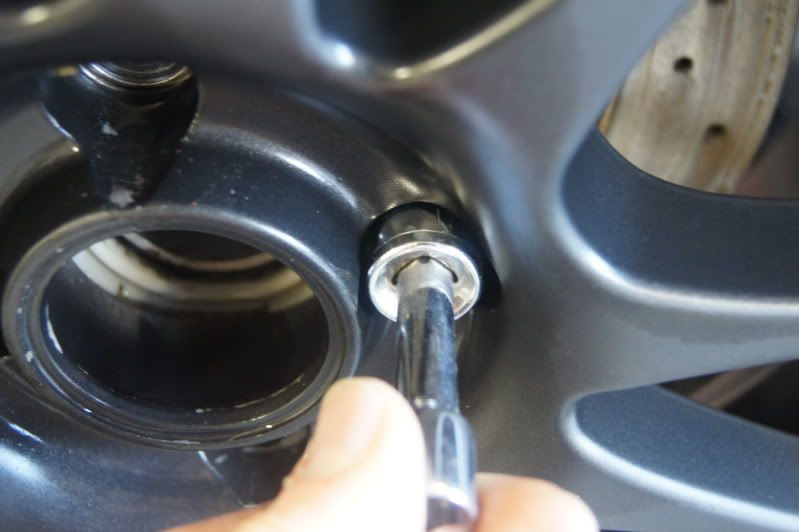
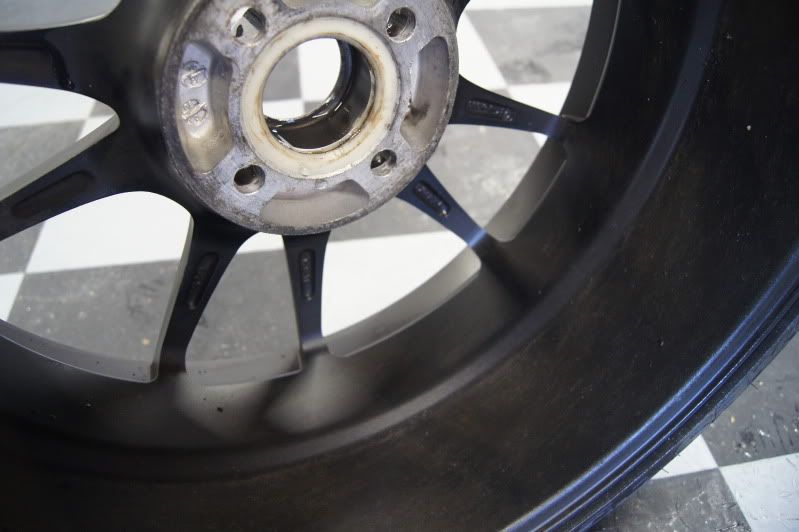
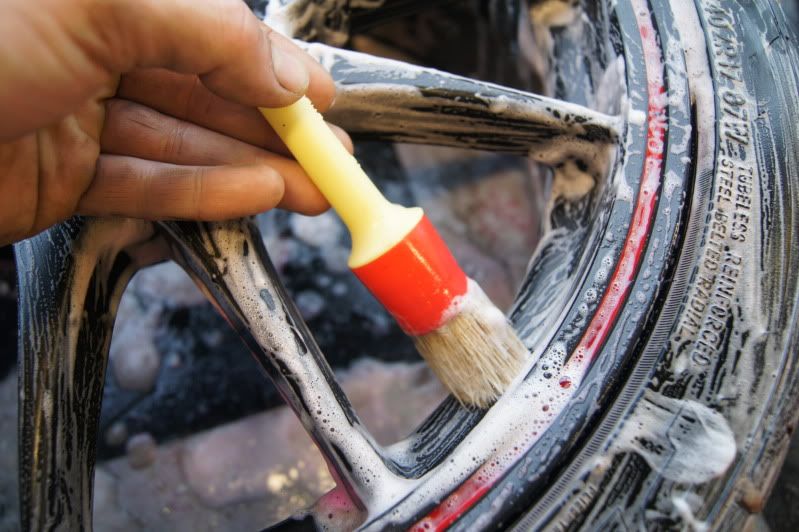
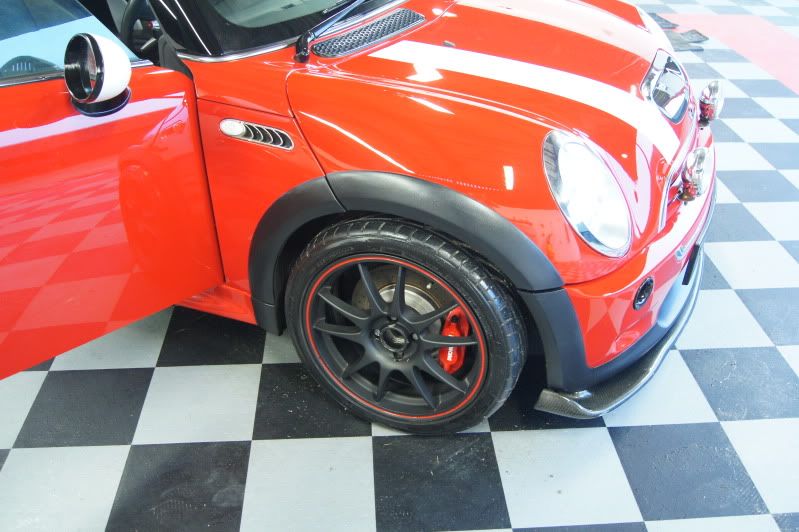
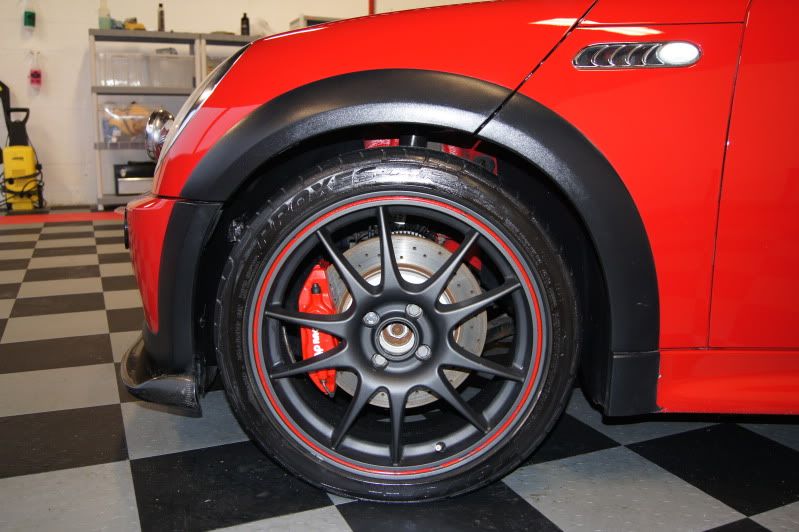
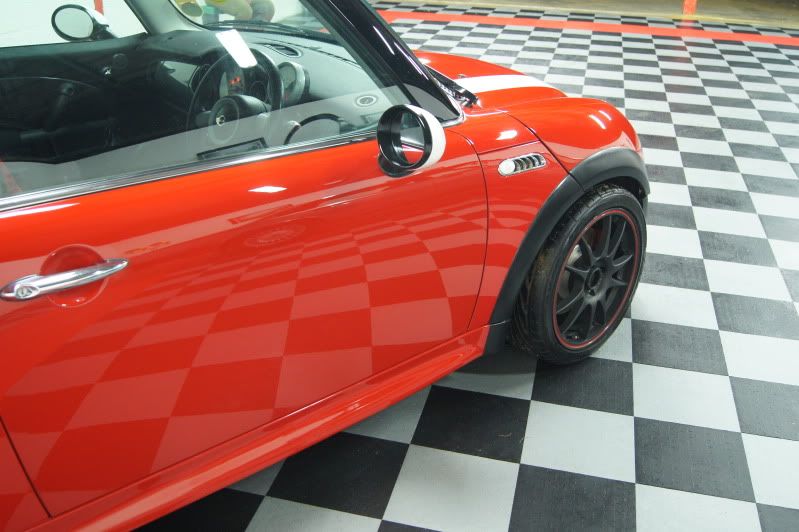
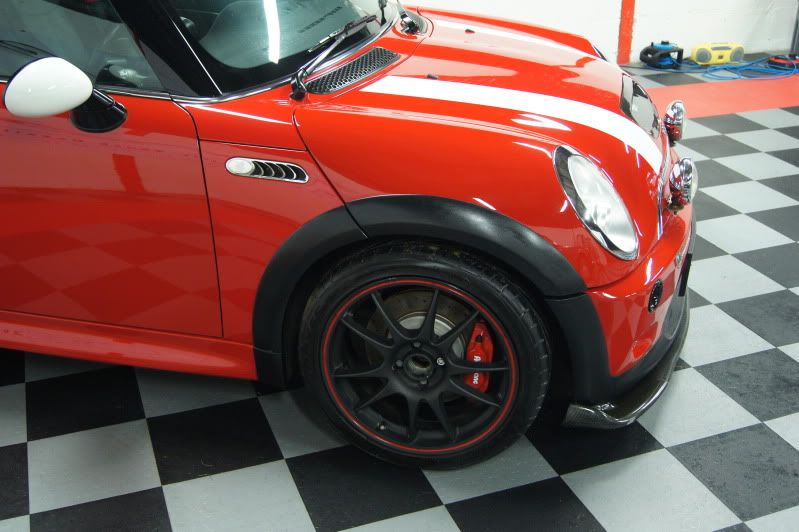
Next was to remove the alloys to give them a good clean, along with the arches being degreased. The alloys were cleaned with Bilberry wheel cleaner and agitated with brushes, clayed and 2 coats of Poorboys Wheel Sealant applied.

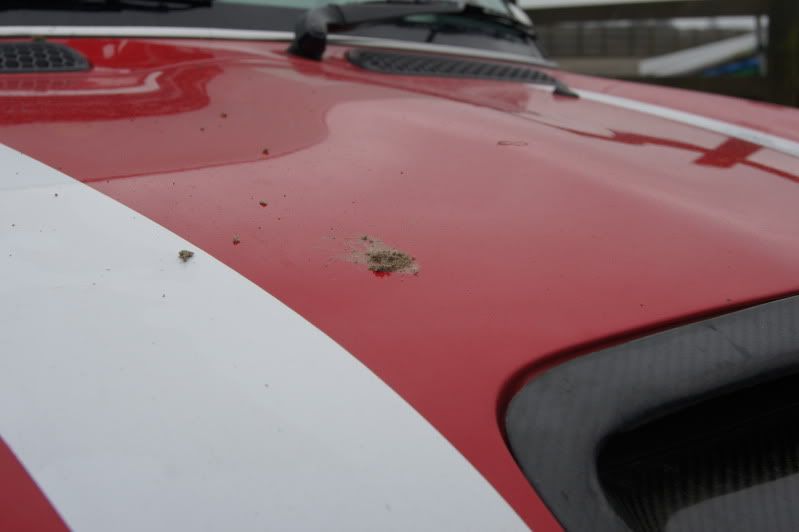
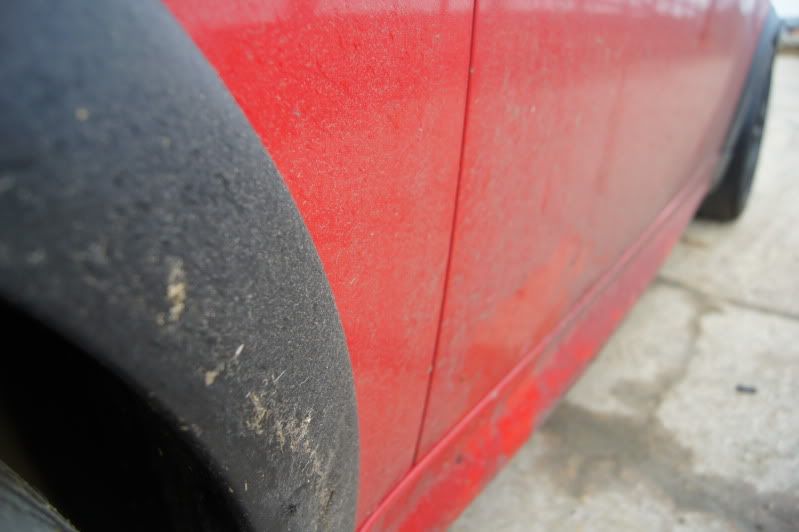
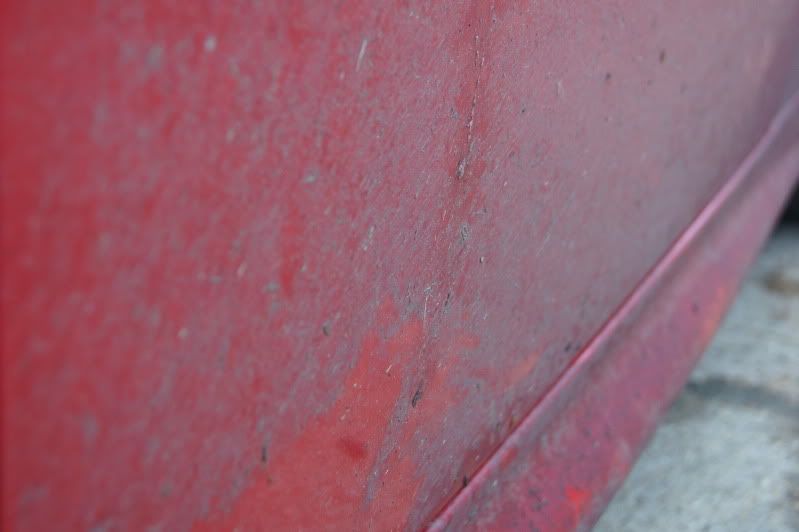
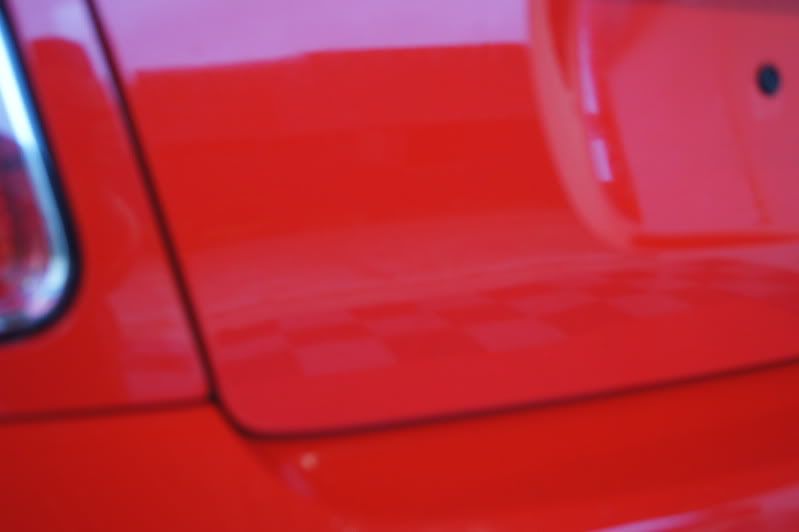
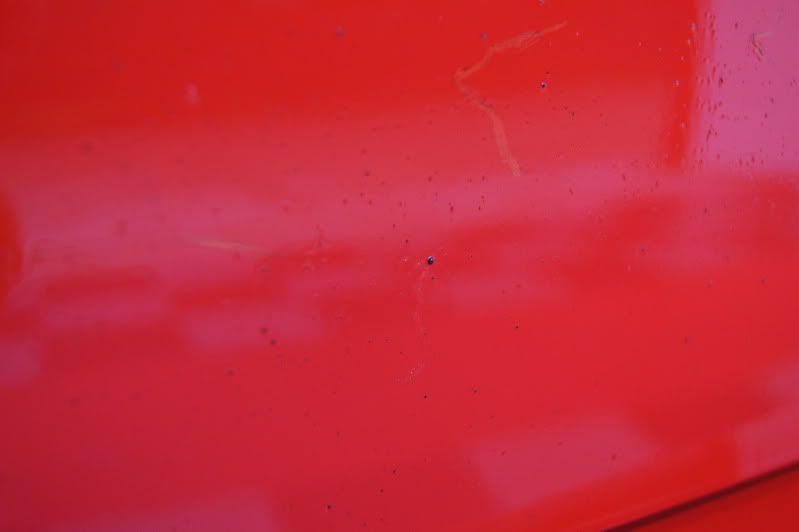
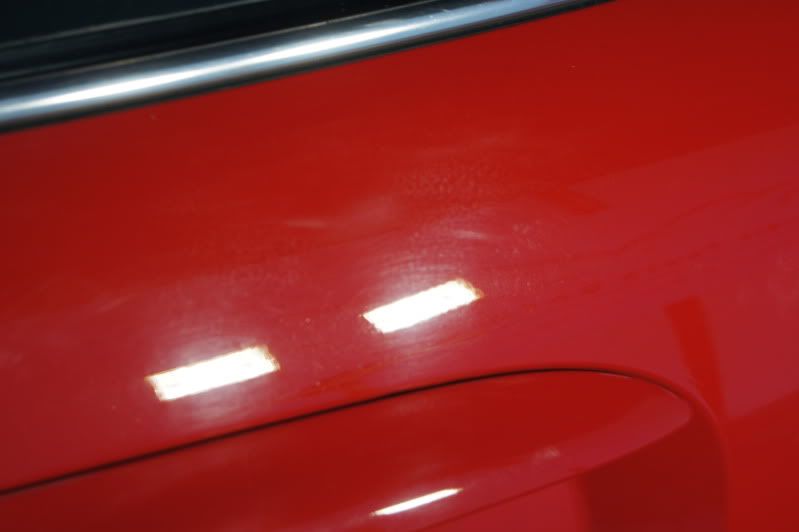
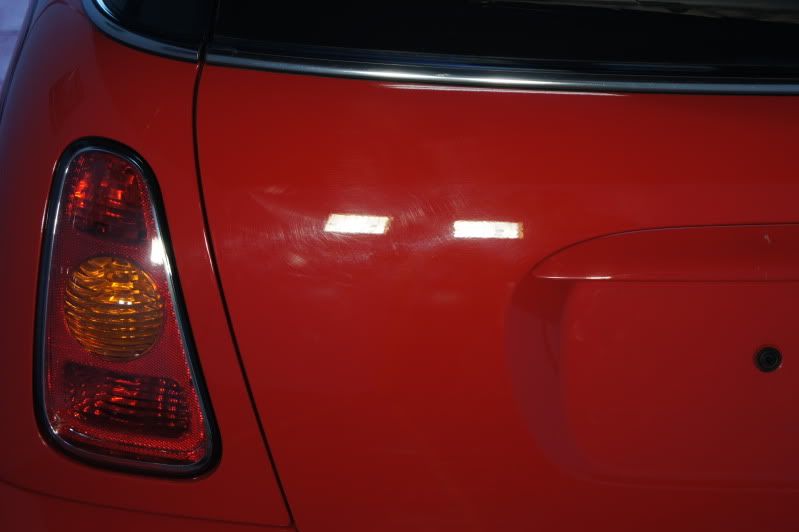
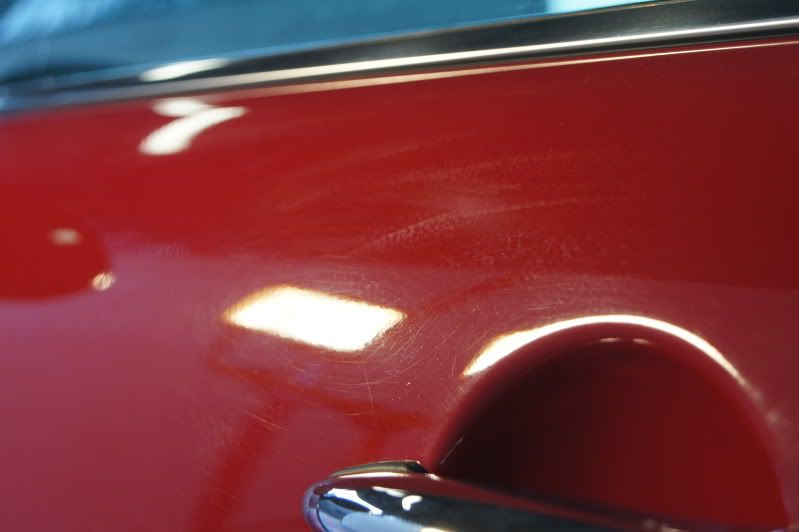
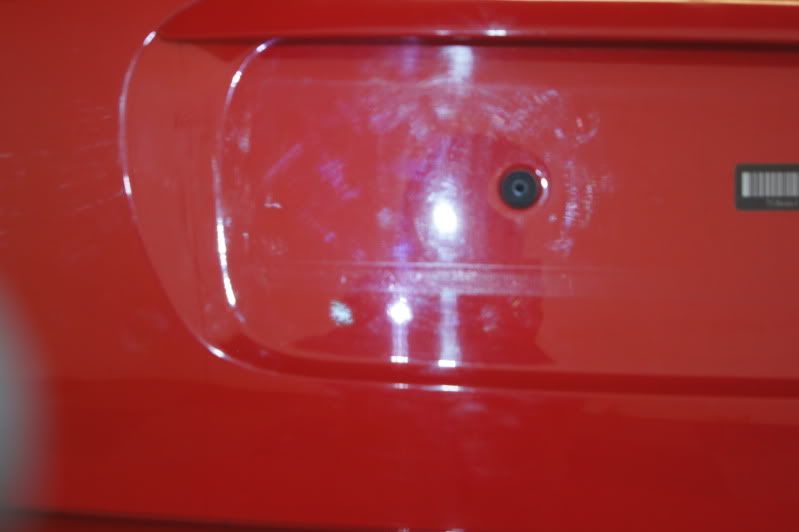
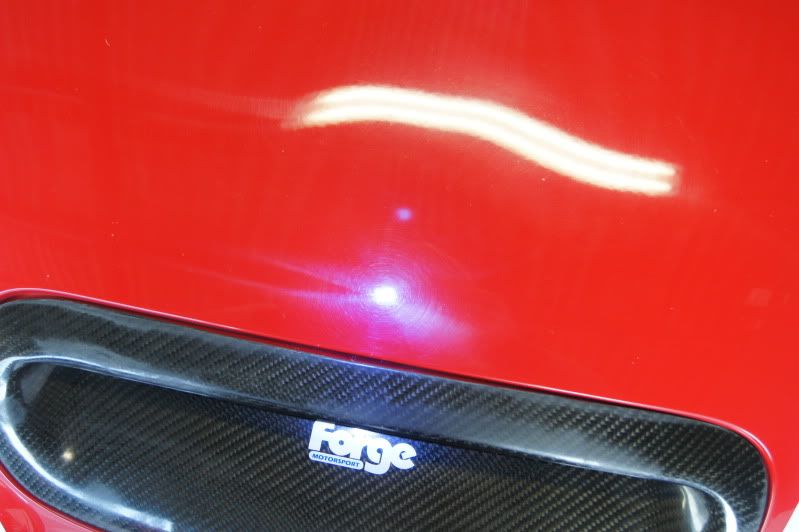
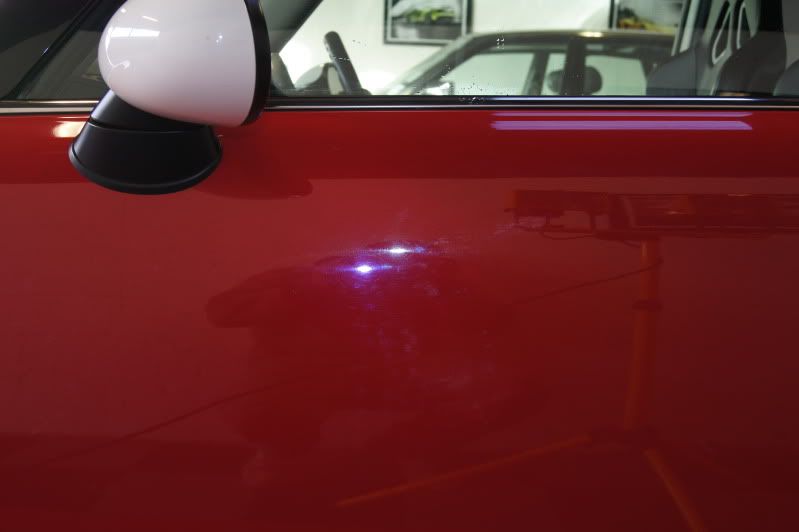
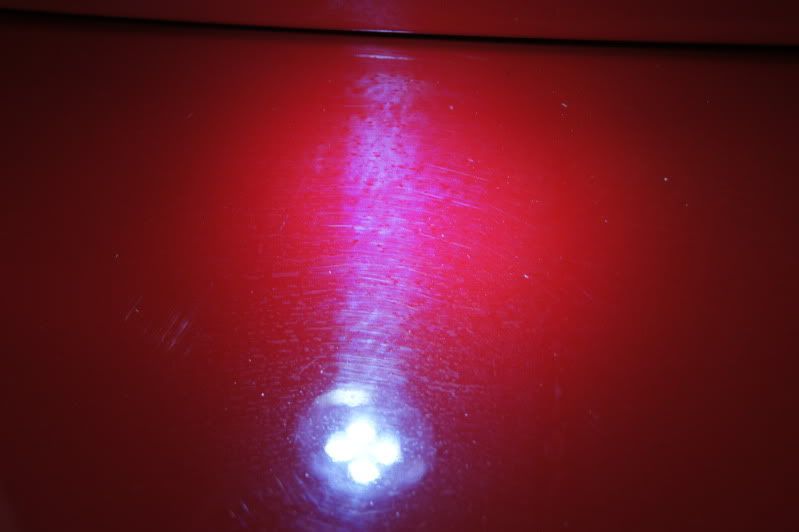
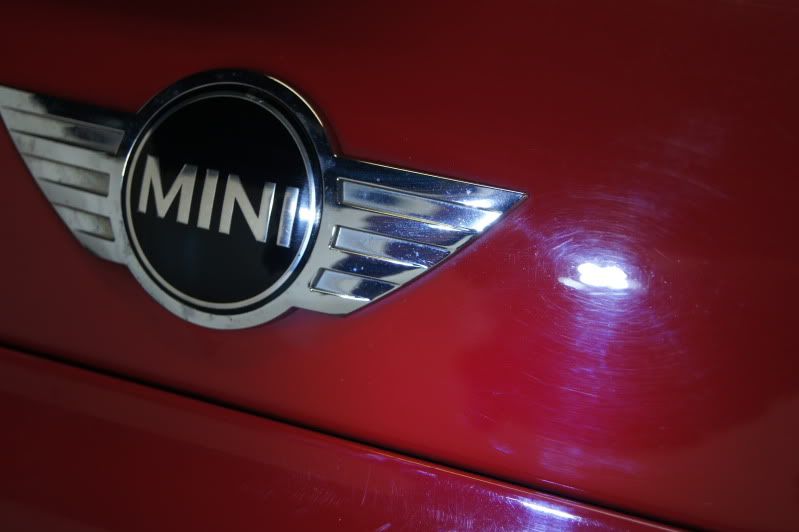
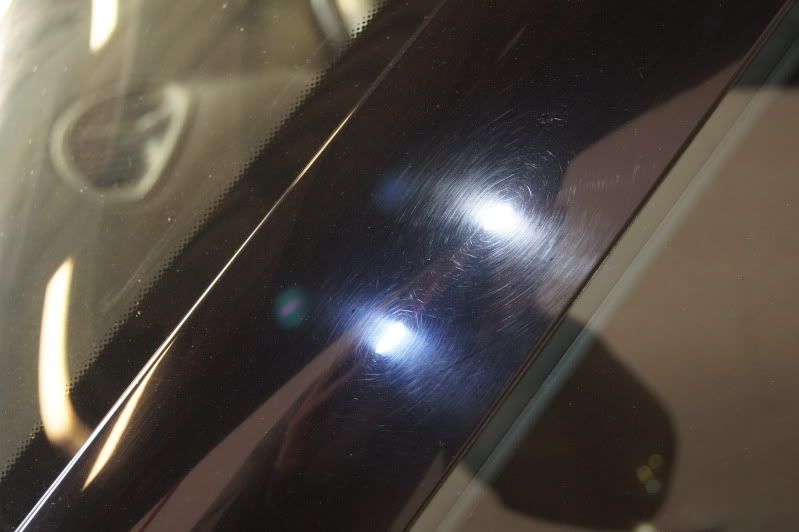
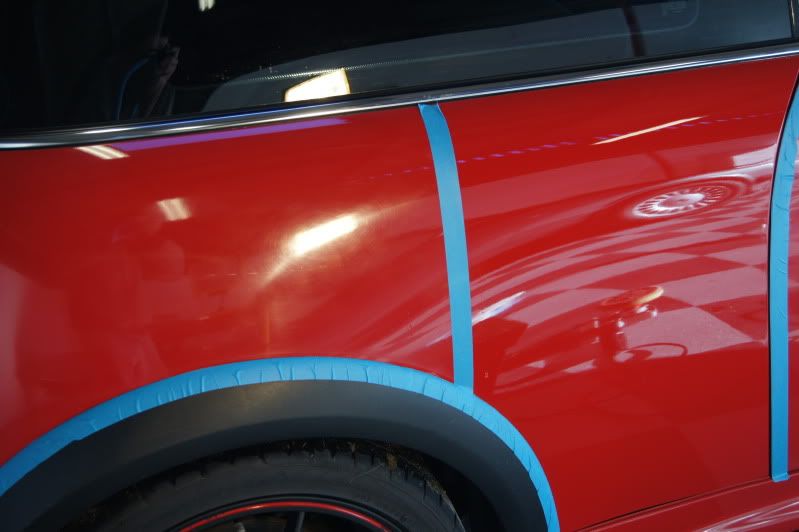
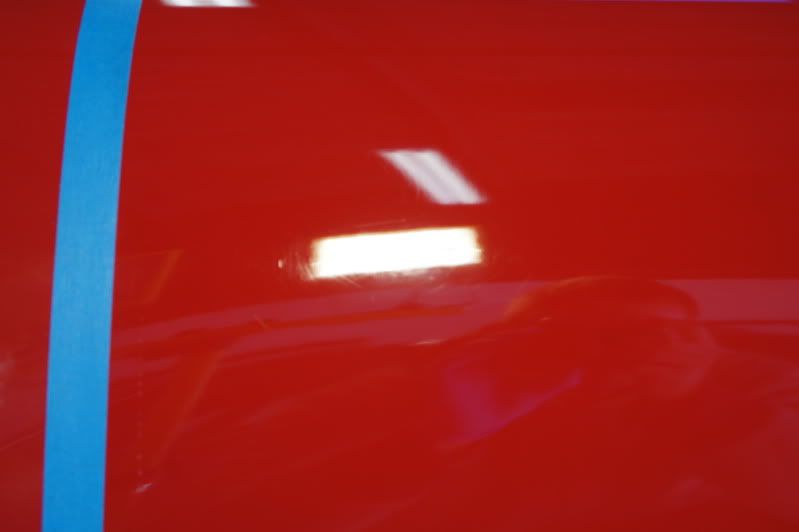
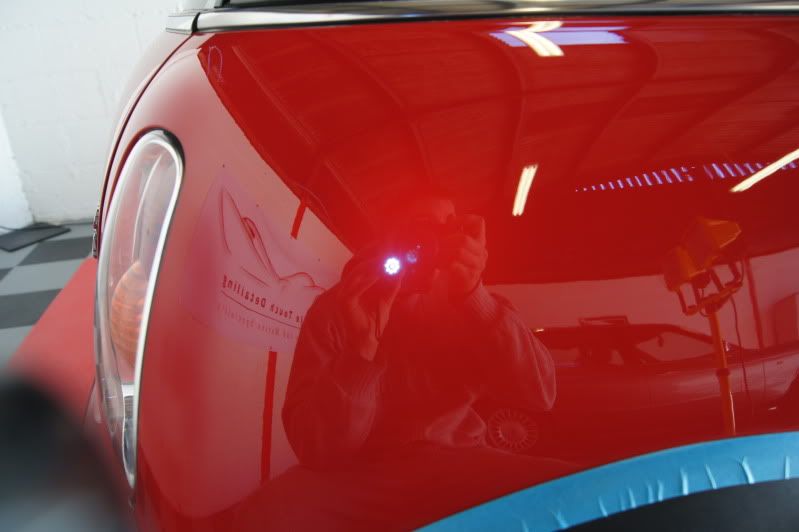
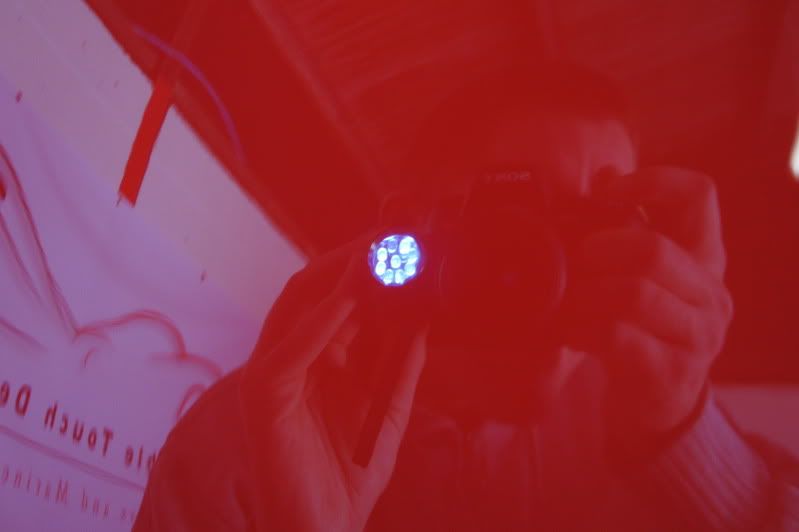
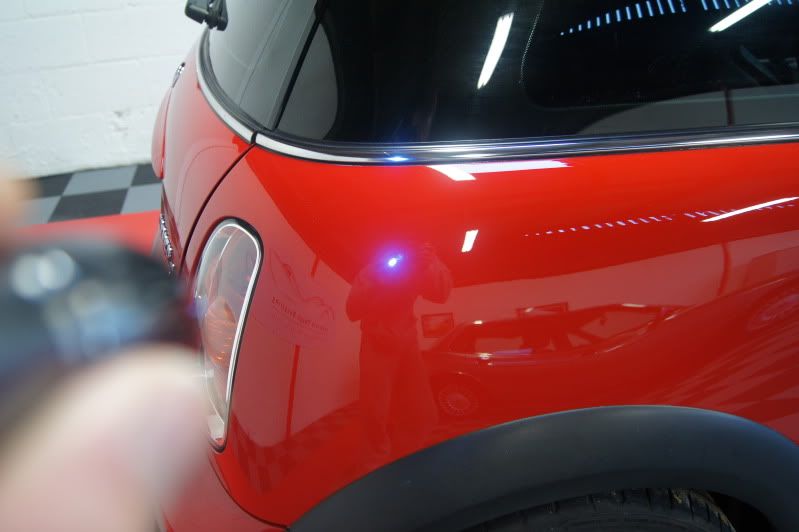
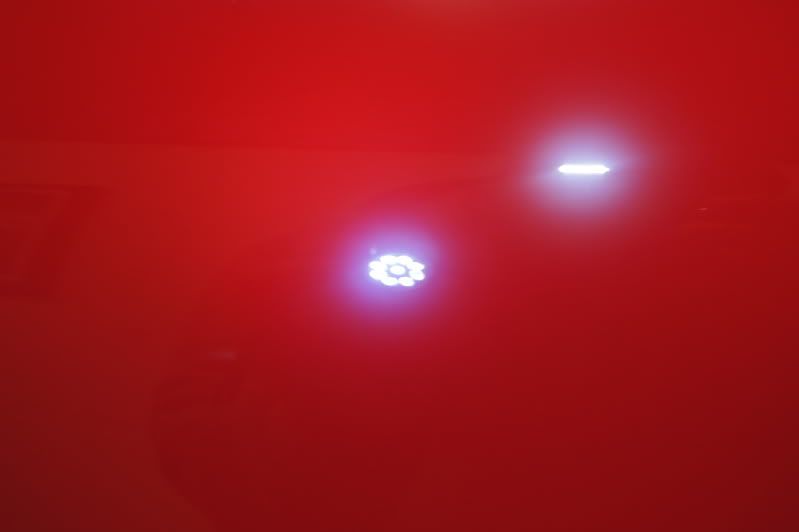
Once completed, the paintwork was inspected under halogen and LED lighting. The paint was very flat and oxidised in areas, lots of swirls and holograms. The car had apparently been previously machine polished at some point. The defect on the rear drivers wing looked as though it had been most likely caused by the rubber hose dragging on the paintwork during a previous tyre pressure check.


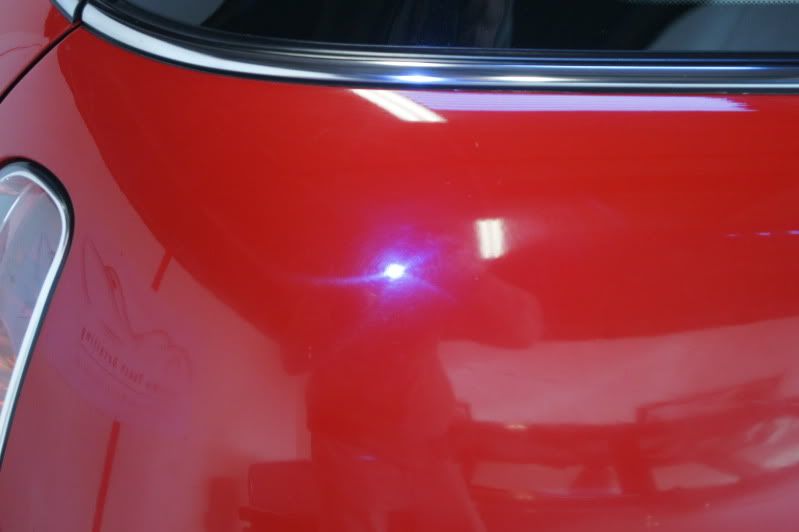
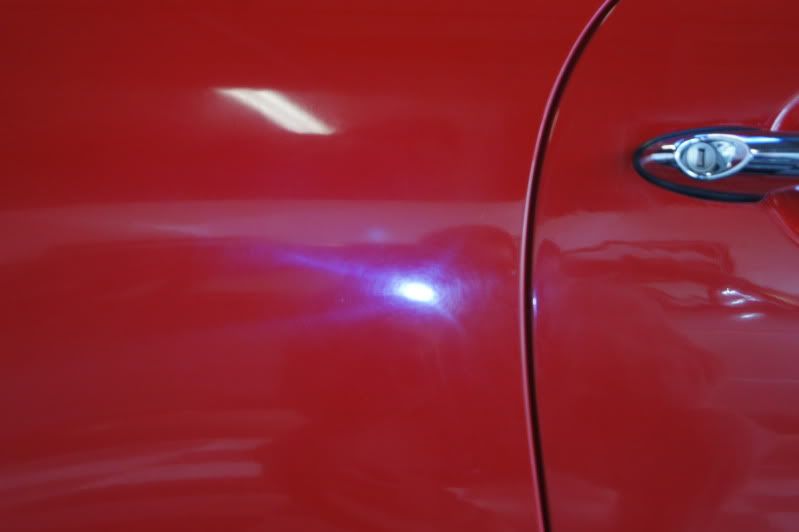

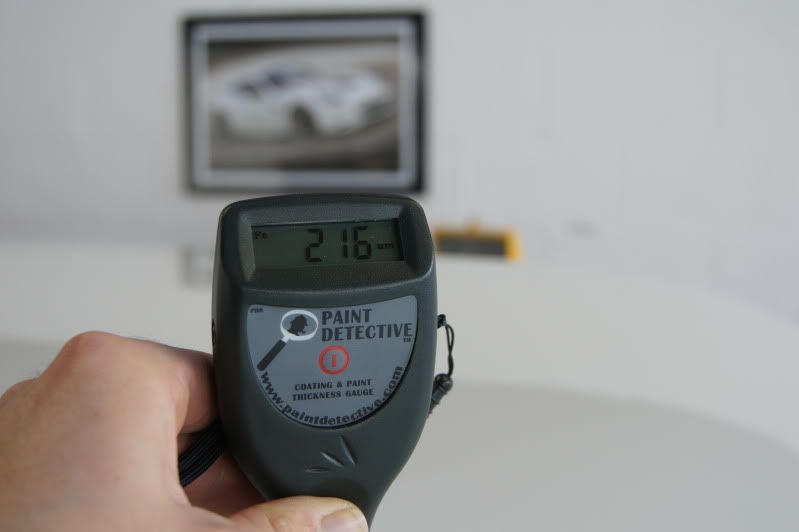
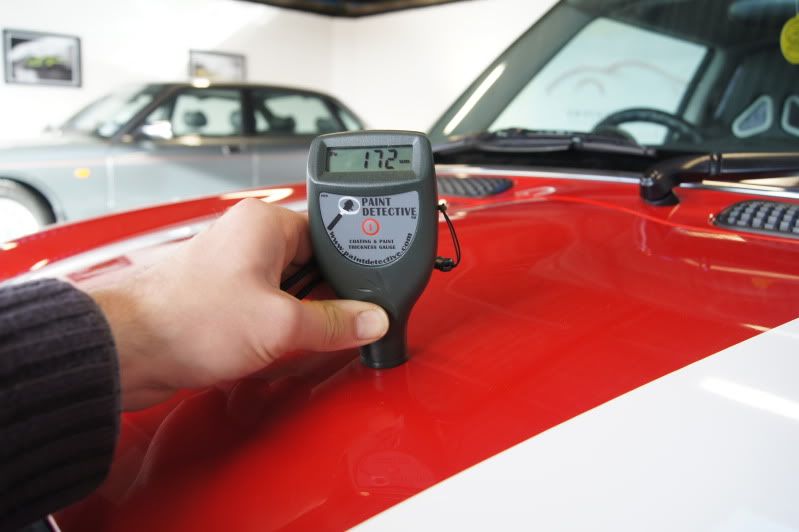
Lots of paint thickness readings were taken per panel.
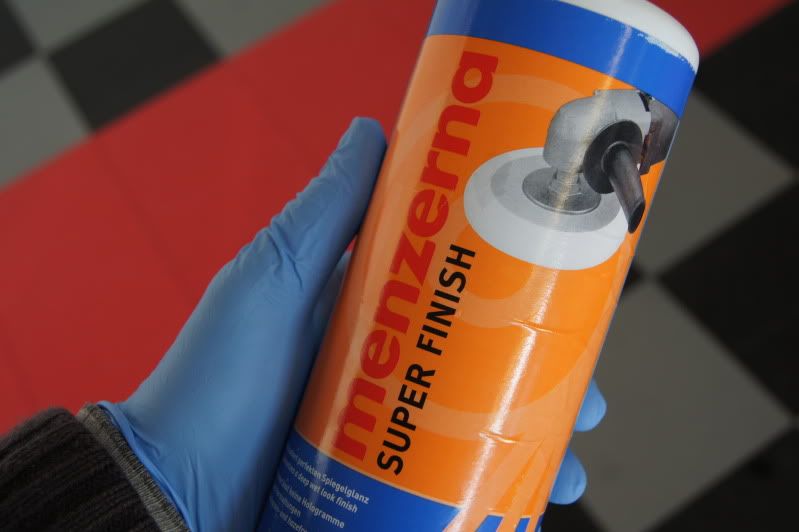
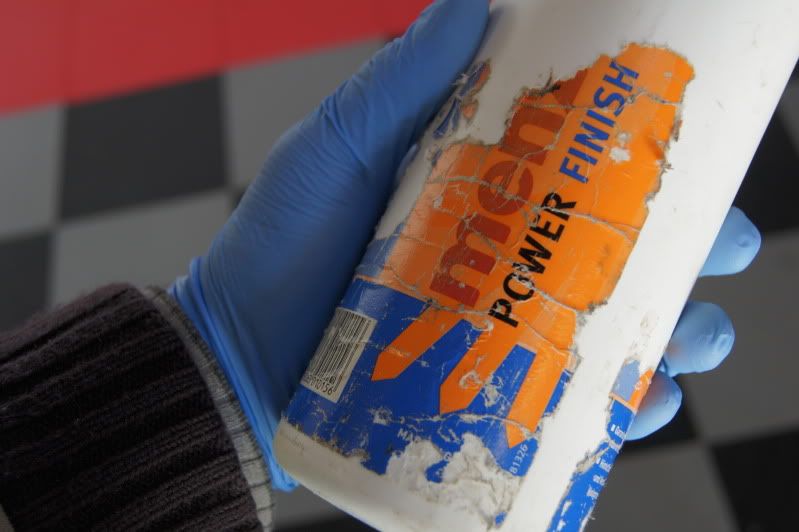
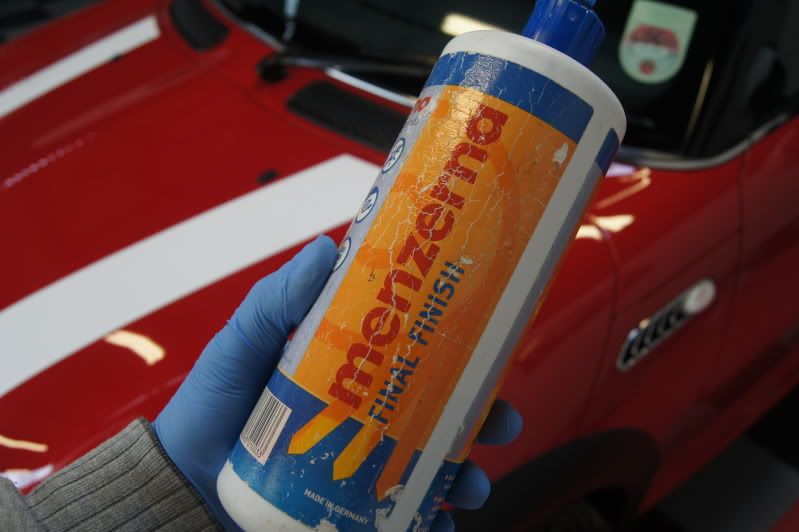
I initially tried Menzerna 106FA on a Sonus Polishing pad using the Makita rotary. This made a huge difference to the finish but was not enough on close inspection.
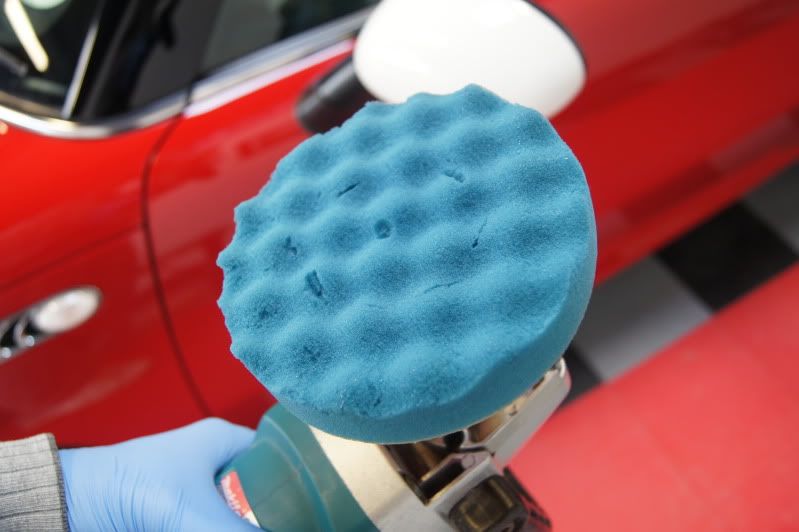
So I changed to Menzerna 3.02 with a Sonus cutting pad which although would need a refining polish to follow up with, gave much better correction results.

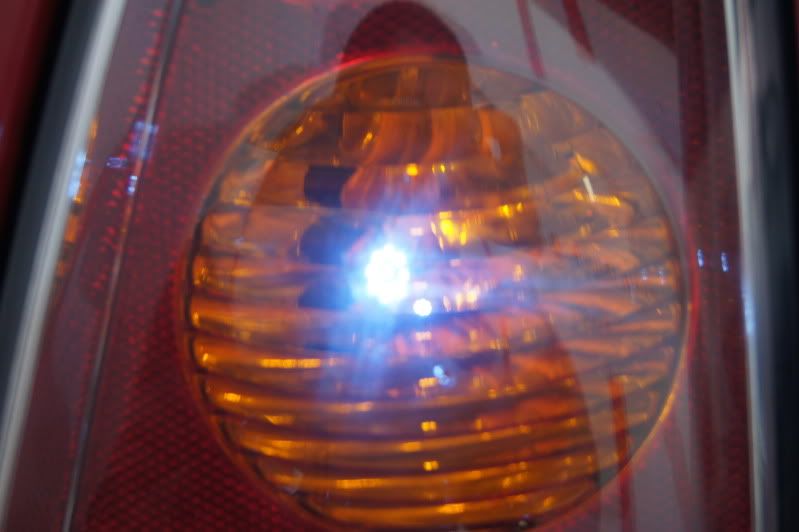
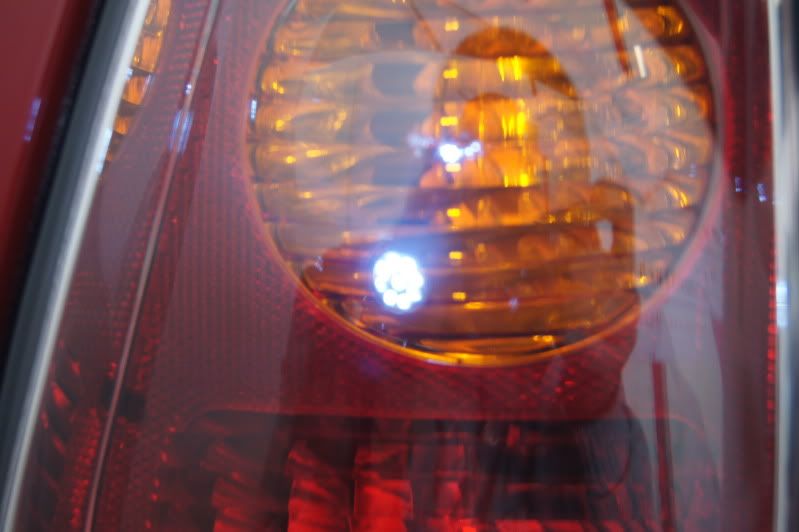
Moving round the car, the lights were also corrected, as were the A pillars and carbon sections.
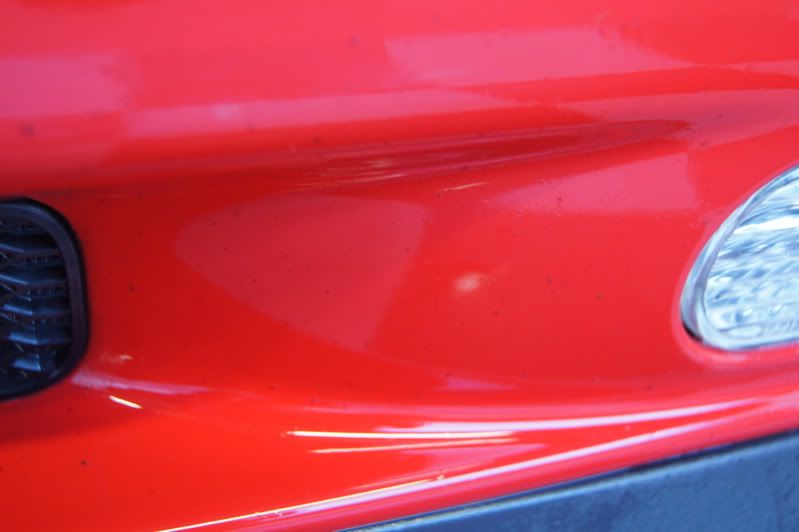
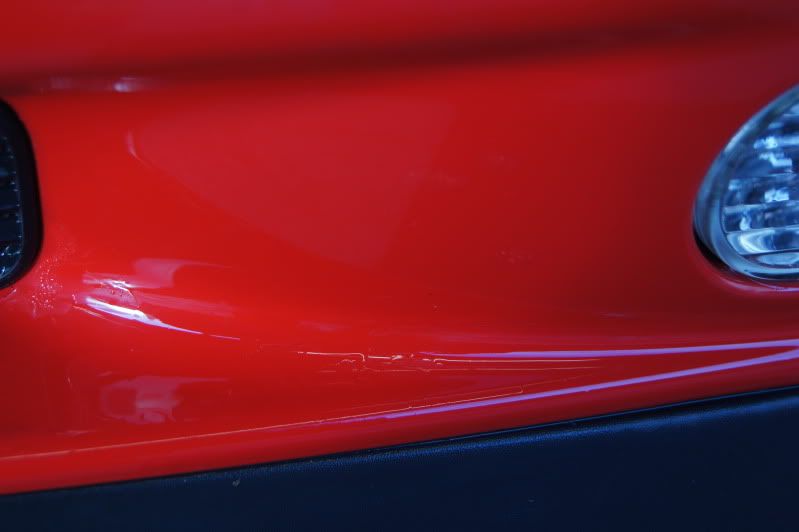
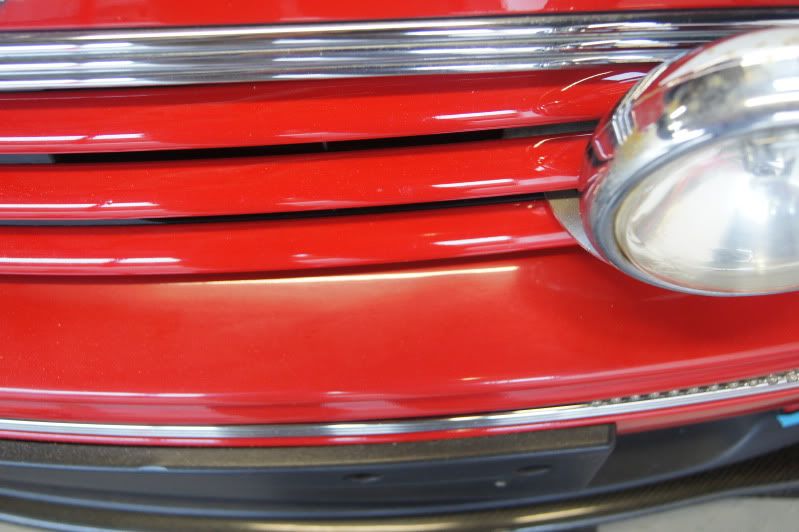
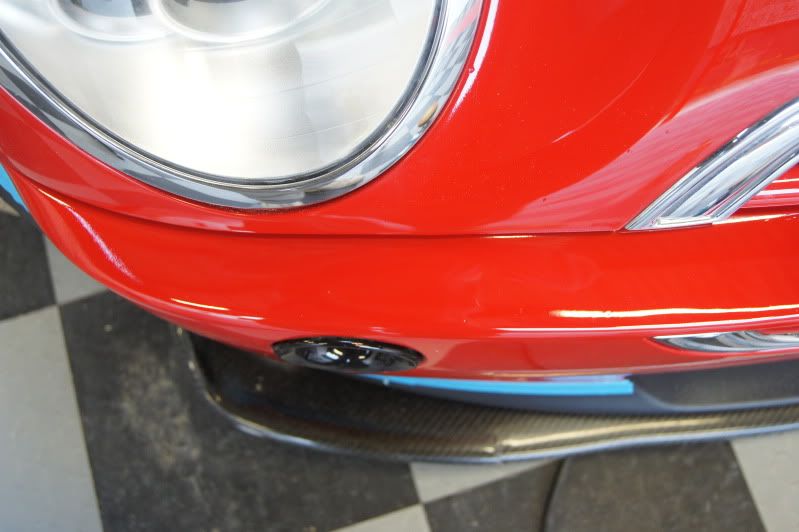
The front bumper corrected after a previous respray.
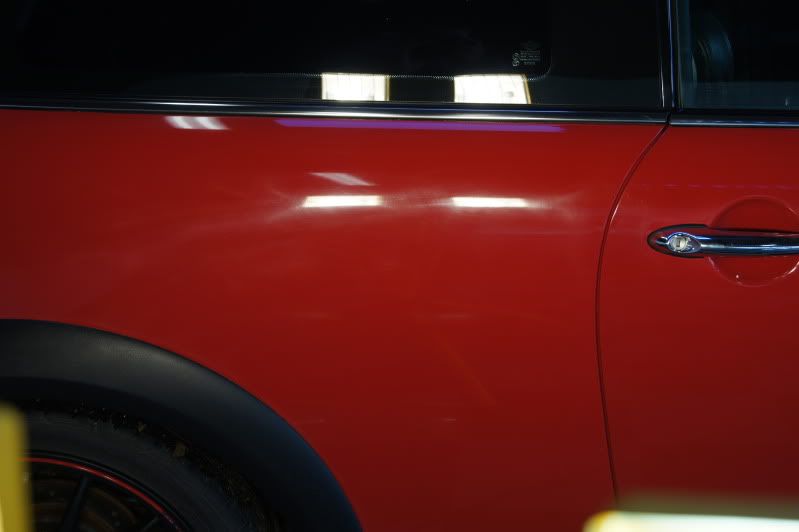
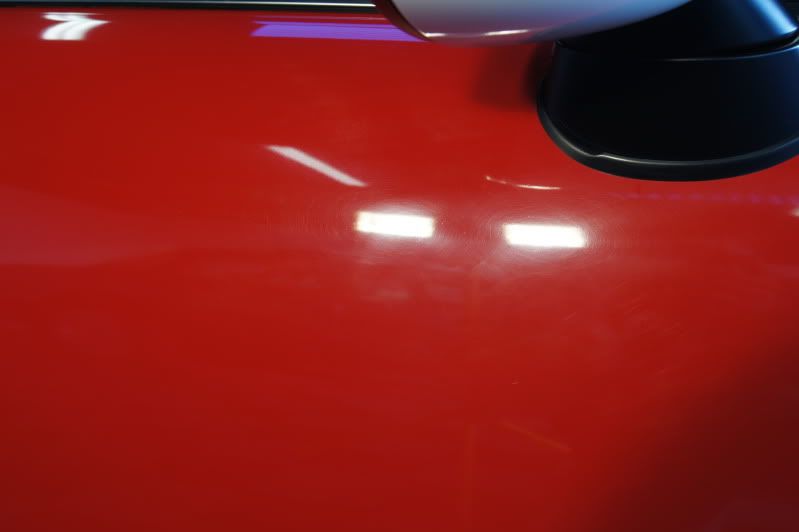
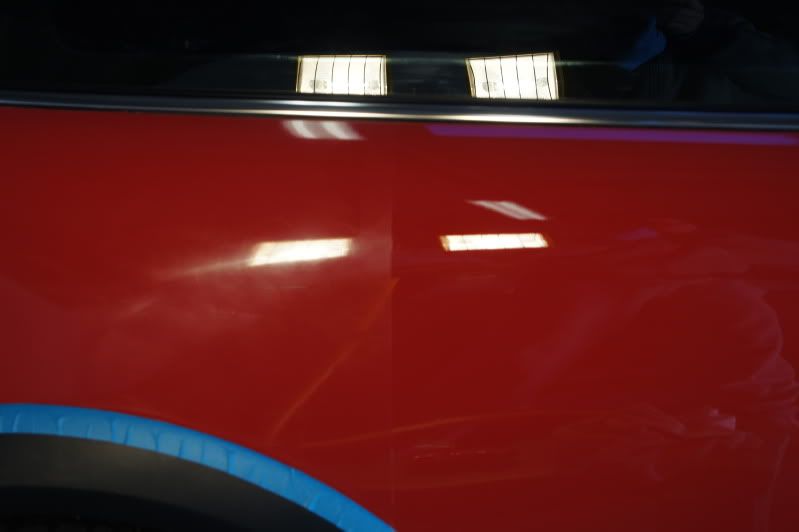
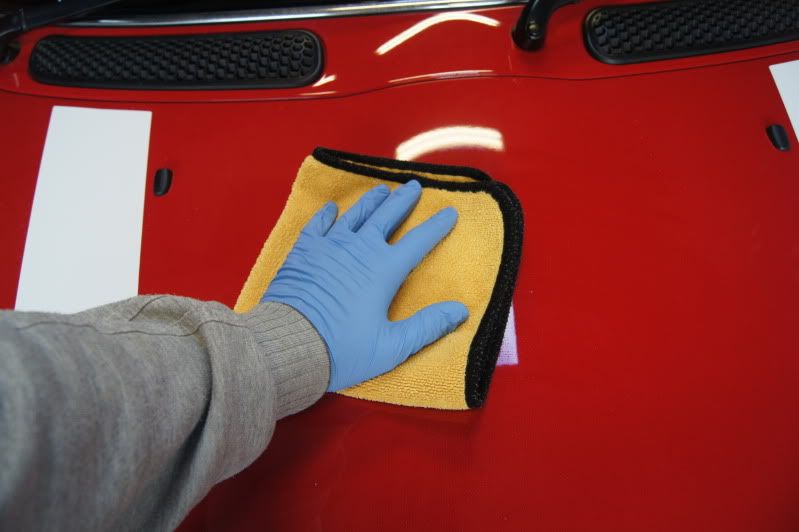
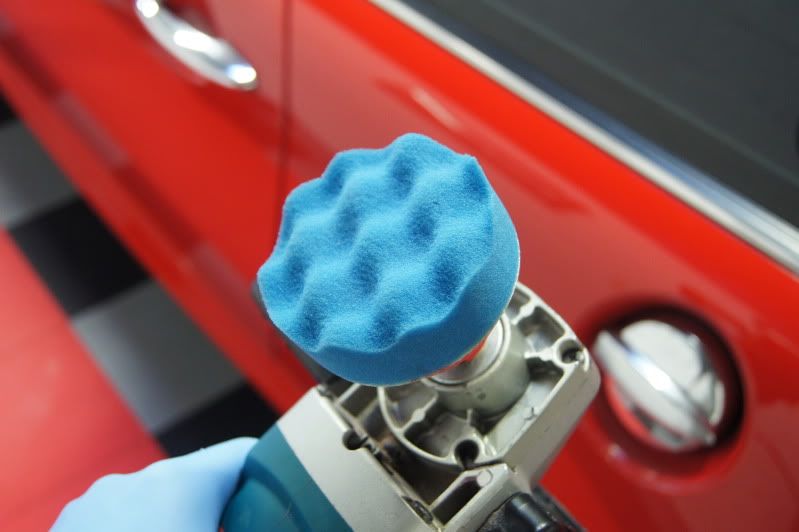
After this the car was dusted down using Meguiars Last Touch and then refined using Meguiars 85RD with 3M finishing and spot finishing pads for the tighter areas.
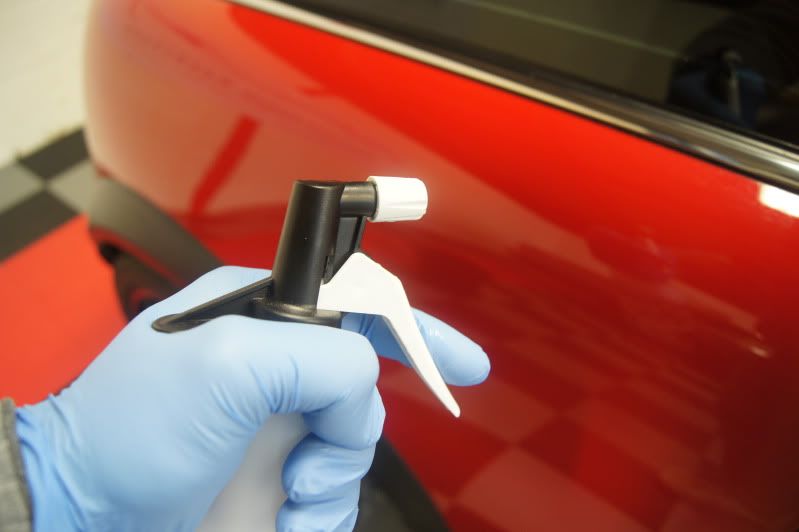
The whole car was then given an IPA wipedown to remove polishing oils.
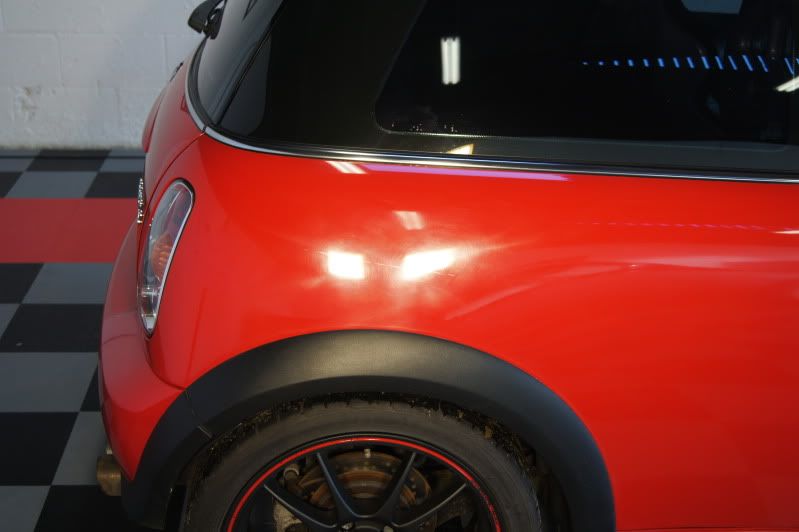
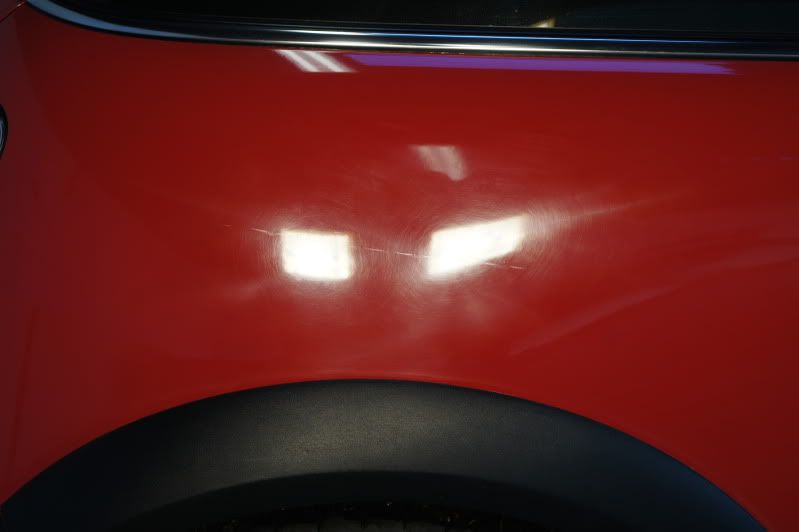
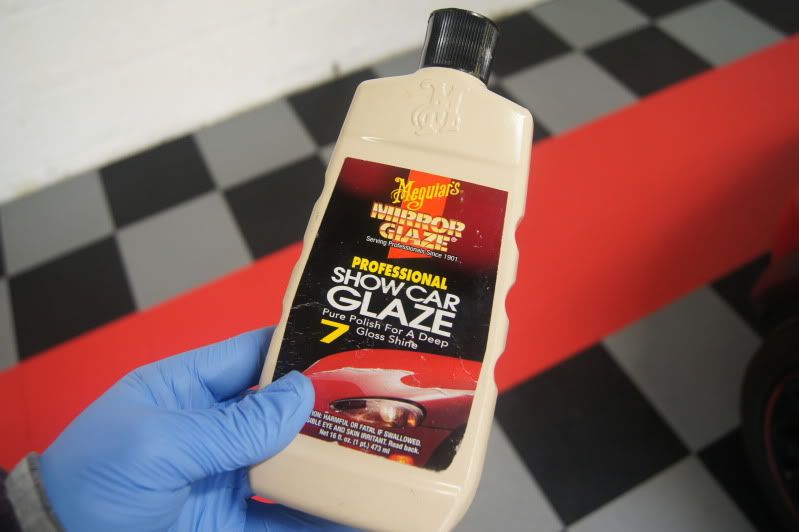
With a nice deep solid red, I chose to apply Meguiars No.7 Show Car Glaze, leaving this.
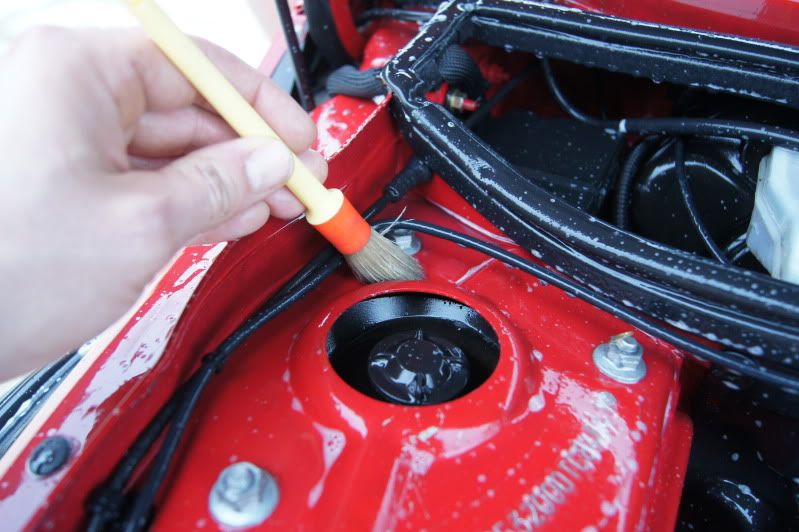
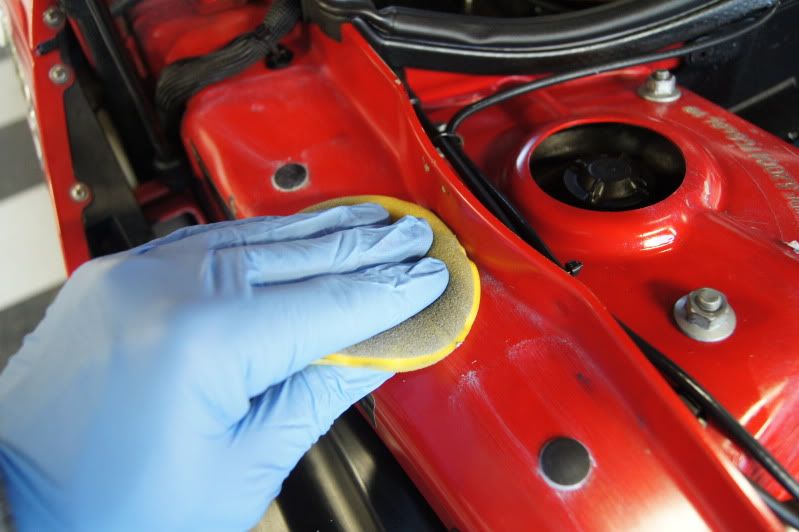
Next, moving back to the engine bay, all painted areas were polished by hand.
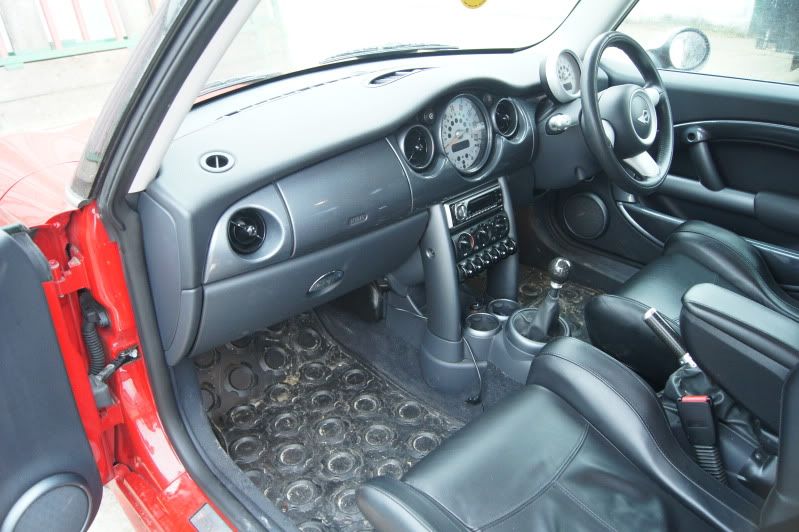
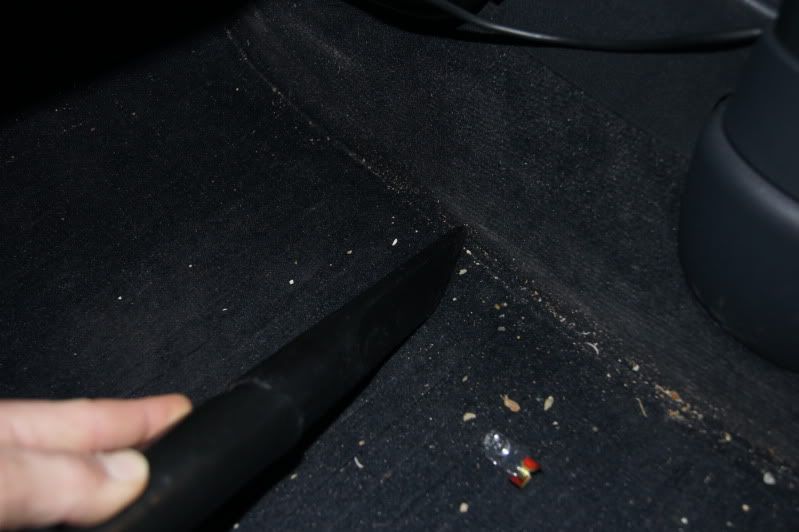
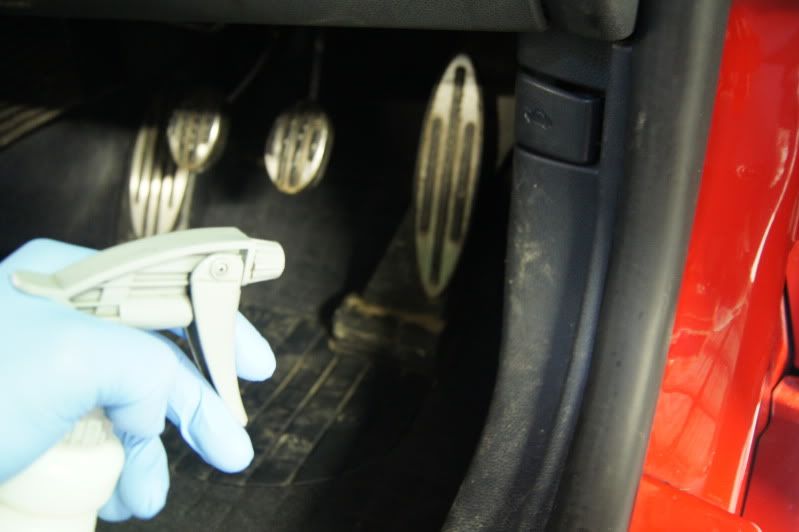
Moving onto the interior, this was given a good hoover and all plastics / pedals were cleaned with Meguiars APC.
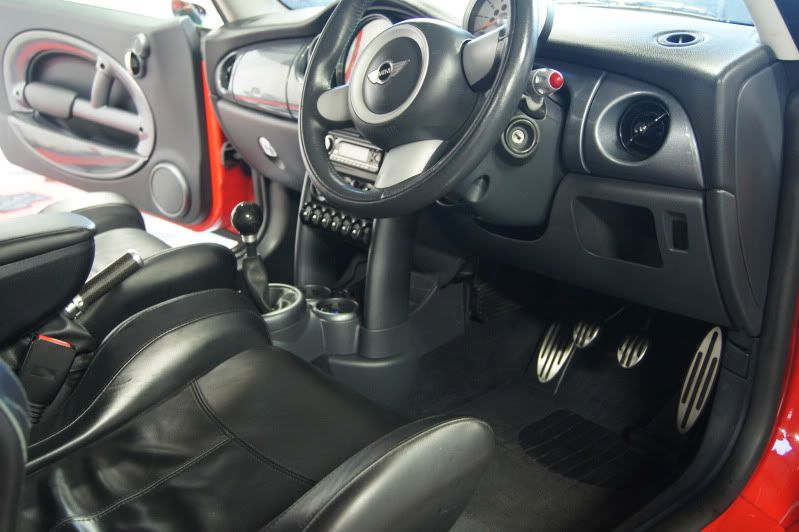
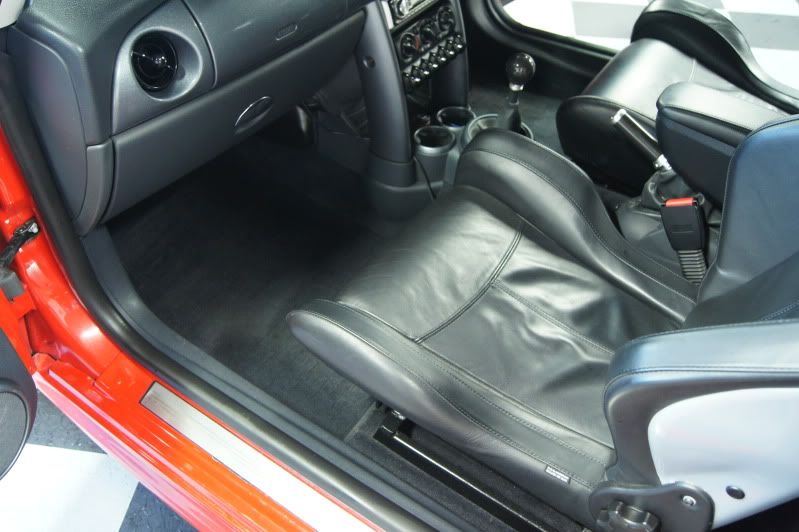
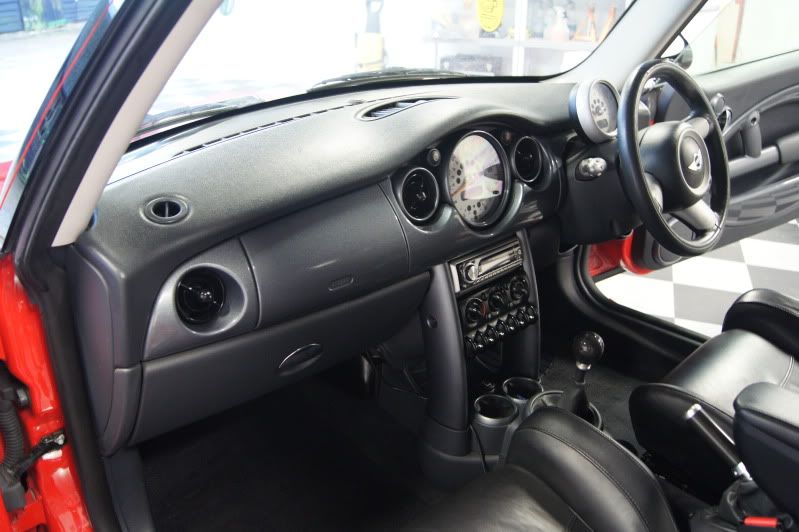
The seats being fairly new were wiped clean with a damp cloth and then treated with Gliptone Leather Conditioner.

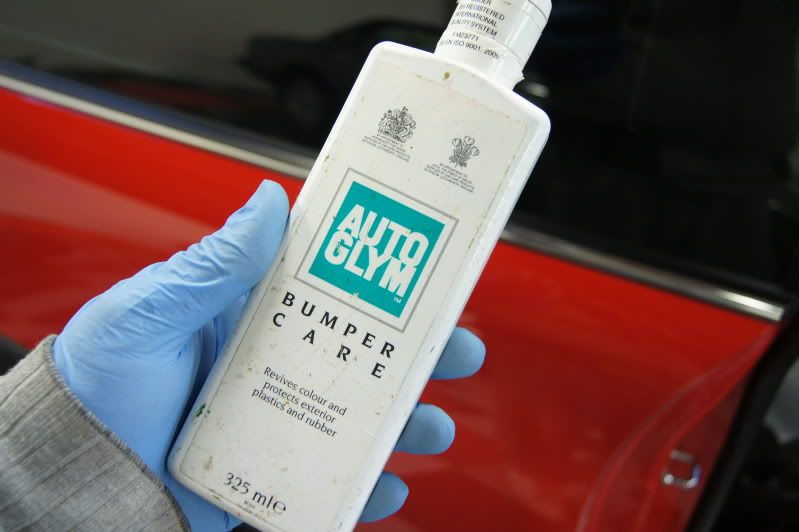
All exterior plastics and door seals were treated with Autoglym Bumper Care.
The tyres were treated with 2 coats of Endurance Tyre Gel

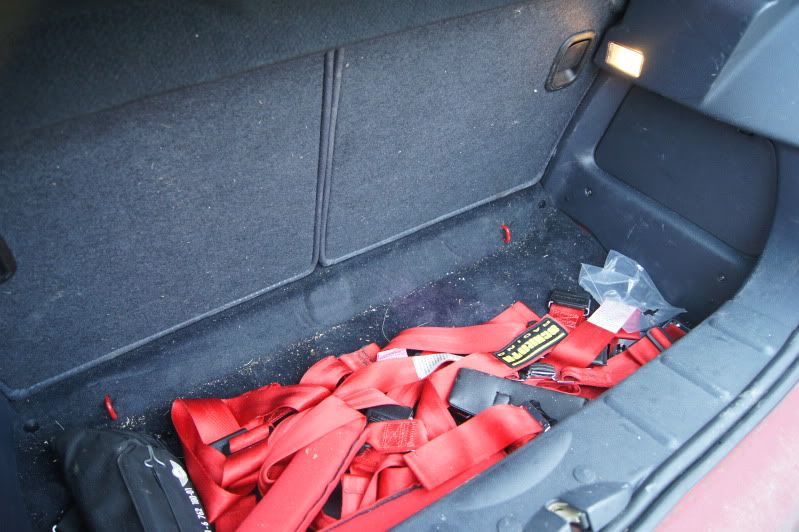
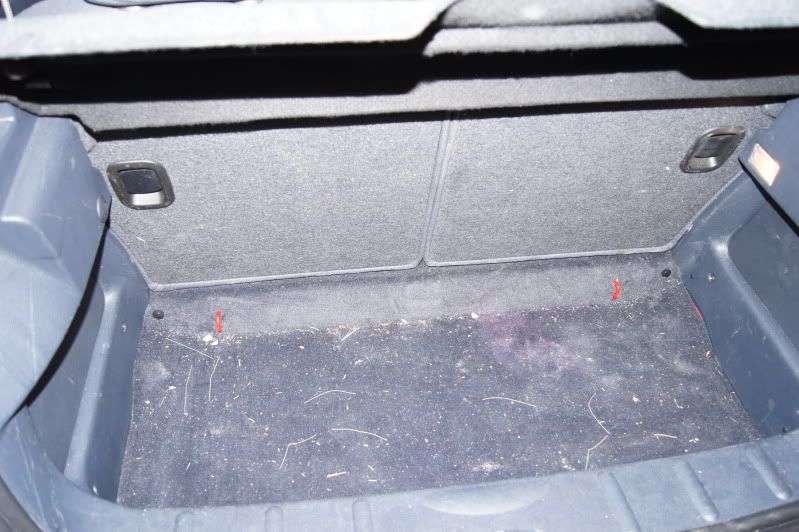
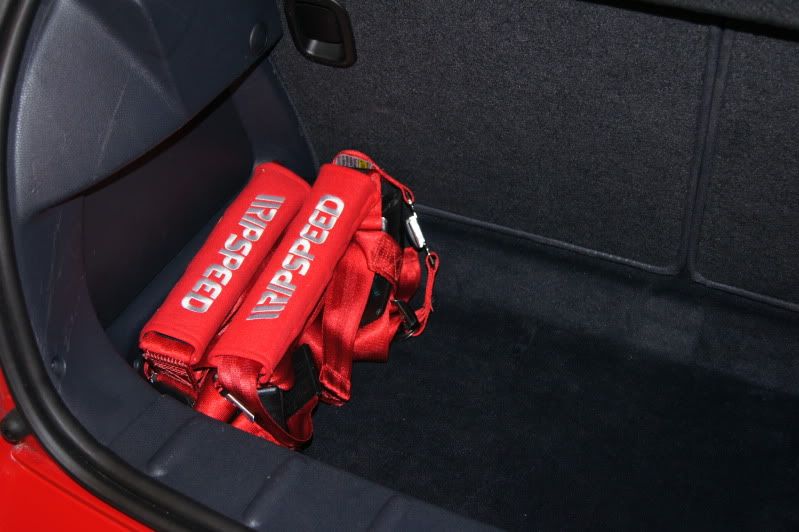
Track day harnesses placed back in the boot.
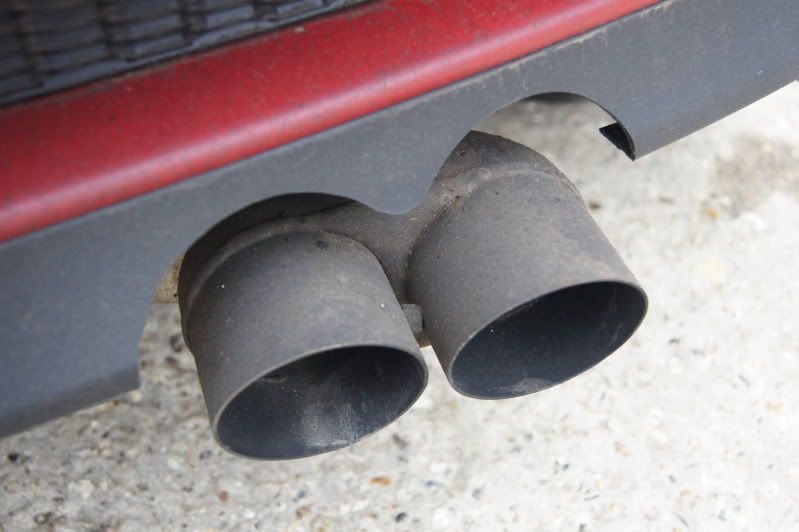
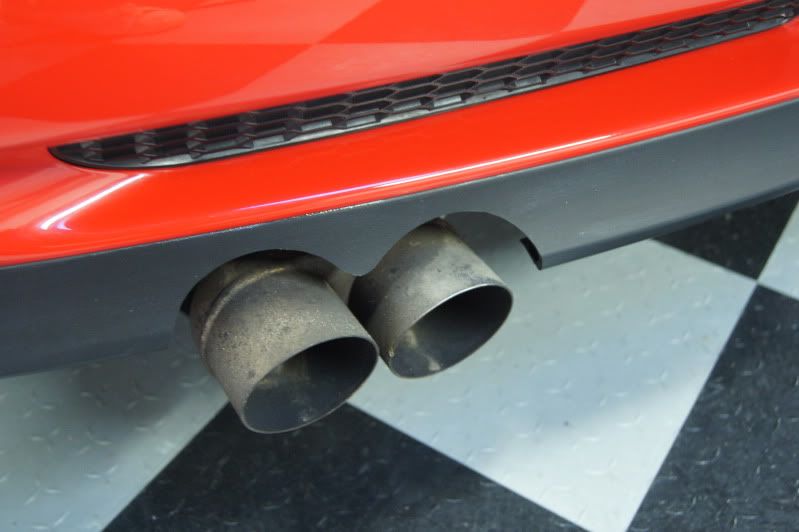
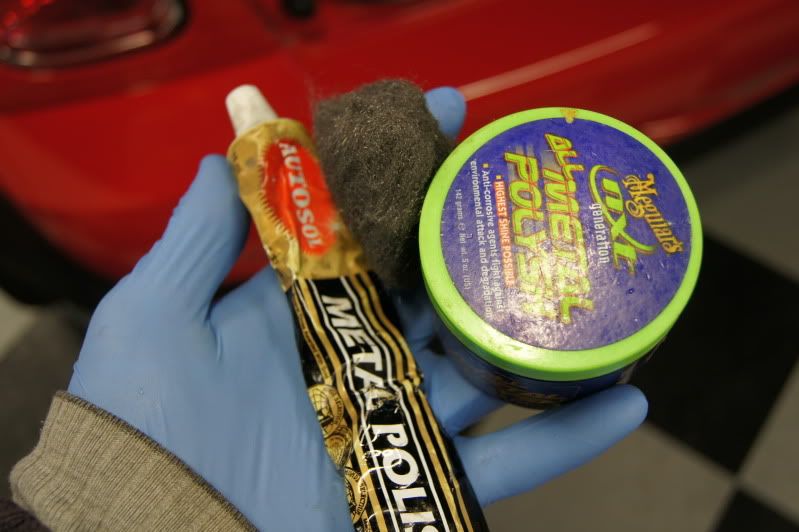
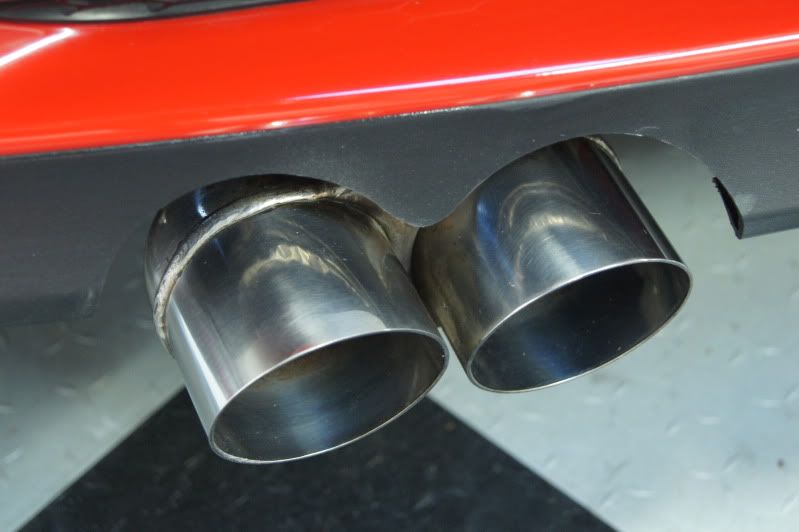
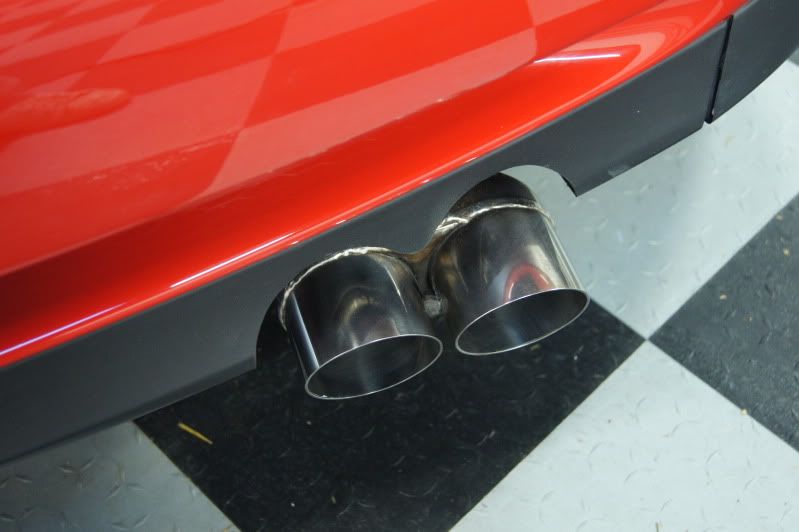
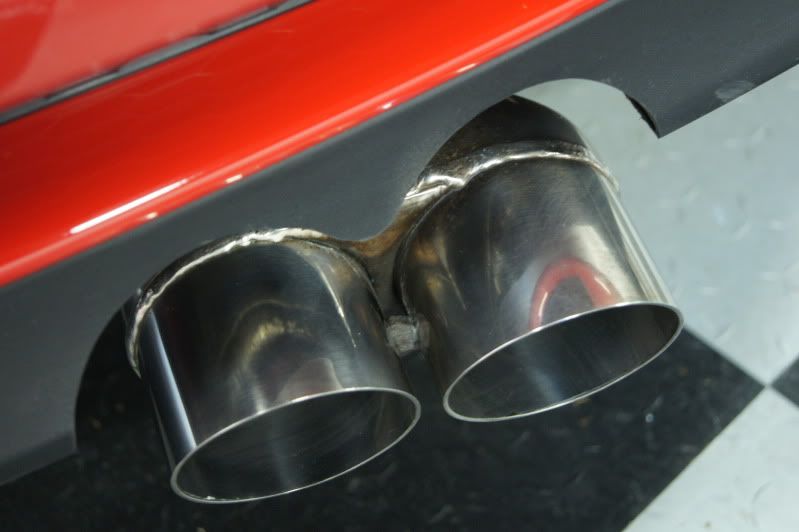
The quad exhausts were cleaned with fine grade wire wool and Autosol and then refined with Meguiars NXT.
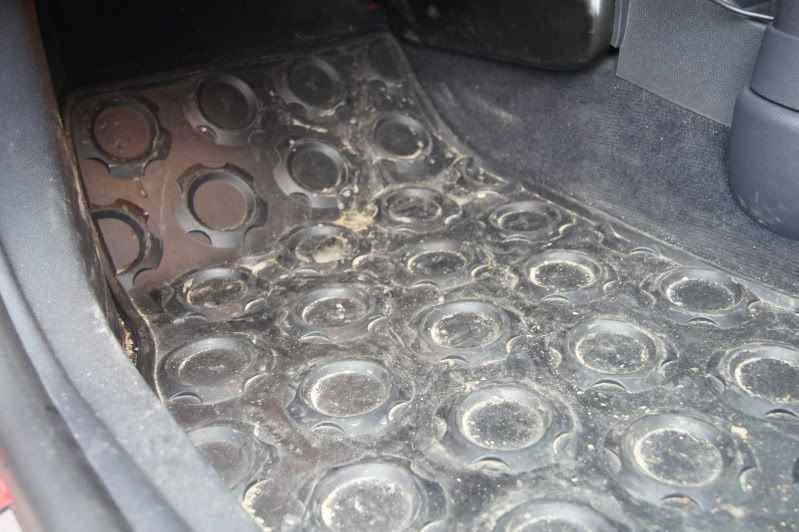
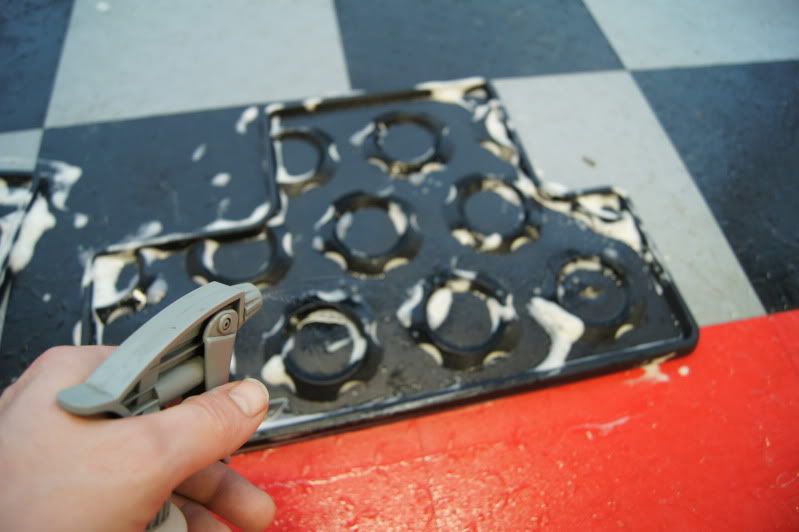
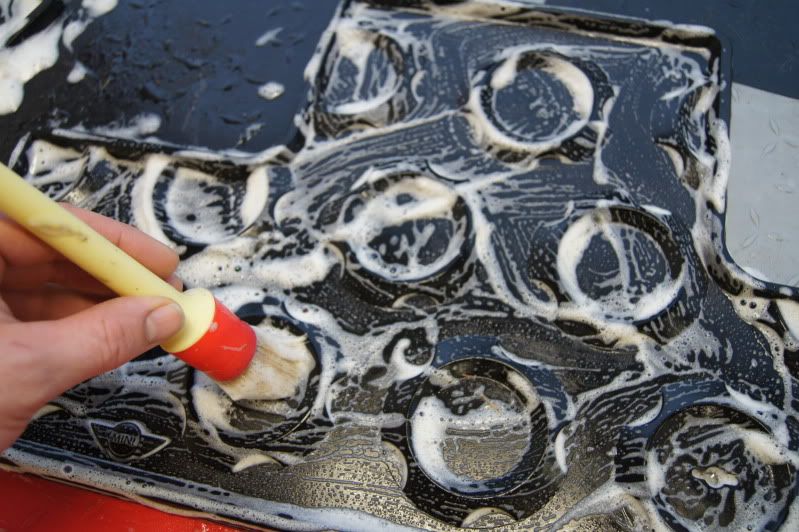
The rubber mats were cleaned with Meguiars APC, agitated with brushes, rinsed and dried off.
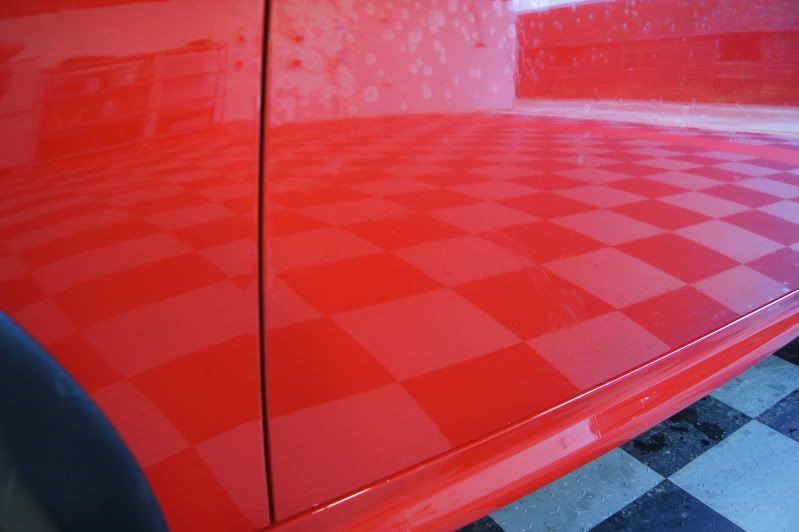
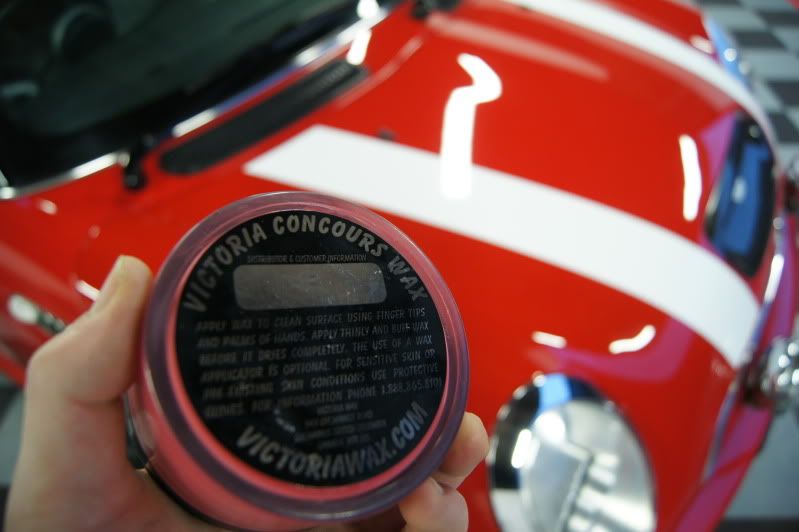
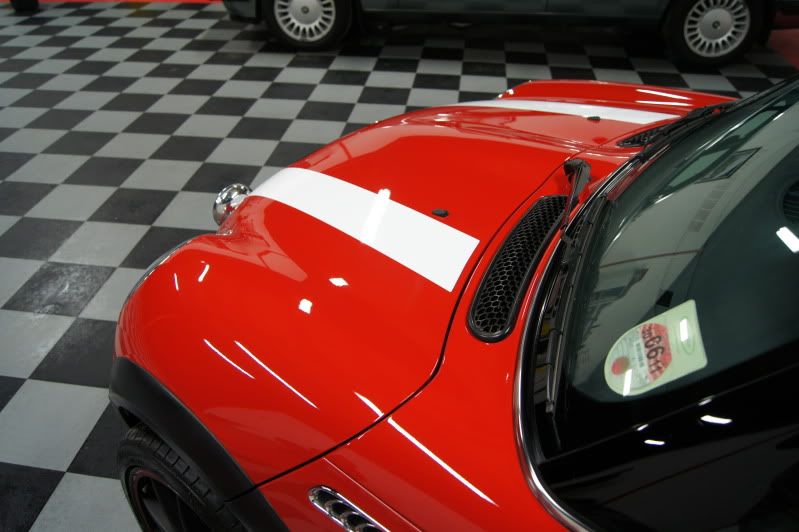
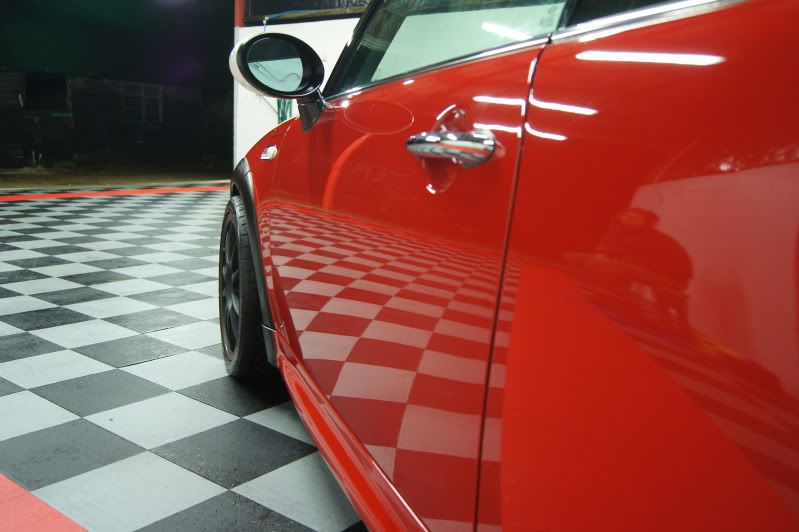
Finally, 2 applications of Victoria Concourse Wax were applied to the paintwork.
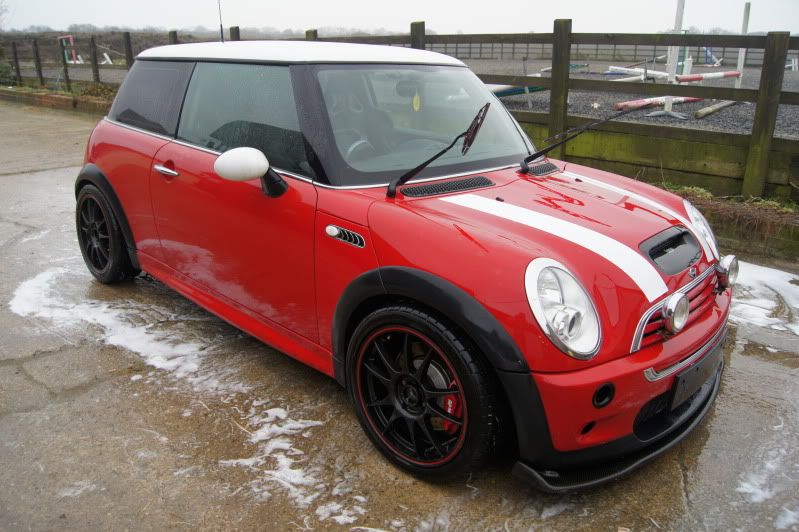
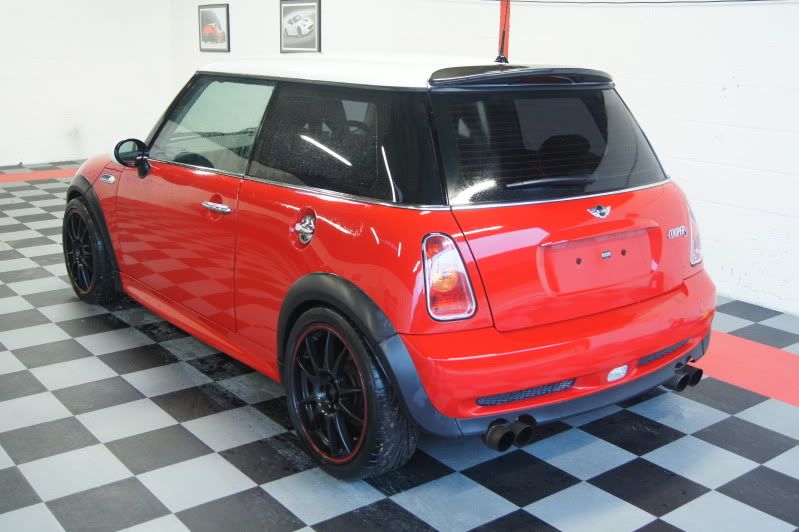
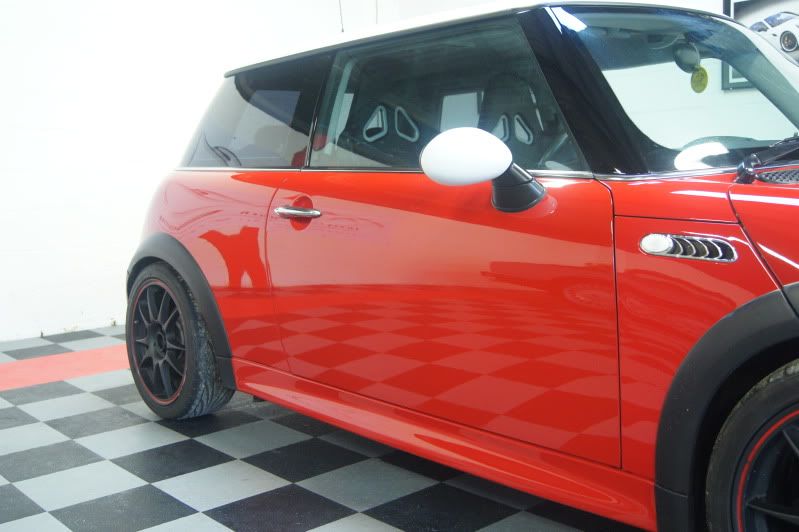
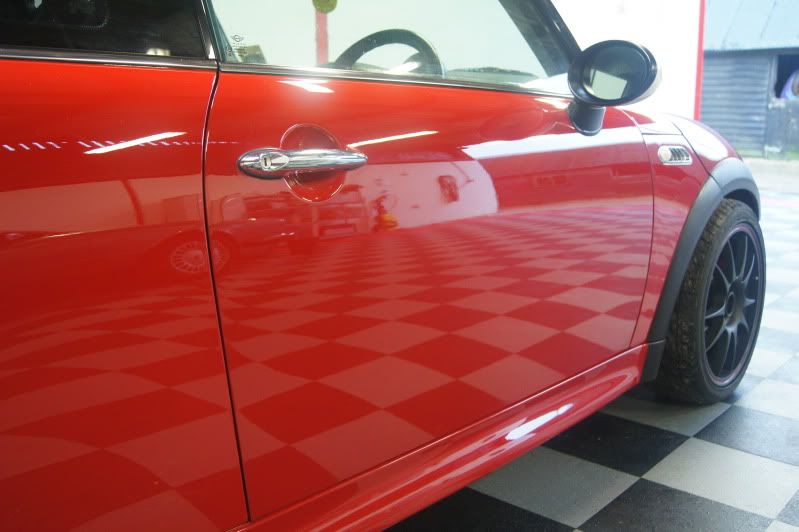
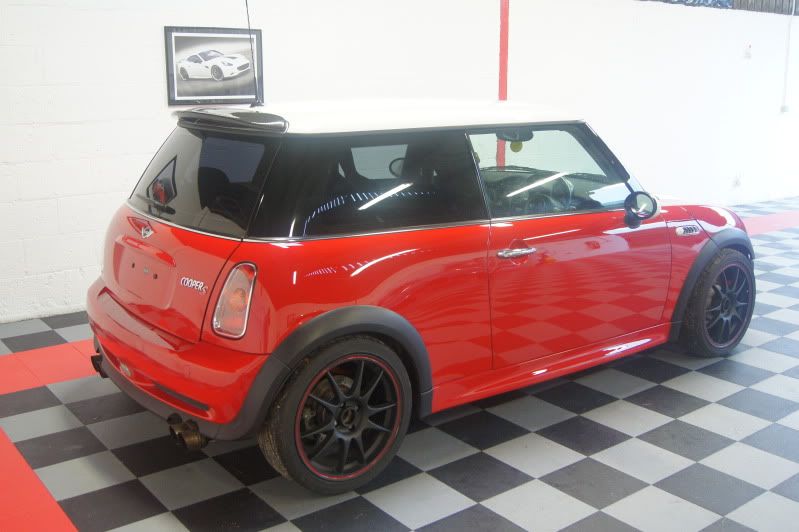
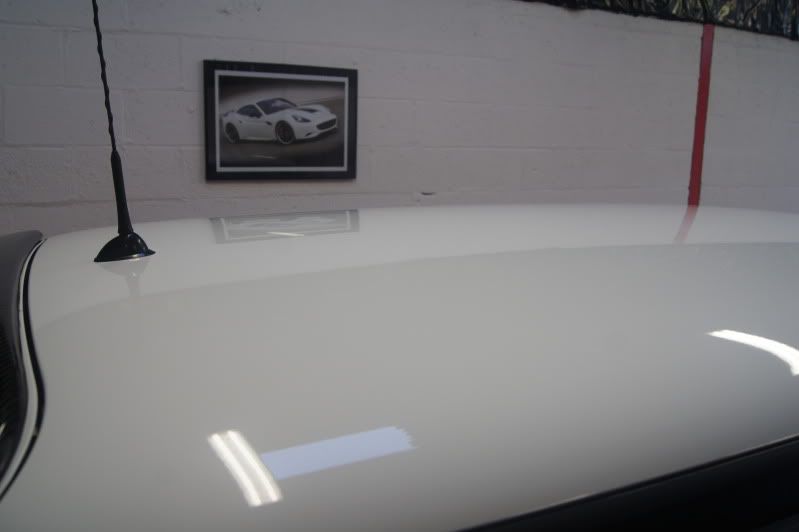
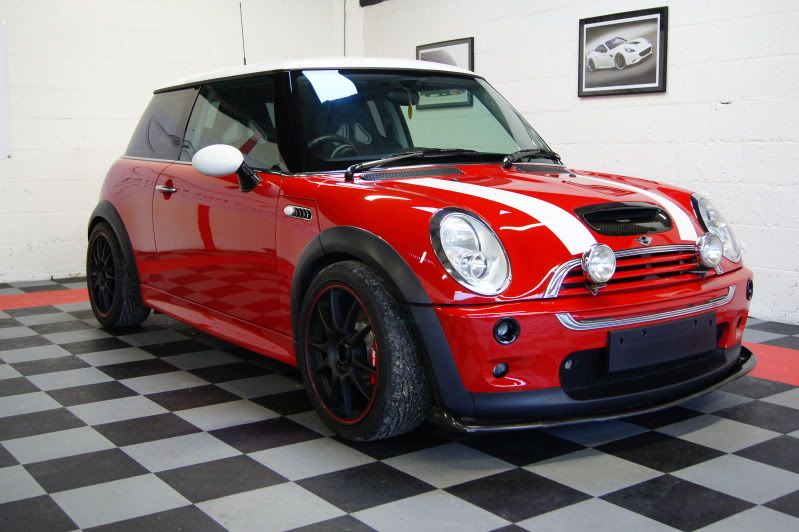
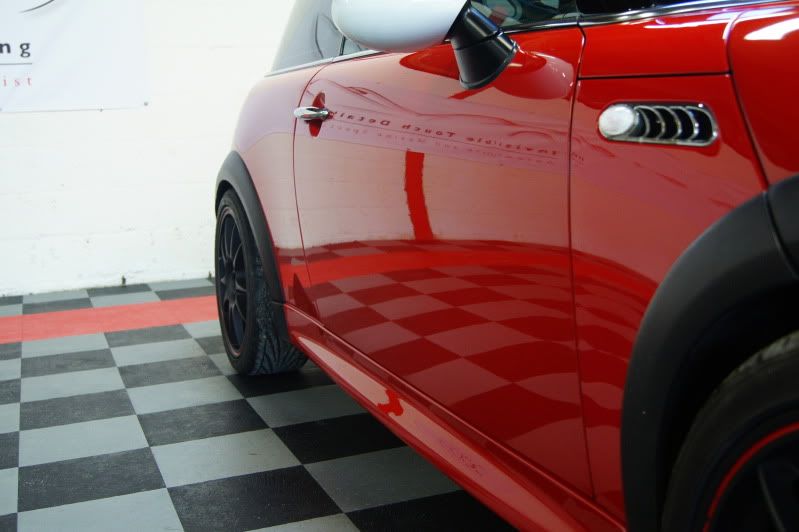
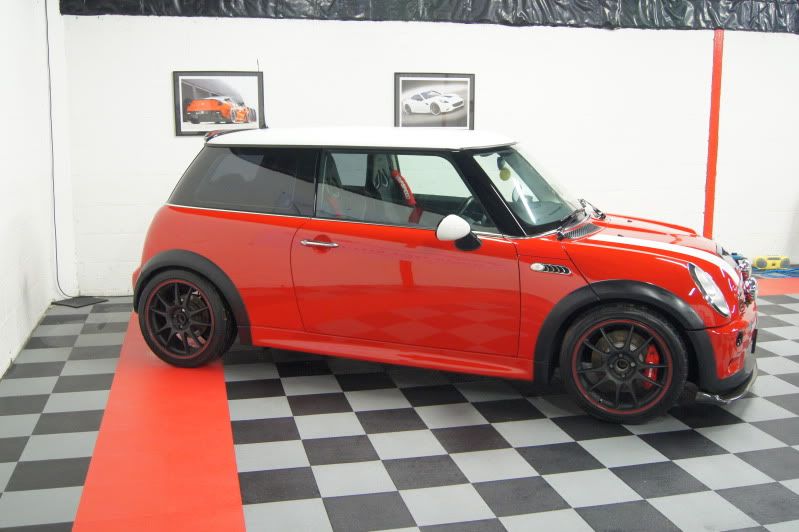
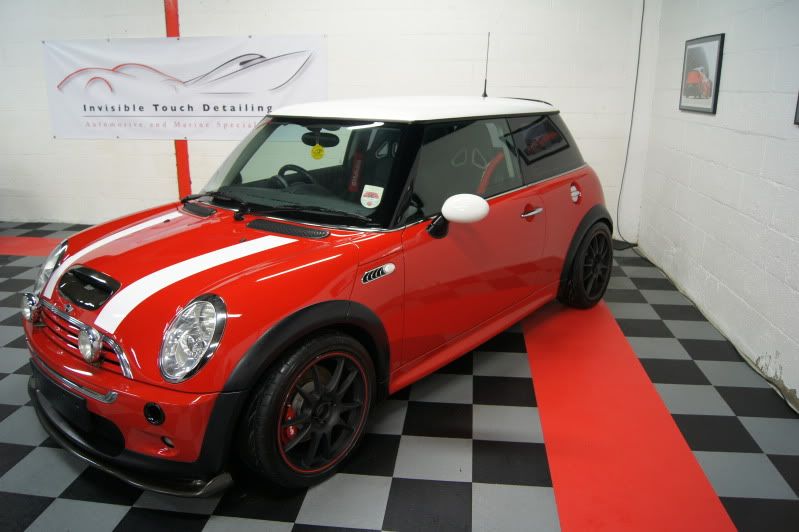
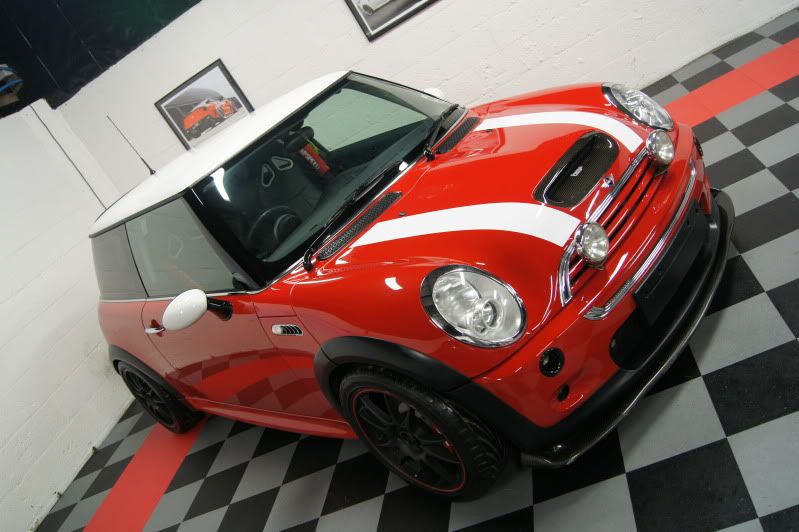
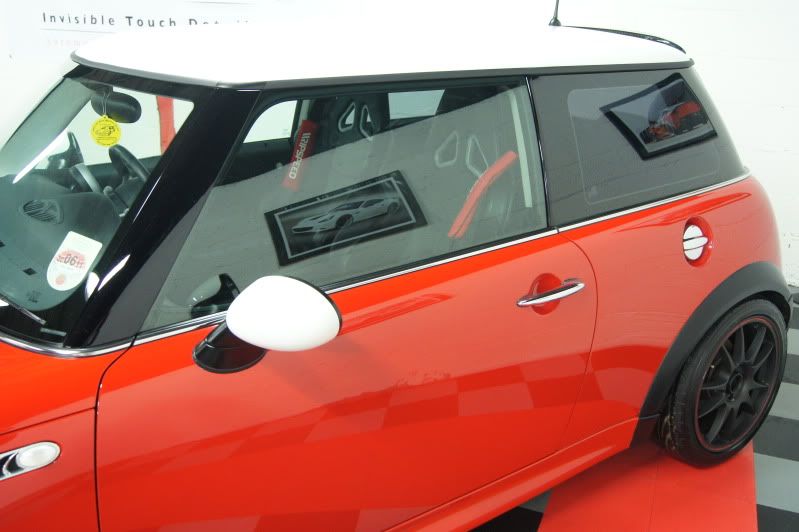
These were the final images
Thanks for looking,
Christian
Here we have a Mini Cooper S, known by the owner as ‘The Ultimate Mini’ in for paint correction plus engine bay treatment.
This special Mini had various upgraded parts fitted including, Eibach lowering springs, H&R anti roll bars all round, AP Racing front brake conversion and upgraded rear disks, performance racing decats, quad exhaust system, leather OMP bucket seats and harnesses, carbon exterior pieces, alloys and a stage 2 conversion by Mini Speed which included a modified intake, different sized pulley on the super charger and finally a remap.
Lets first have a walk around the car.
The car had been used for various track day events in the past and was showing various signs of abuse due to this.
So, starting off, the engine bay was rinsed down and everything was sprayed with Meguiars APC and Engine & Machine Cleaner, then agitated with various brushes. This was then rinsed off.
The car was then jet washed, snow foamed, left to dwell for 5 mins and then jet washed again.
All door, boot shuts and fuel cap were then sprayed in Meguiars APC, agitated with brushes and rinsed off.
The car was then washed using Meguiars Shampoo Plus using the 2 bucket method.
It was then brought inside. Whilst still wet the engine bay was sprayed with Aerospace 303 to treat all rubbers and plastics. This was then left to dry naturally, we’ll come back to the engine bay later.
Now the car was clean it was easy to see there was a lot of contamination on the paint that required claying to remove.
After this the car was taken back outside to be washed again using the 2 bucket method and brought back inside to be dried.
Next was to remove the alloys to give them a good clean, along with the arches being degreased. The alloys were cleaned with Bilberry wheel cleaner and agitated with brushes, clayed and 2 coats of Poorboys Wheel Sealant applied.
Once completed, the paintwork was inspected under halogen and LED lighting. The paint was very flat and oxidised in areas, lots of swirls and holograms. The car had apparently been previously machine polished at some point. The defect on the rear drivers wing looked as though it had been most likely caused by the rubber hose dragging on the paintwork during a previous tyre pressure check.
Lots of paint thickness readings were taken per panel.
I initially tried Menzerna 106FA on a Sonus Polishing pad using the Makita rotary. This made a huge difference to the finish but was not enough on close inspection.
So I changed to Menzerna 3.02 with a Sonus cutting pad which although would need a refining polish to follow up with, gave much better correction results.
Moving round the car, the lights were also corrected, as were the A pillars and carbon sections.
The front bumper corrected after a previous respray.
After this the car was dusted down using Meguiars Last Touch and then refined using Meguiars 85RD with 3M finishing and spot finishing pads for the tighter areas.
The whole car was then given an IPA wipedown to remove polishing oils.
With a nice deep solid red, I chose to apply Meguiars No.7 Show Car Glaze, leaving this.
Next, moving back to the engine bay, all painted areas were polished by hand.
Moving onto the interior, this was given a good hoover and all plastics / pedals were cleaned with Meguiars APC.
The seats being fairly new were wiped clean with a damp cloth and then treated with Gliptone Leather Conditioner.
All exterior plastics and door seals were treated with Autoglym Bumper Care.
The tyres were treated with 2 coats of Endurance Tyre Gel
Track day harnesses placed back in the boot.
The quad exhausts were cleaned with fine grade wire wool and Autosol and then refined with Meguiars NXT.
The rubber mats were cleaned with Meguiars APC, agitated with brushes, rinsed and dried off.
Finally, 2 applications of Victoria Concourse Wax were applied to the paintwork.
These were the final images
Thanks for looking,
Christian