Invisible Touch Detailing - Subaru Impreza WR1
Hi,
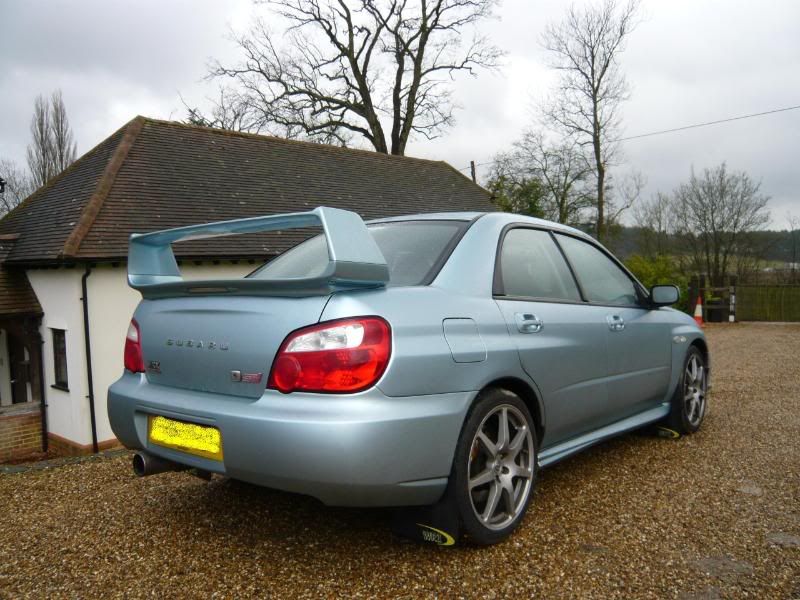
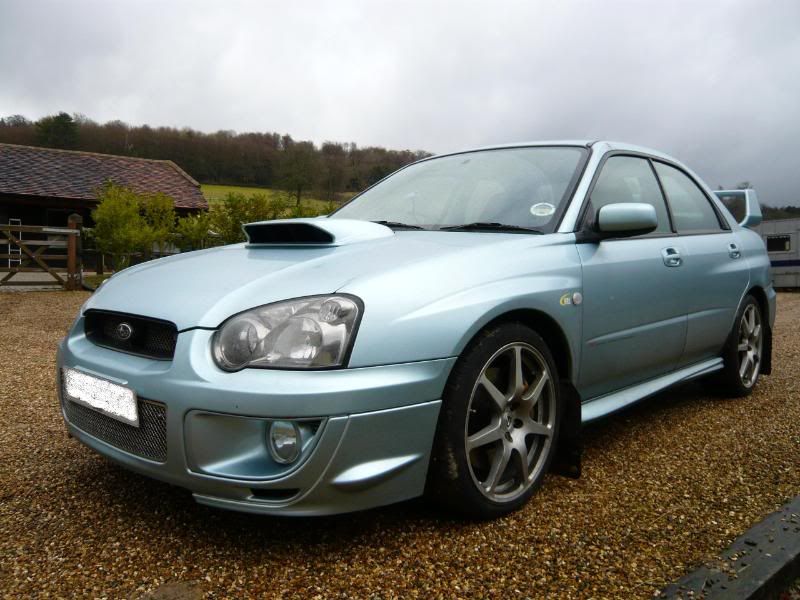
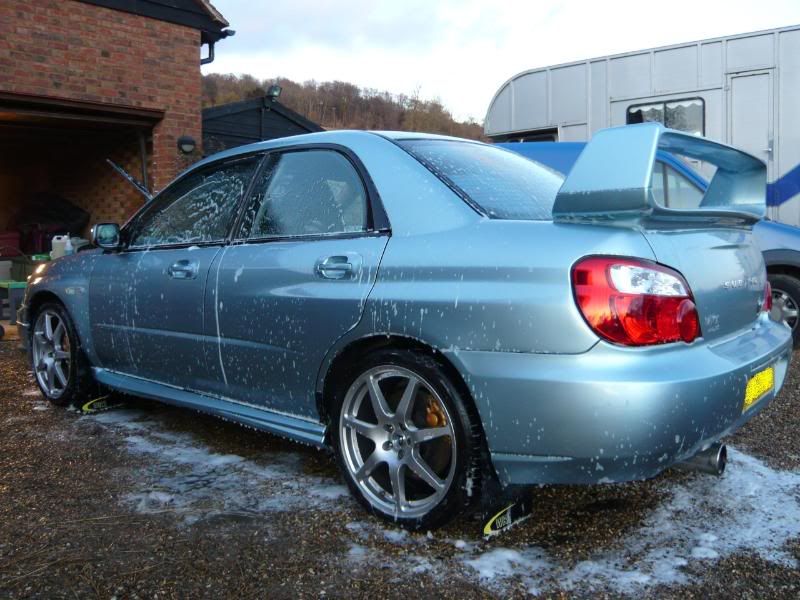
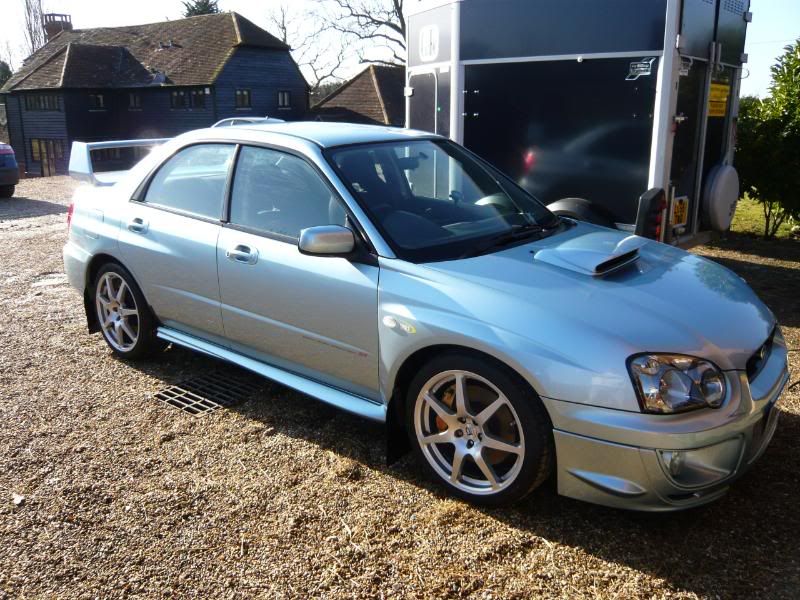
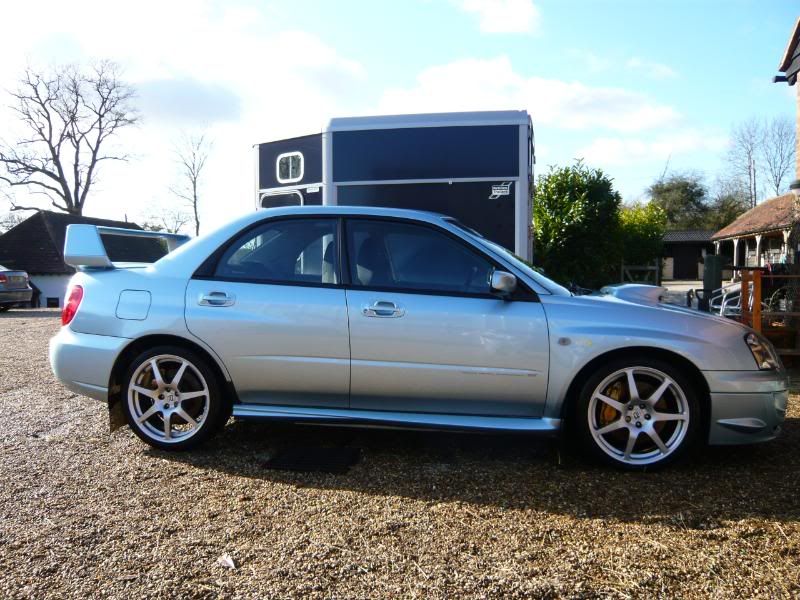
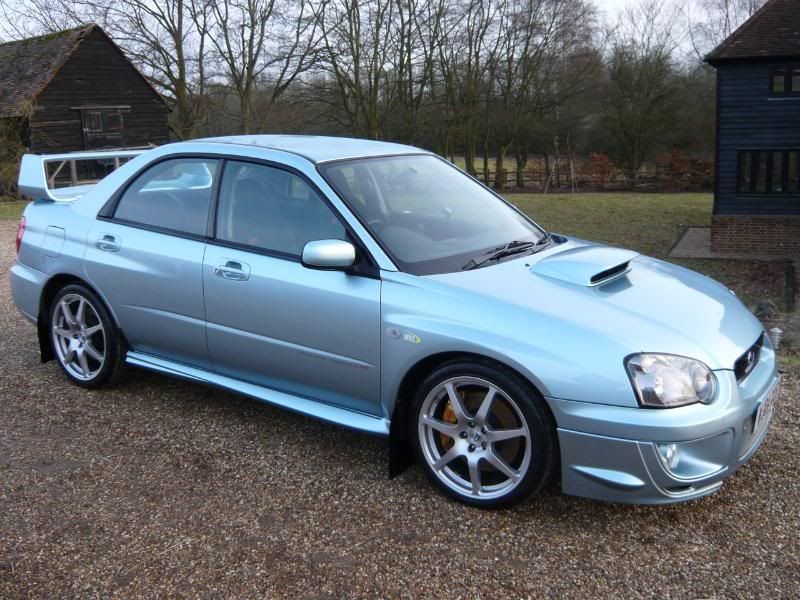
This w'end i was asked to carry out a Stage 1 Paint Correction and Engine Bay treatment by a member from this forum, on this lovely WR1.
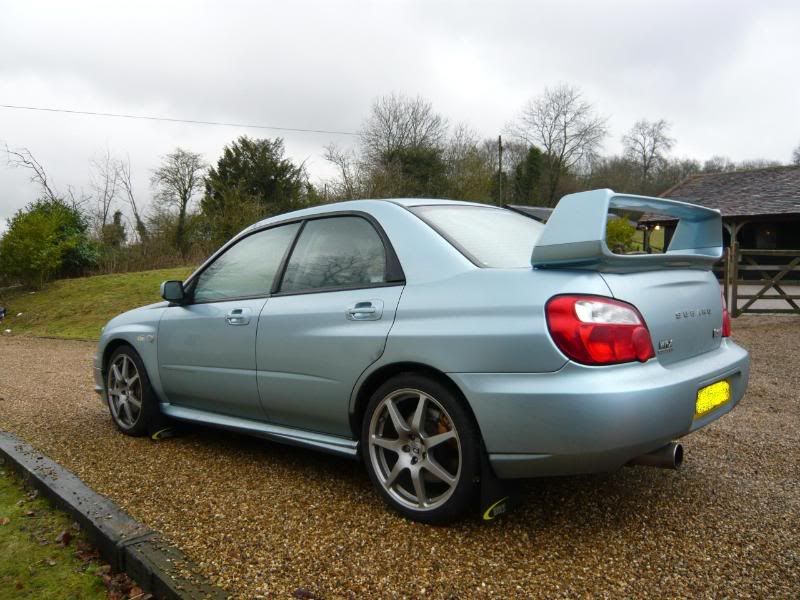
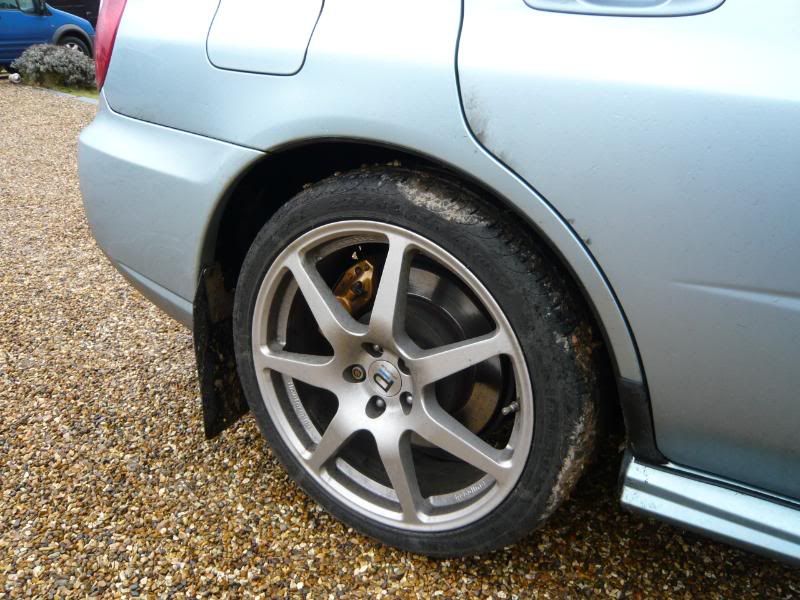
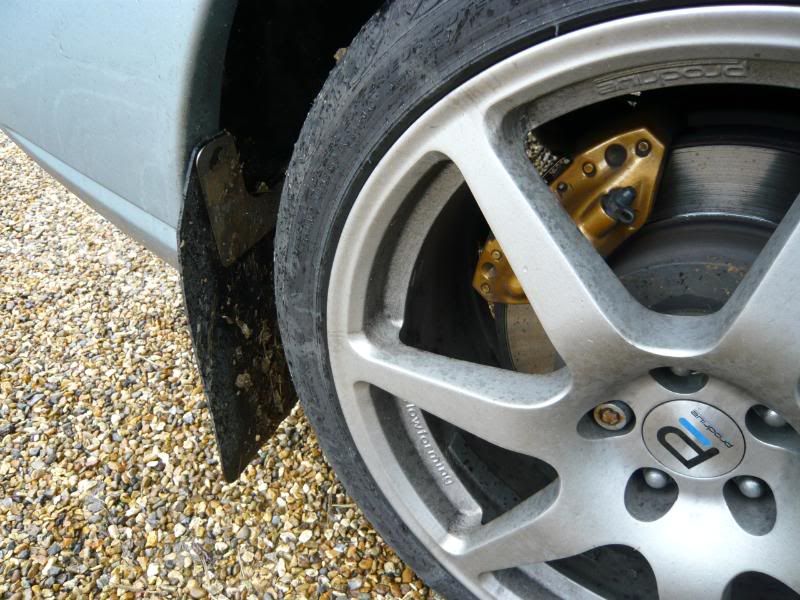
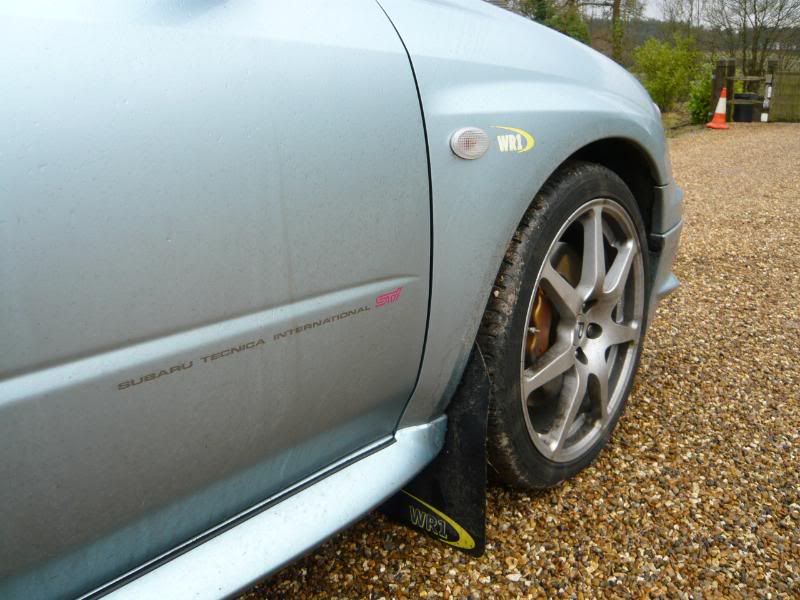
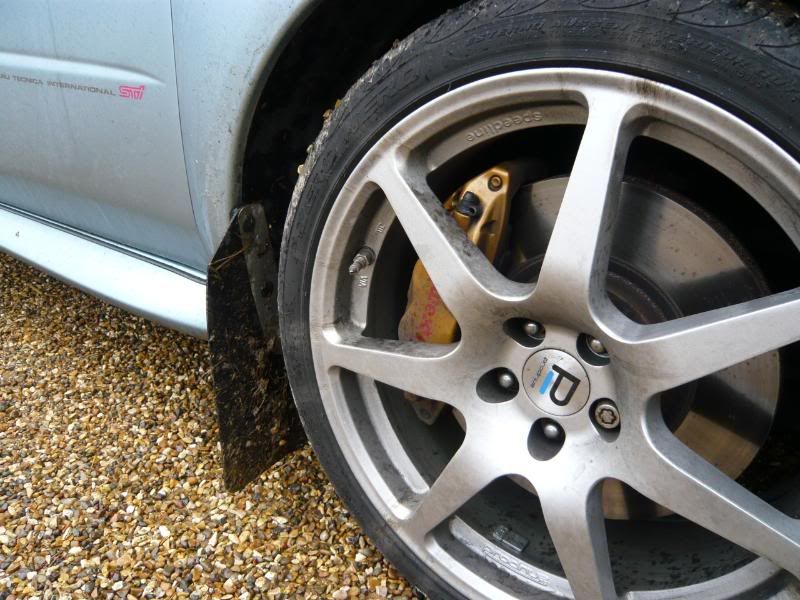
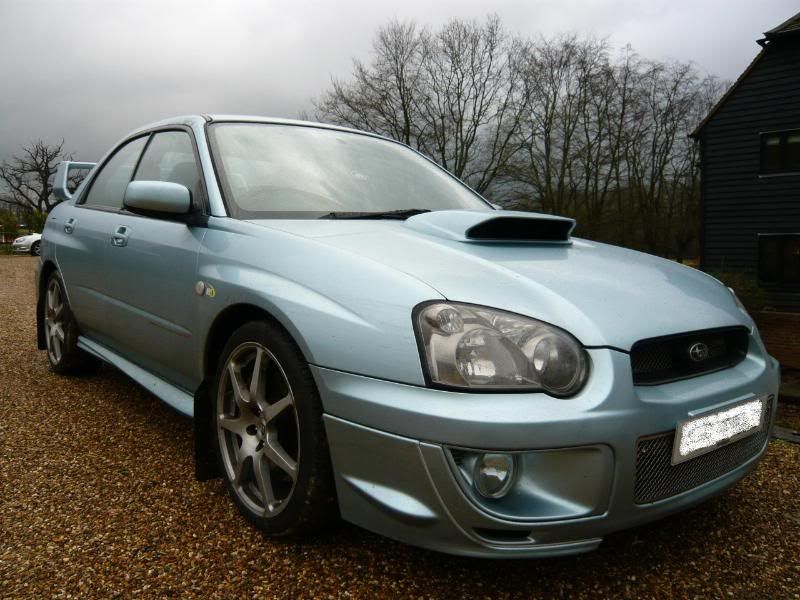
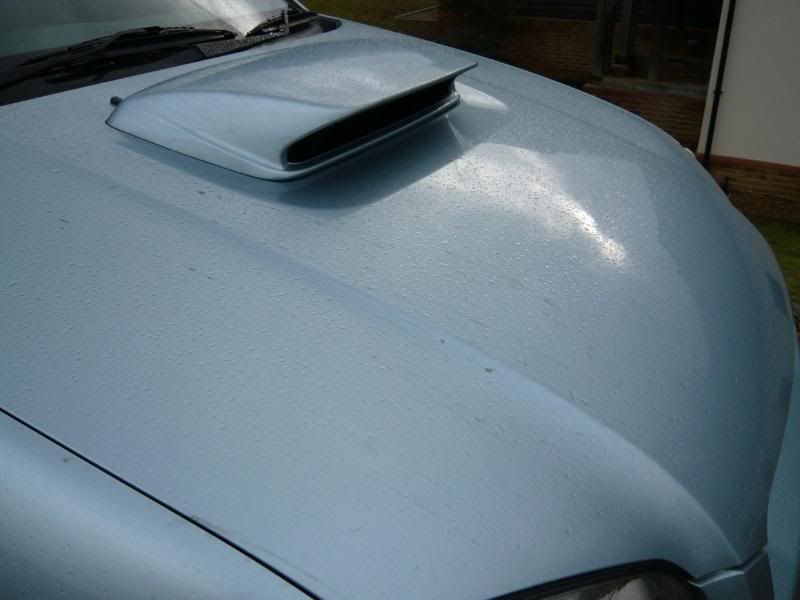
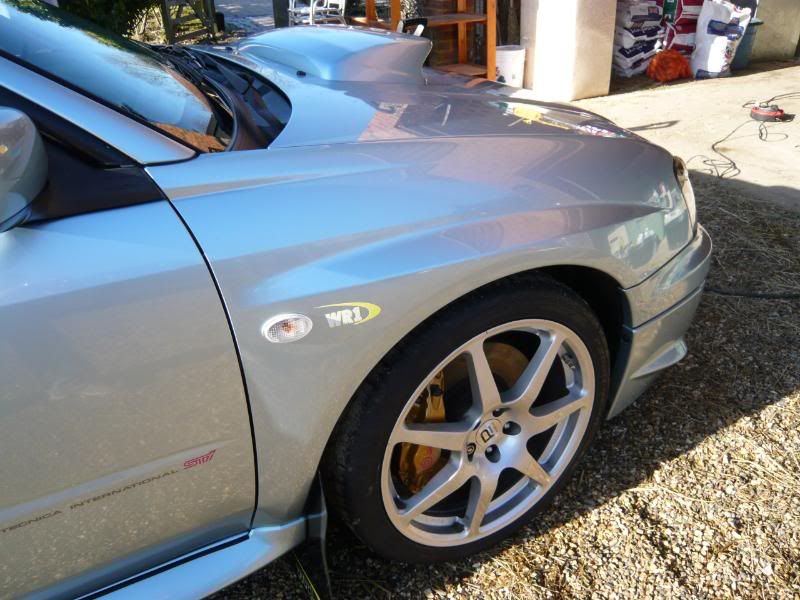
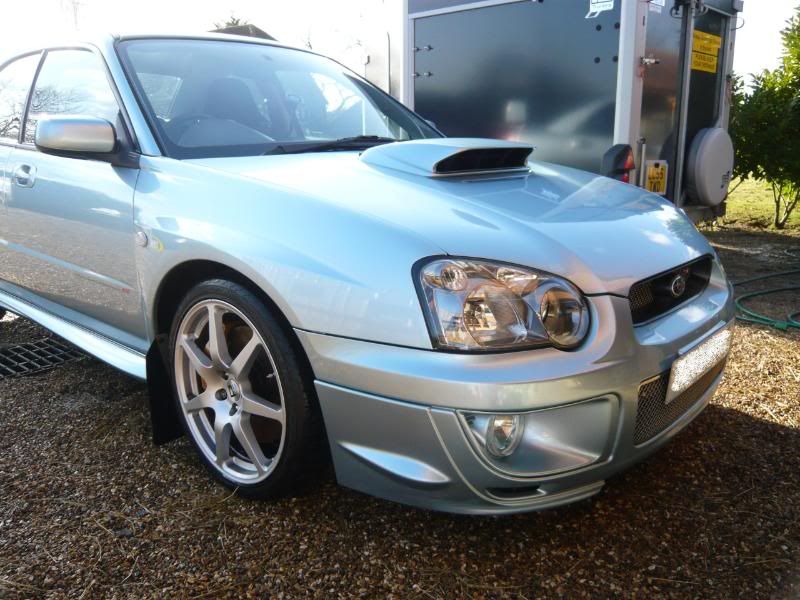
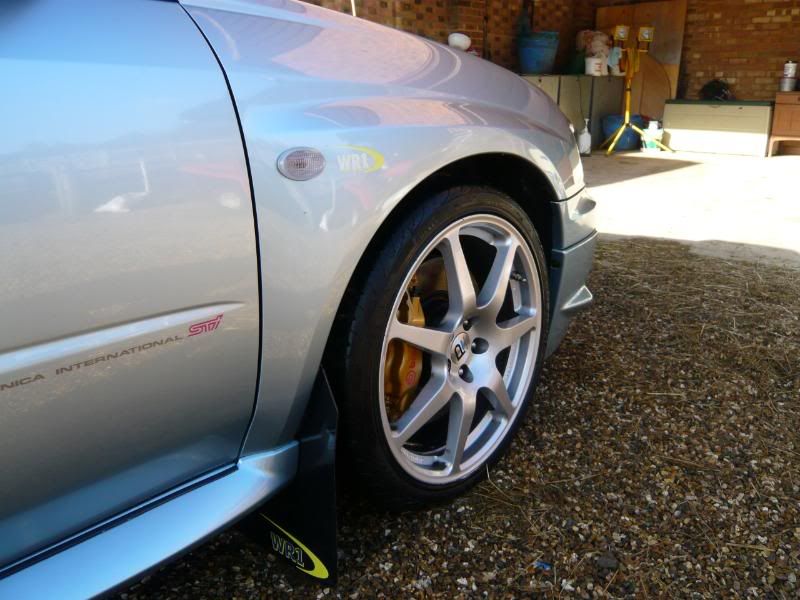
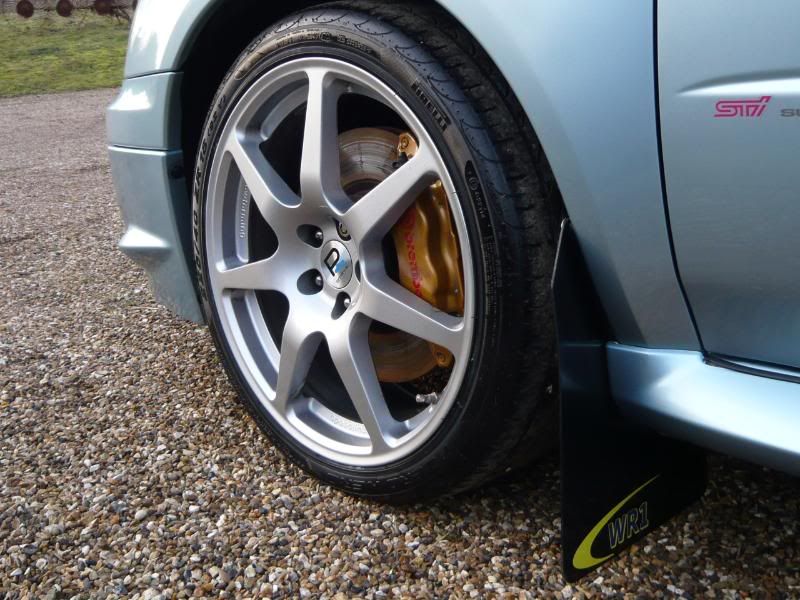
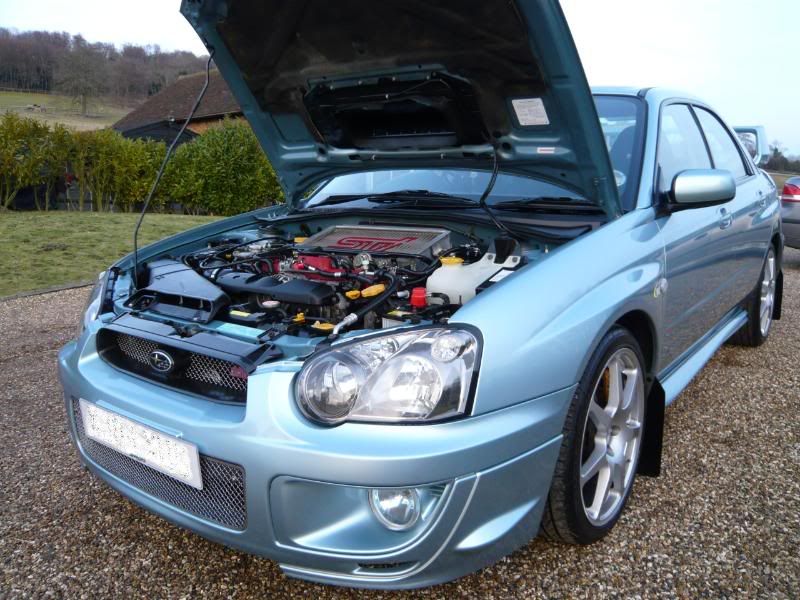
These were the photos of the vehicle on arrival. Lots of baked on brake dust and the paintwork in typical condition for this time of year.

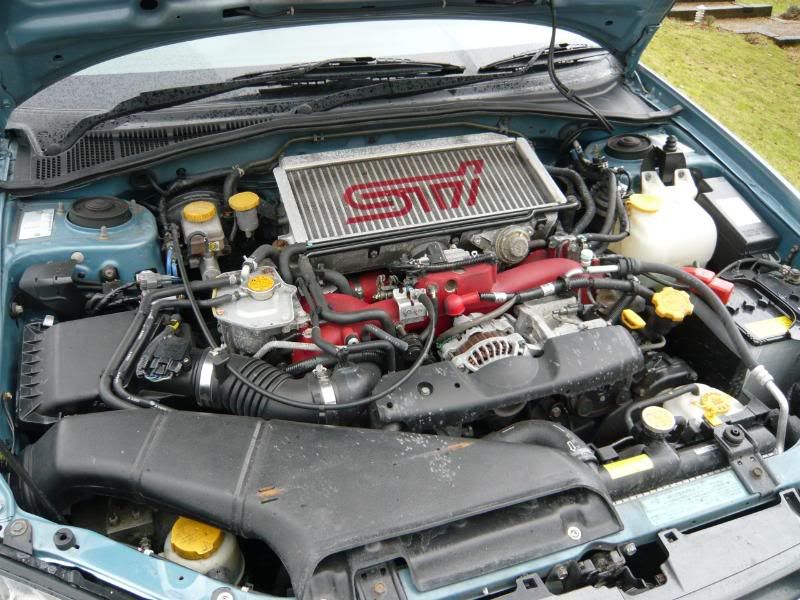
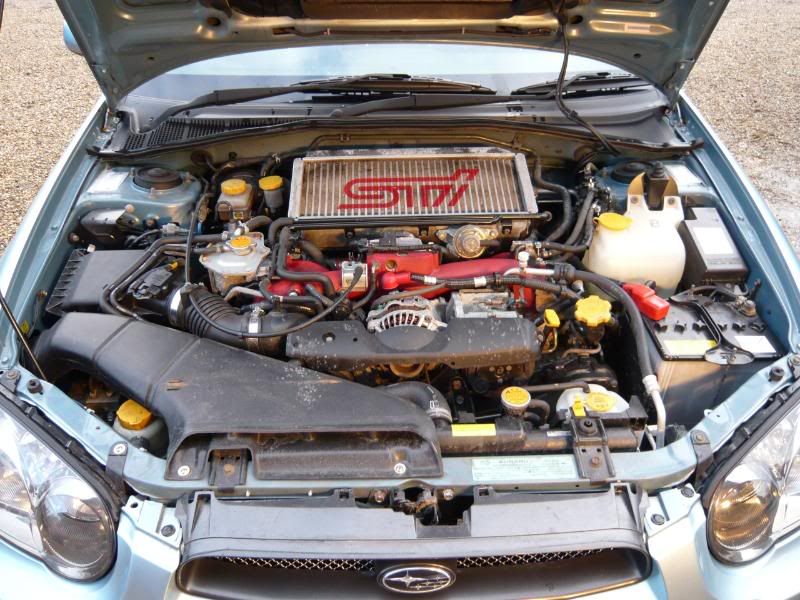
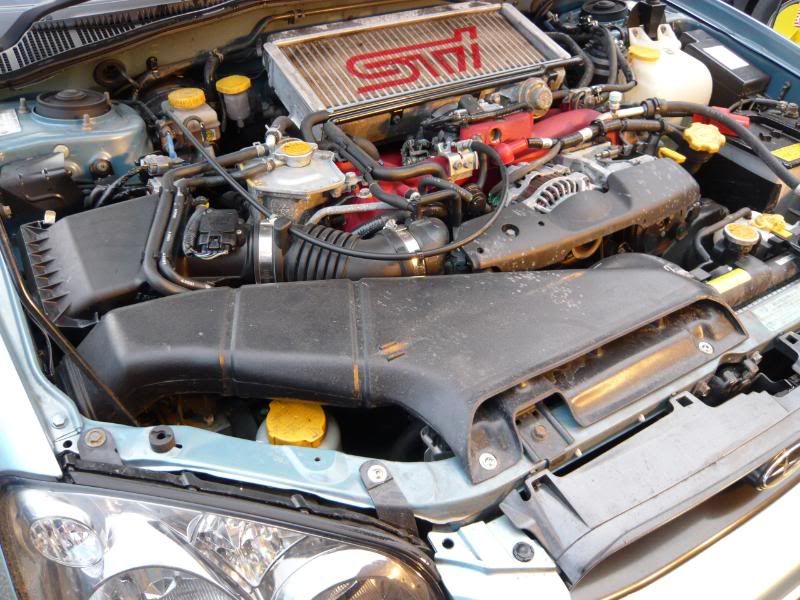
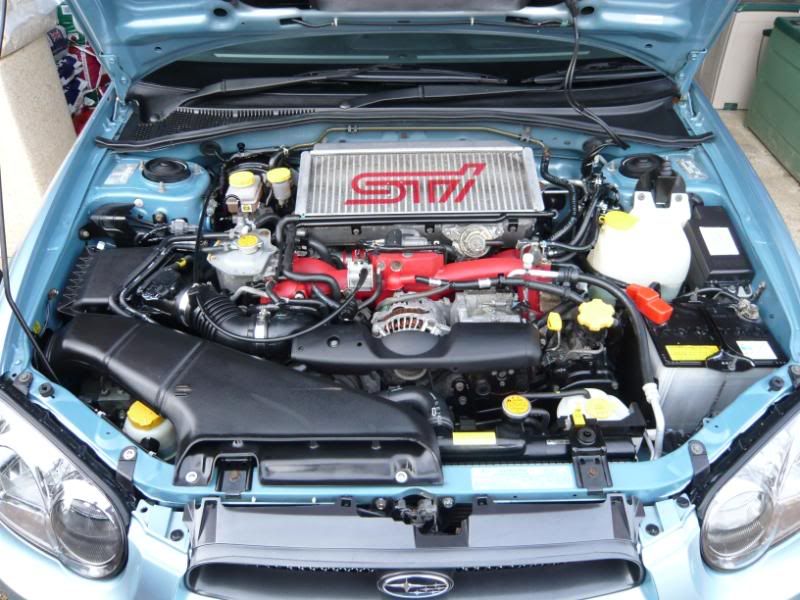
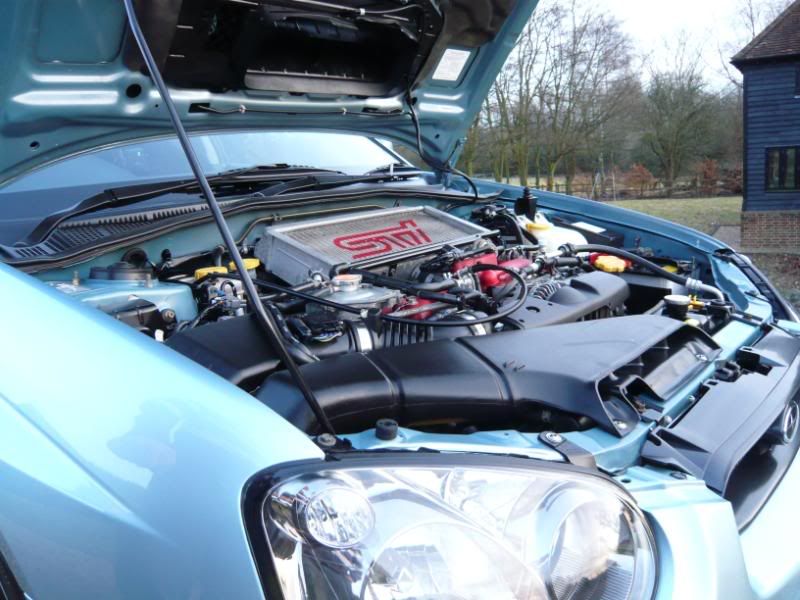
The engine bay on arrival.
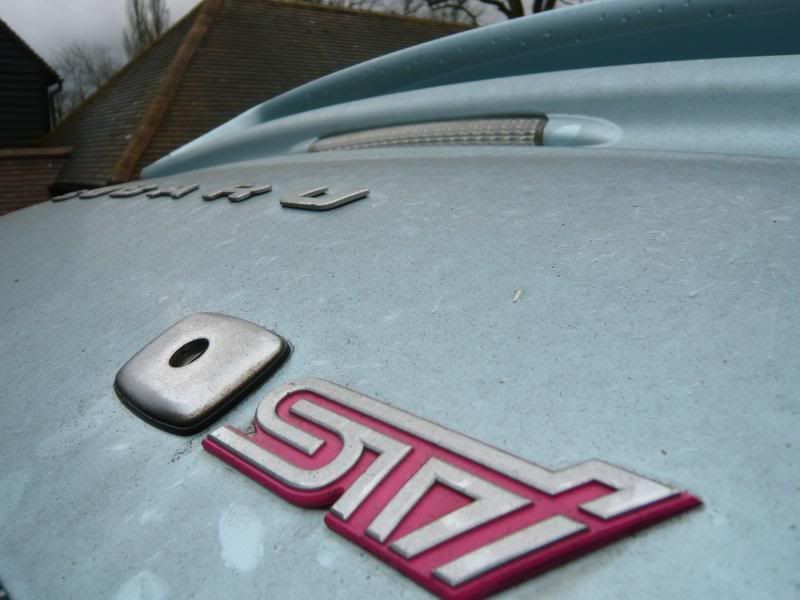
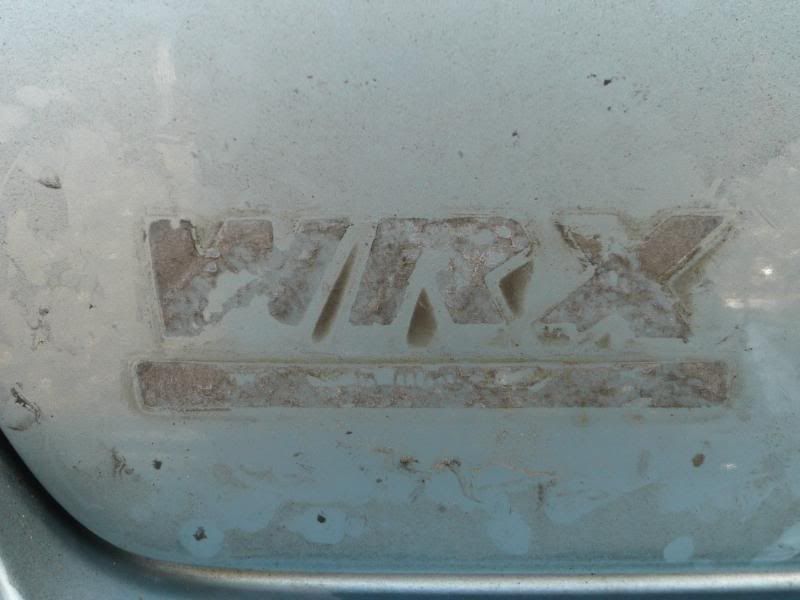
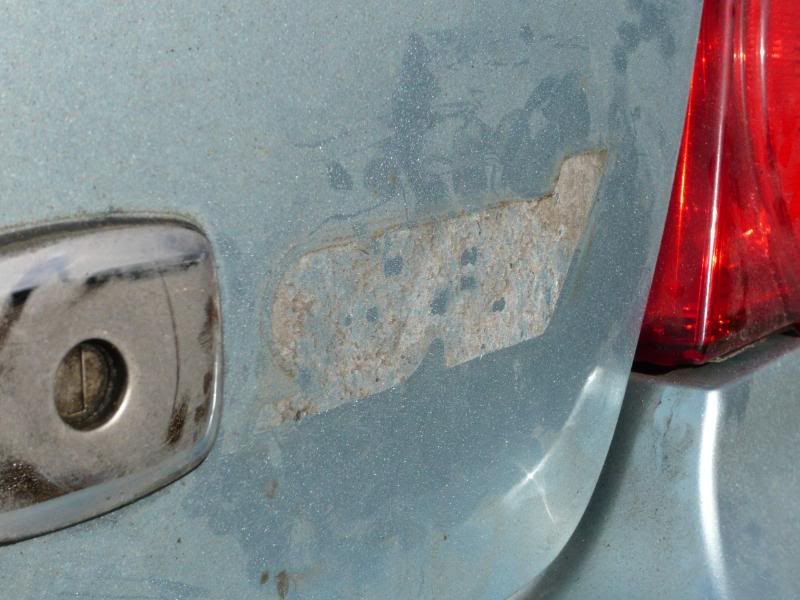
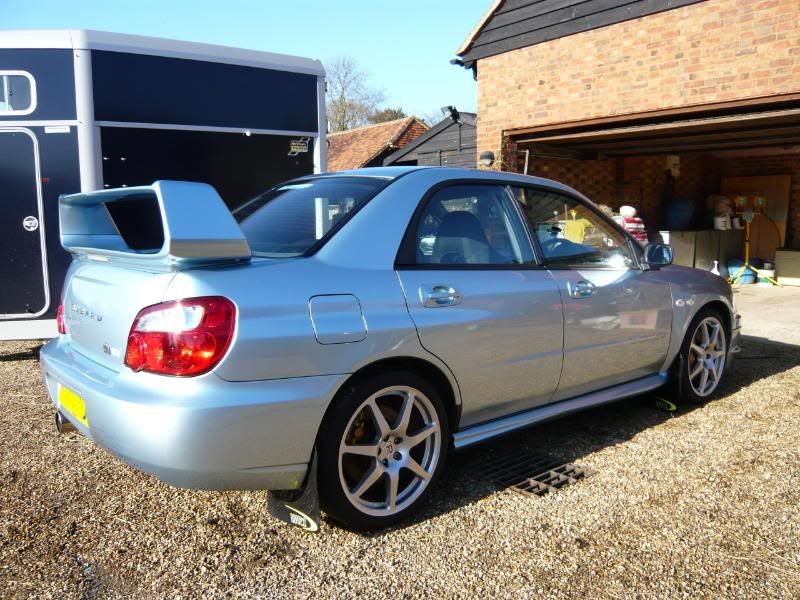
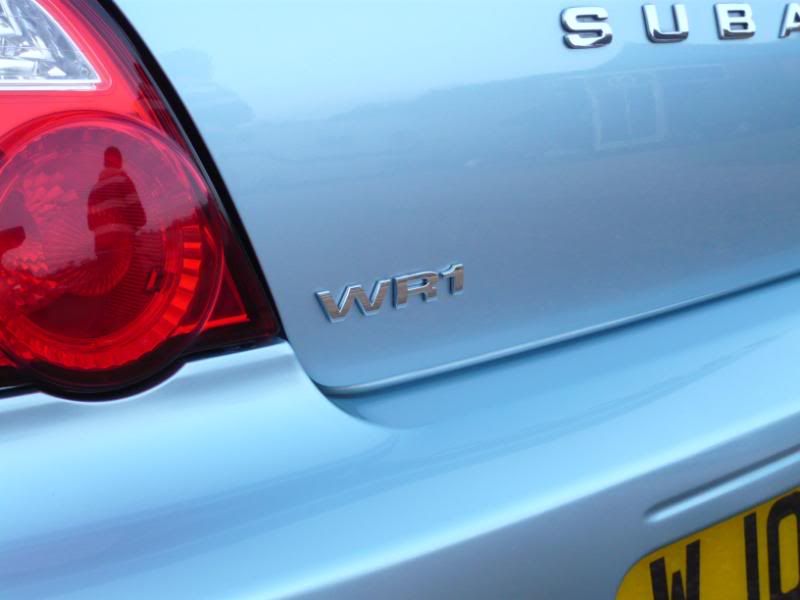
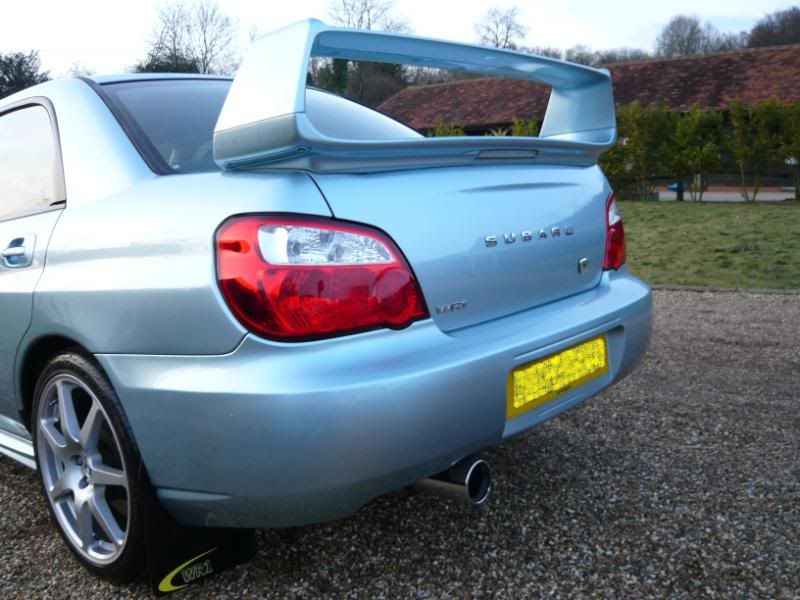
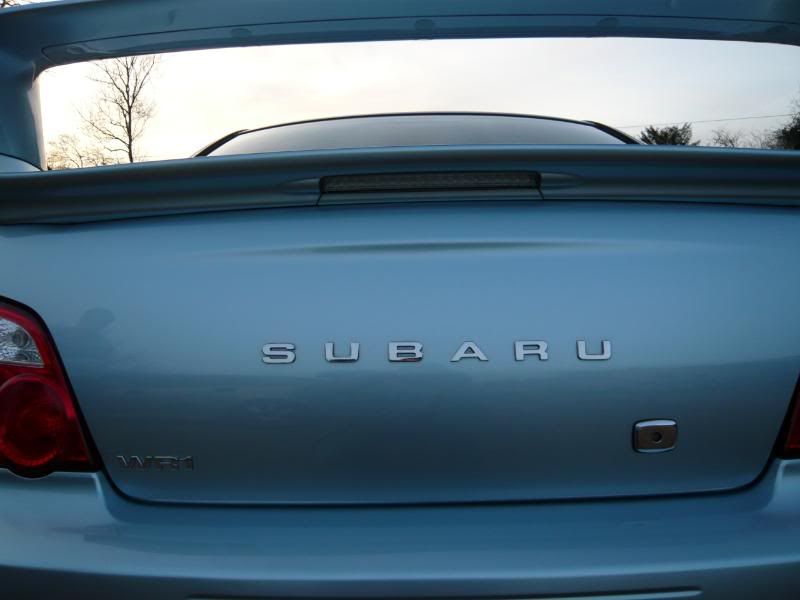
I was asked by the client to remove the WRX, Impreza and STI badges from the boot lid and refit a chrome WR1 badge which he supplied.
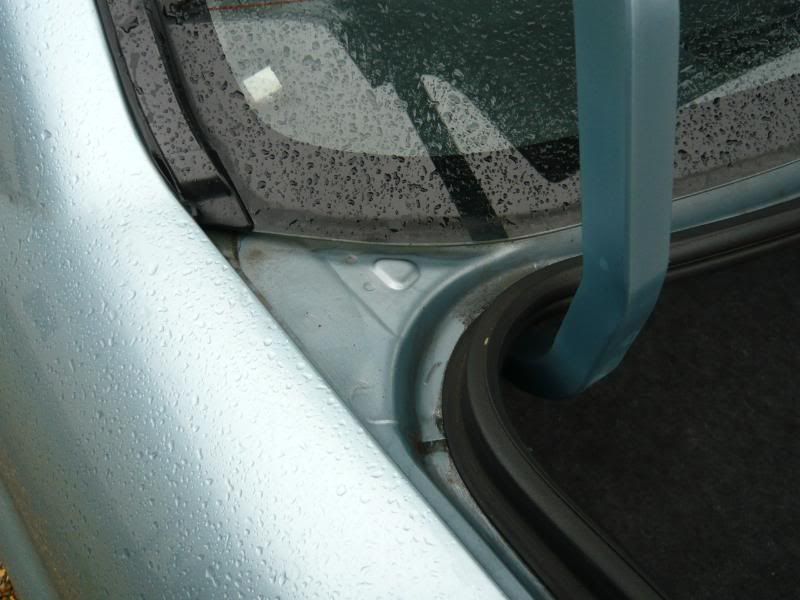
I softened the badges with hot water and removed them using fishing line. Leaving this.
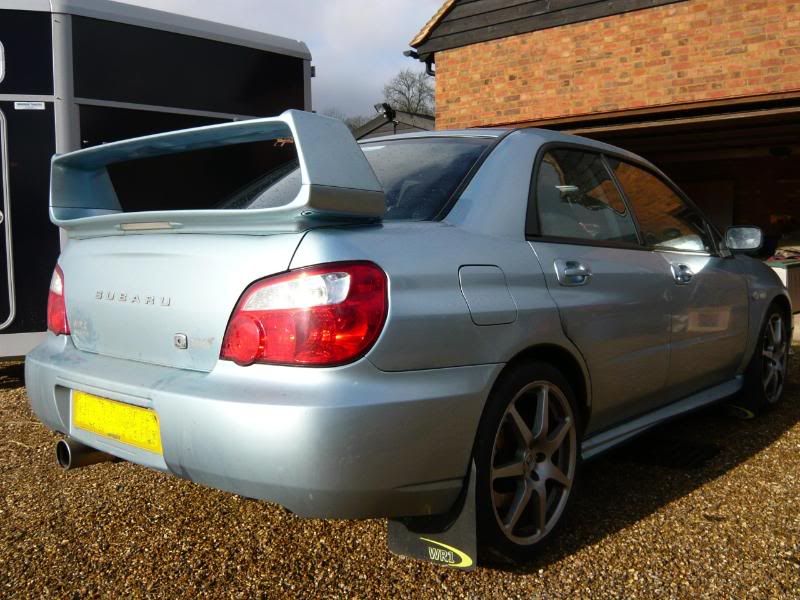
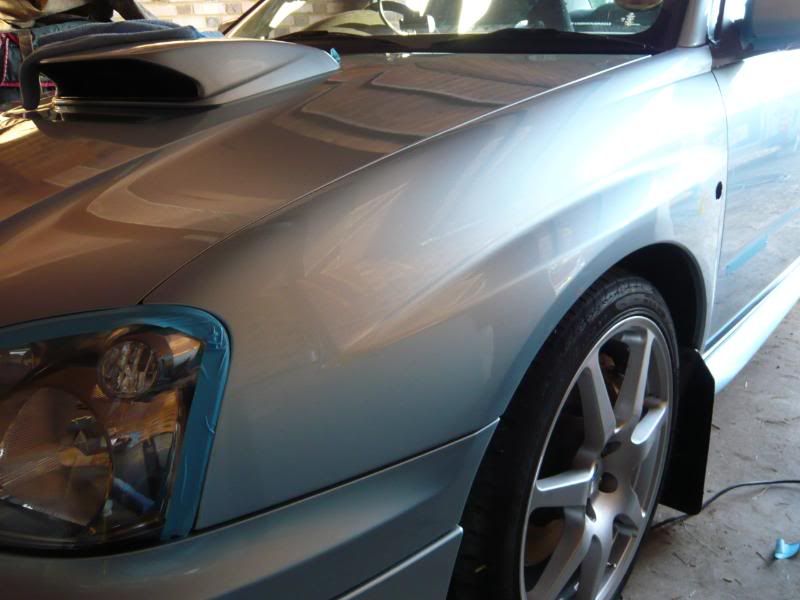
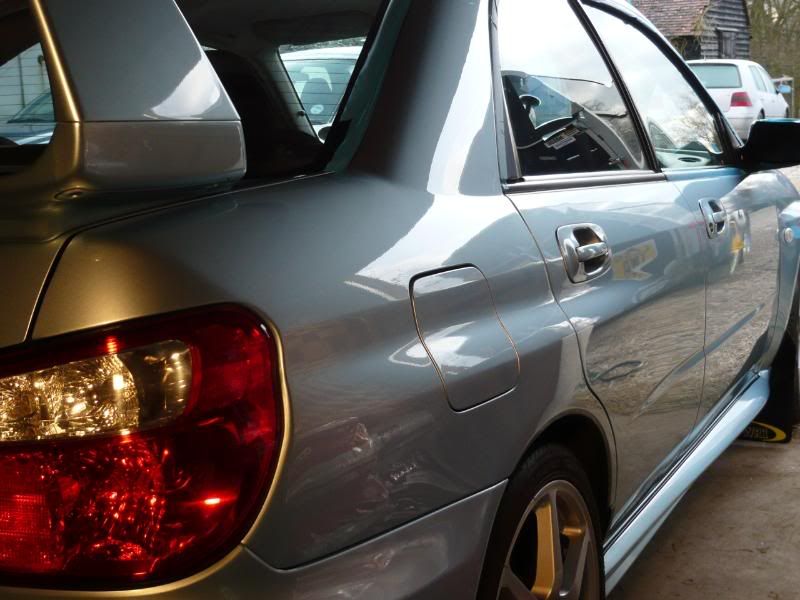
As the sun came out briefly, 1 last picture and current reflection shot before the wash process.
[IMG]http://i27.photobucket.com/albums/c194/Stonkin/Subaru%20Impreza%
20WR1/P1040476.jpg[/IMG]
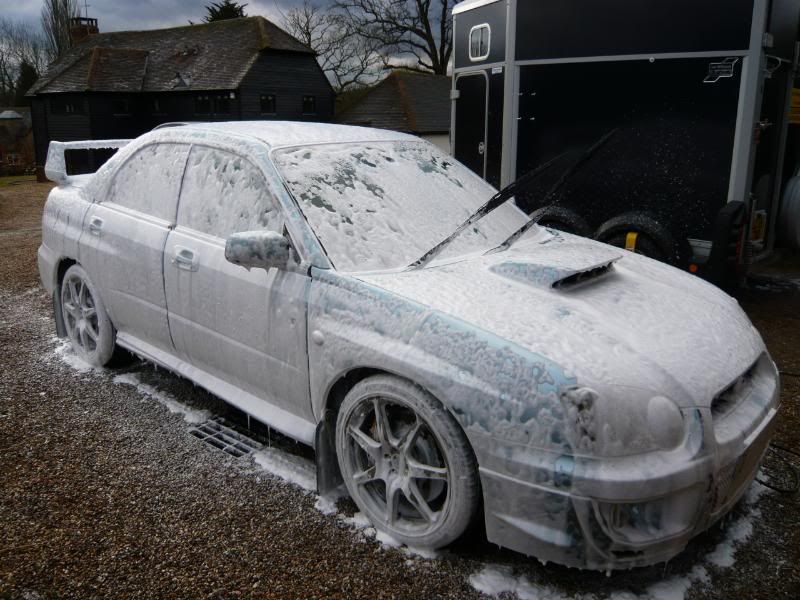
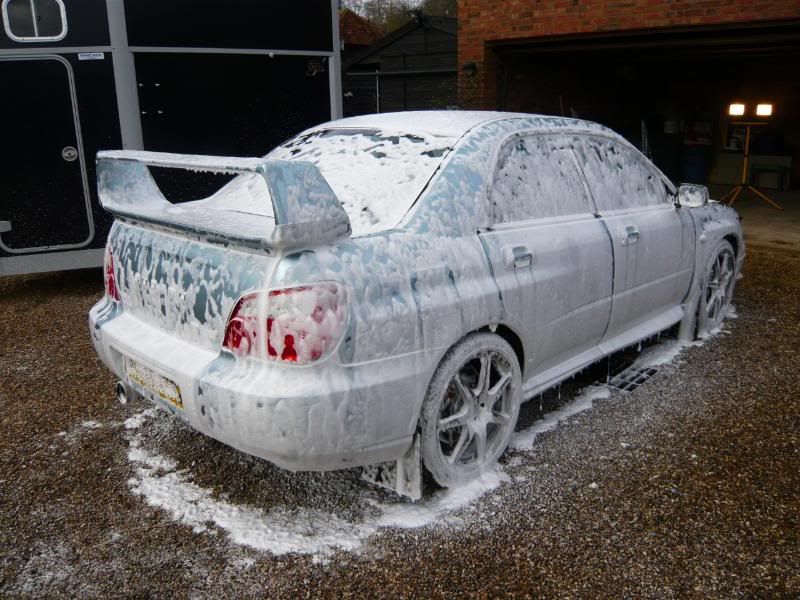
The vehicle was jet washed down and then snow foamed to loosen any dirt before washing with a wash mitt, to avoid inflicting any further paint defects.
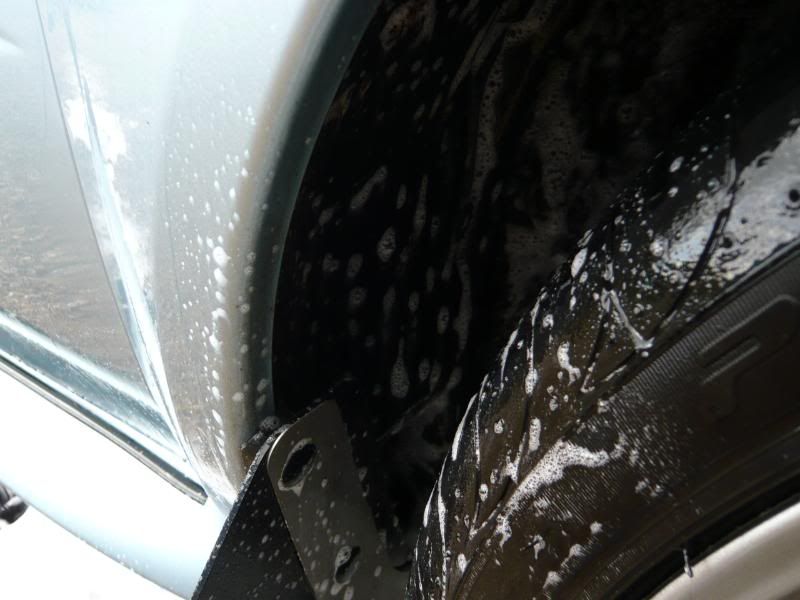
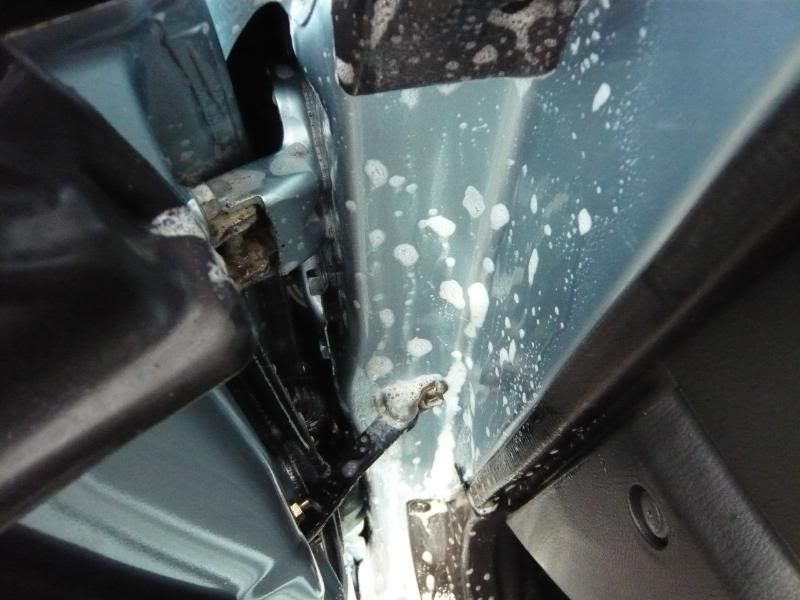
The tyres, arches, door and boot shuts were sprayed with Meguiars APC and left to dwell before being agitated with brushes.
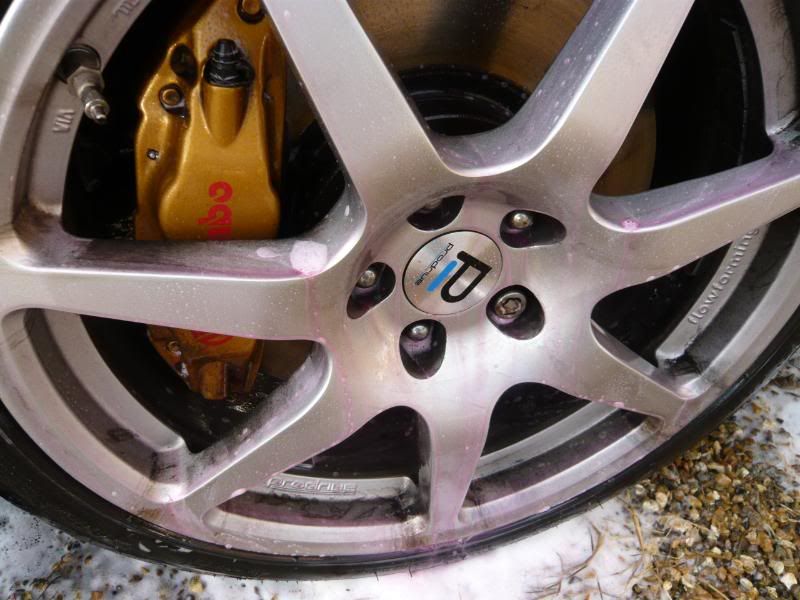
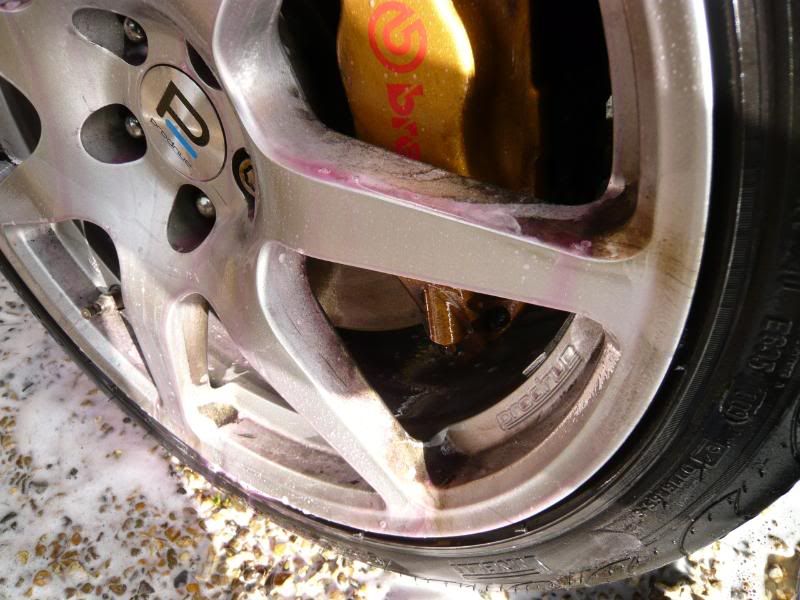
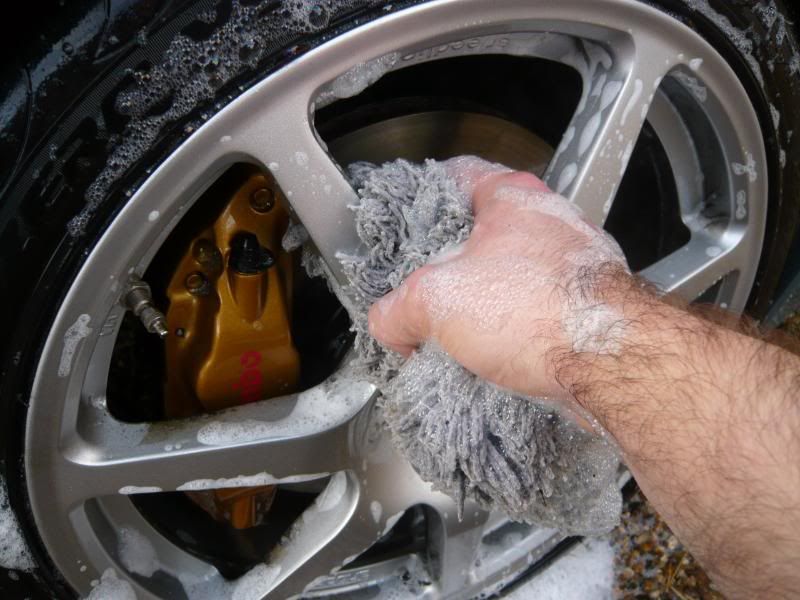
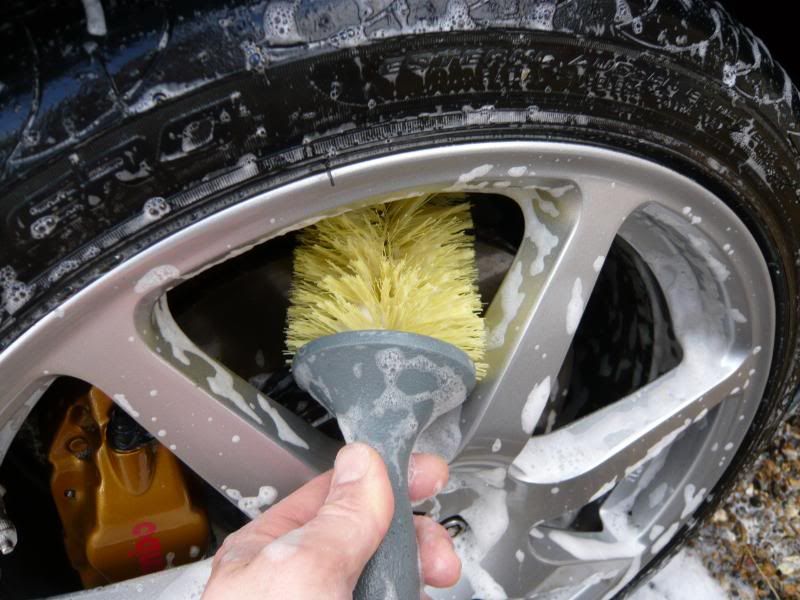
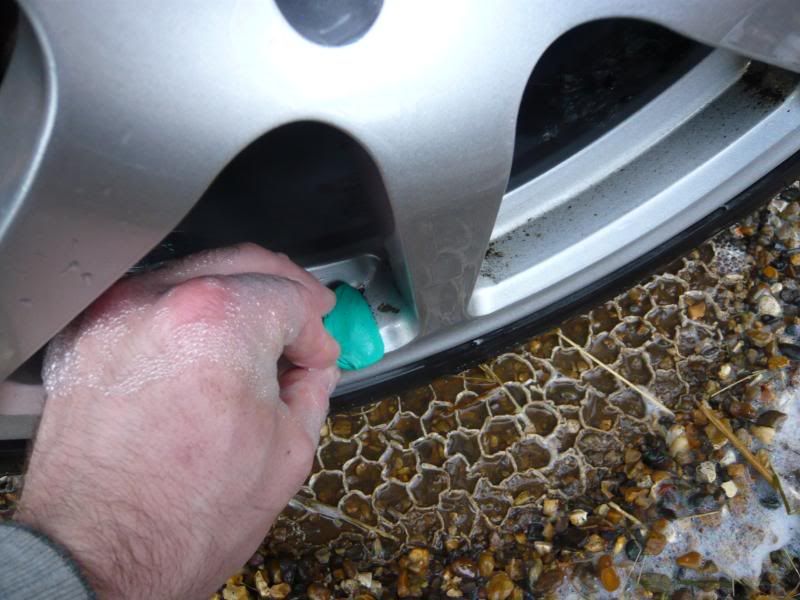
The wheels were left to soak in Bilberry for 5 mins before being jet washed and then washed with a wash mitt and wheel brush in a hot, Shampoo Plus solution. Some areas of baked on brake dust were also clayed where required.
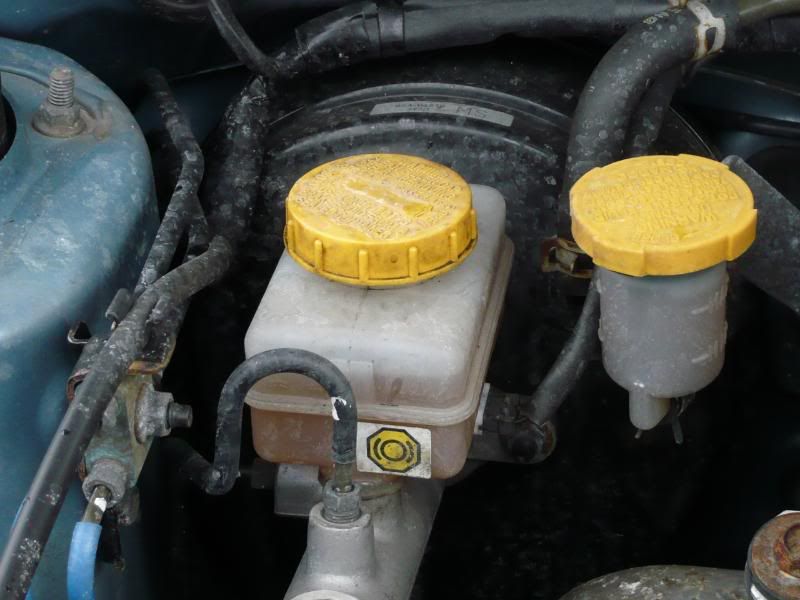
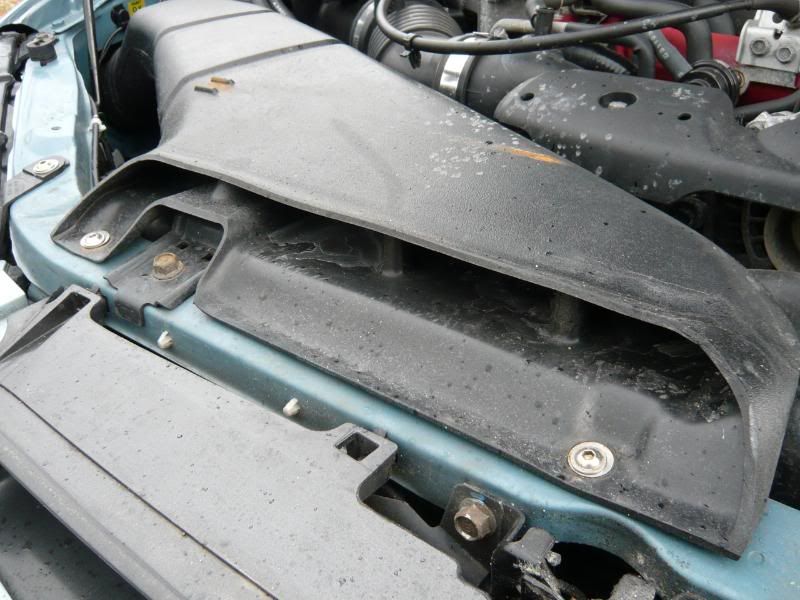
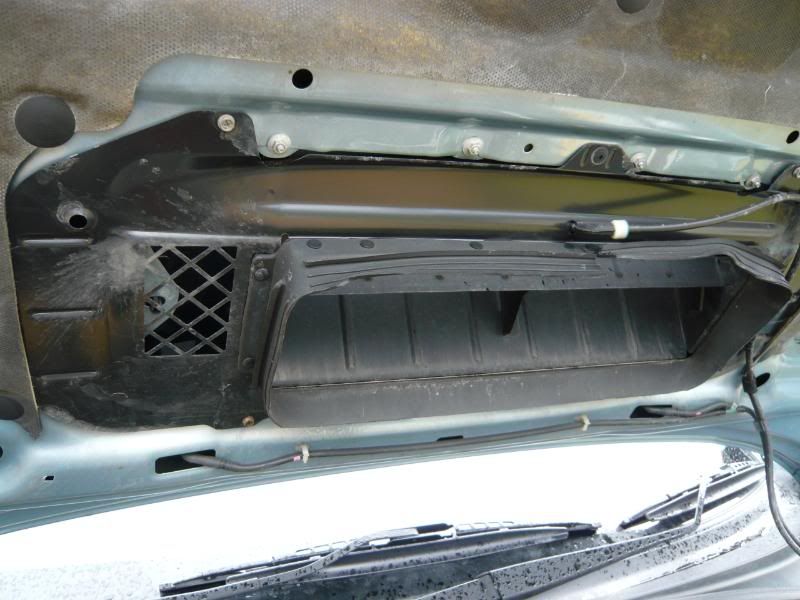
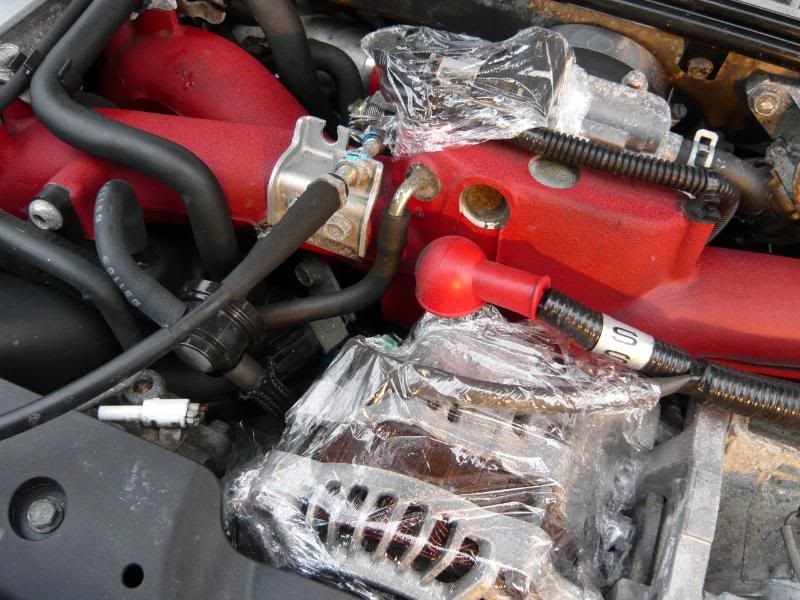
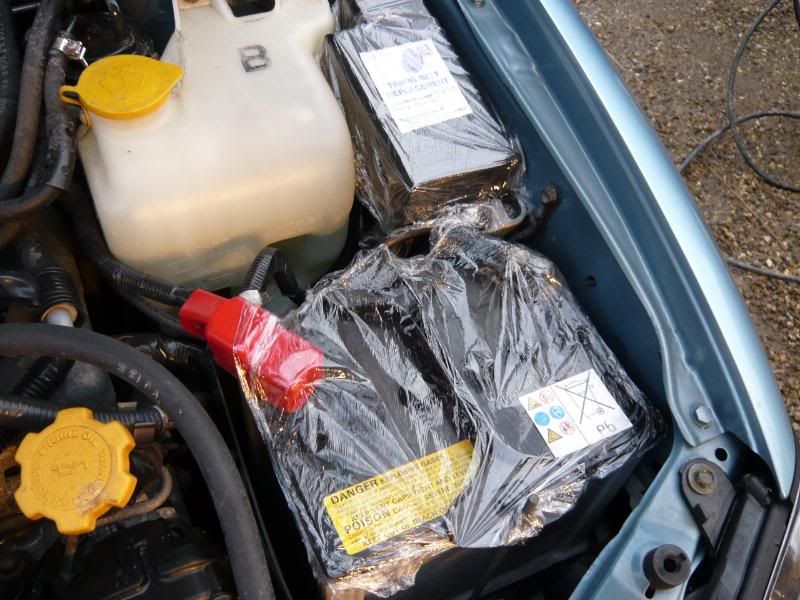
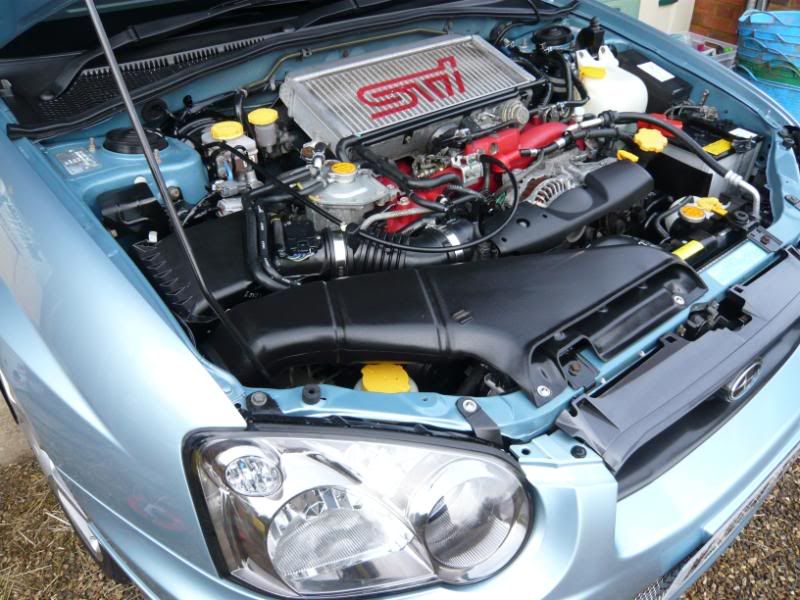
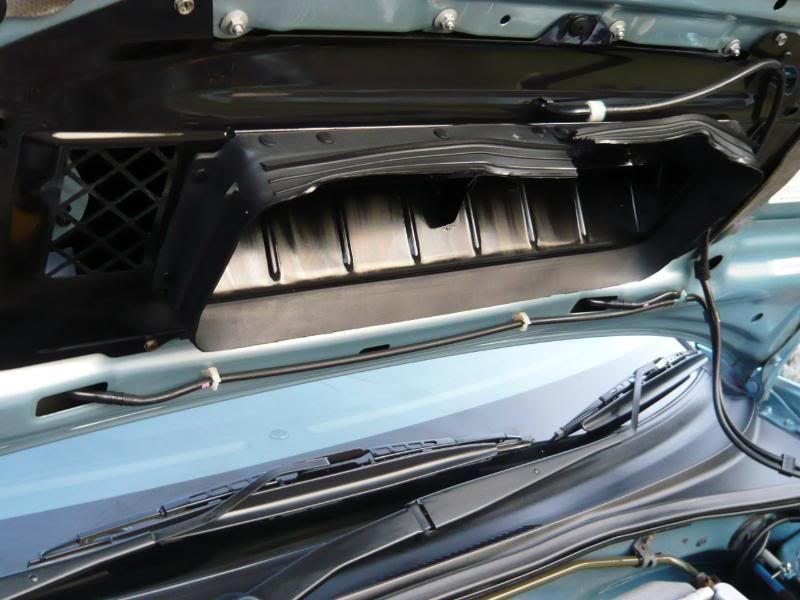
Moving onto the engine bay.
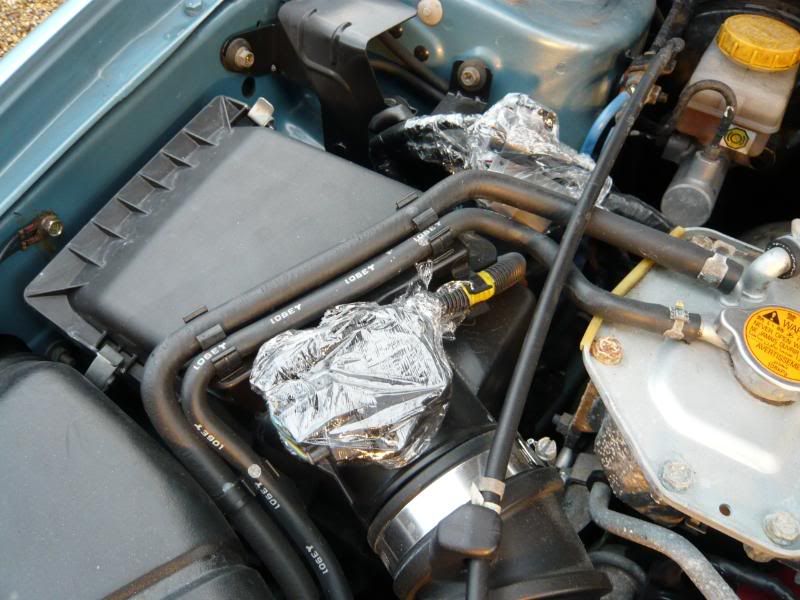
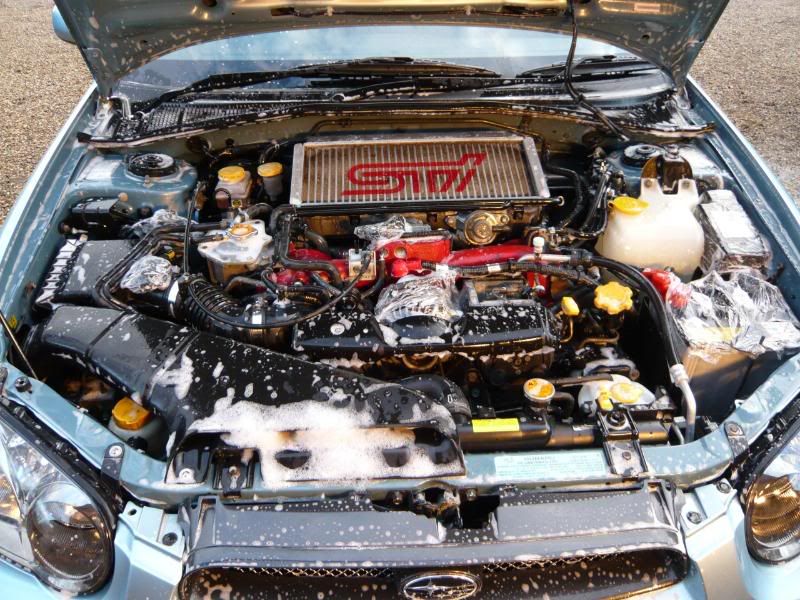
I covered any major electrical parts with clingfilm. It was then washed with a hot Shampoo Plus solution, rinsed and then left to dwell for 5 mins in Meguiars APC.
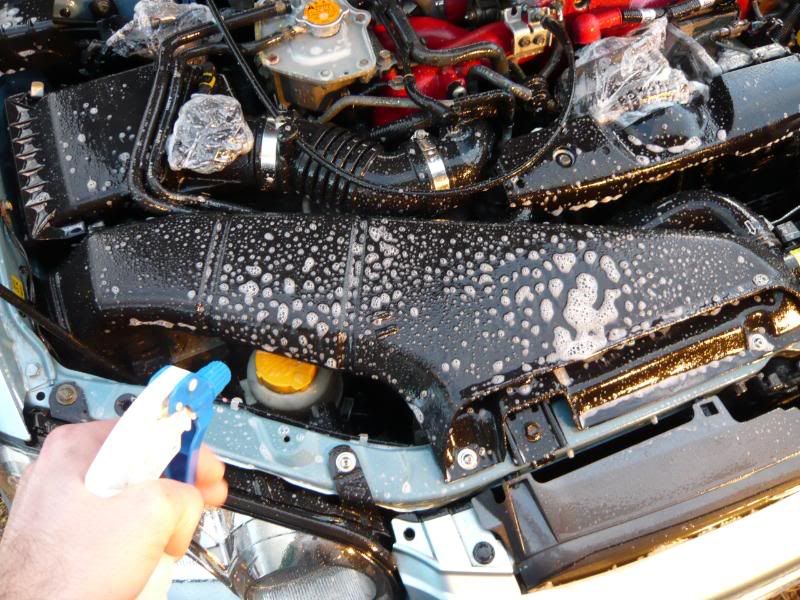
It was then scrubbed using a toothbrush.
And finally, rinsed off.
The vehicle was then washed using the 2 bucket method and Shampoo Plus.
It was then tucked away for the night.

Next morning, i had to stop and say good morning to the littl'un on the way past
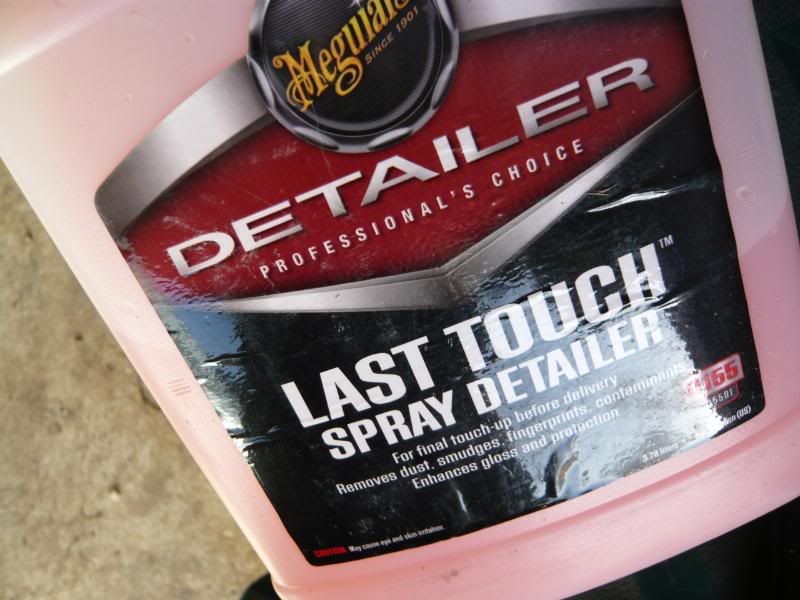
The vehicle was dusted down using Meguiars Last Touch.
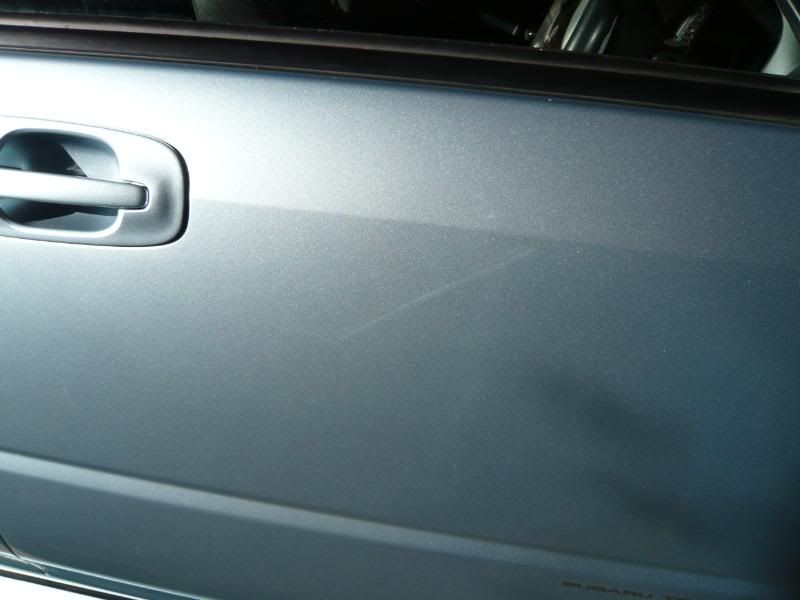
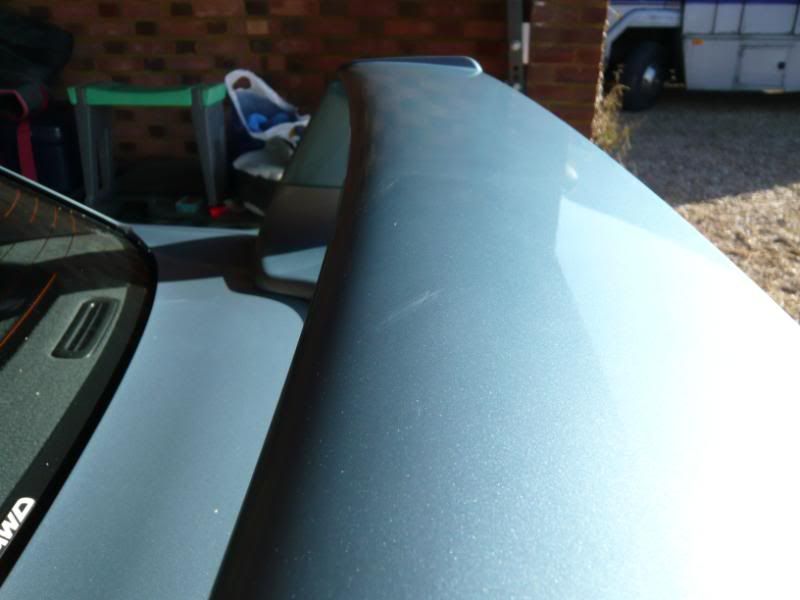
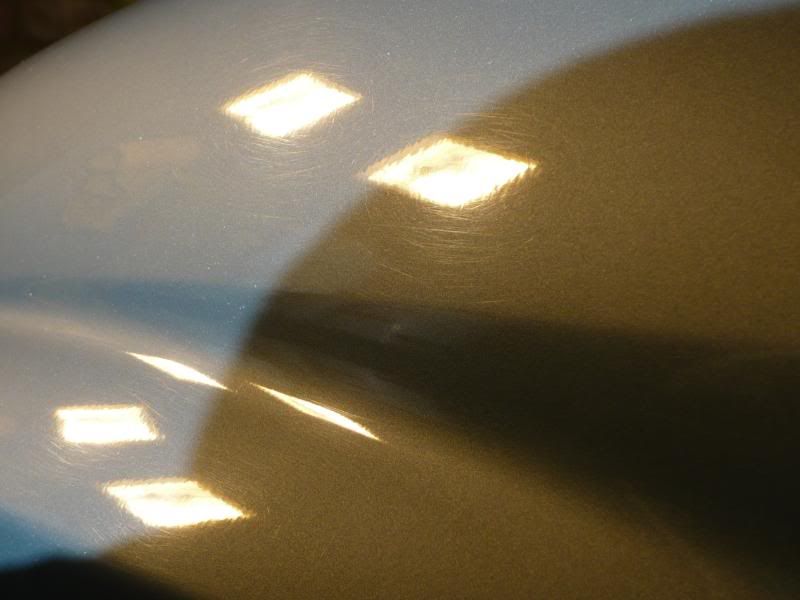
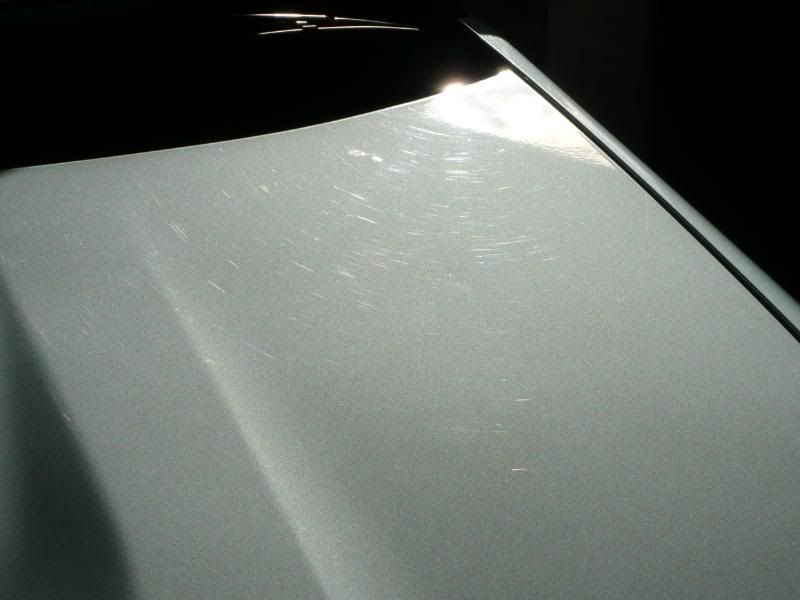
As the sun was out it was showing a few paint defects in the light.
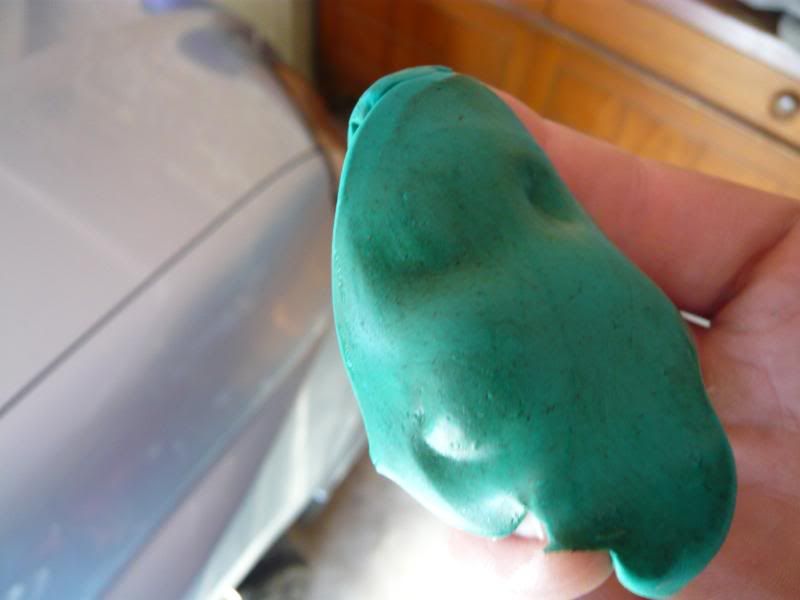
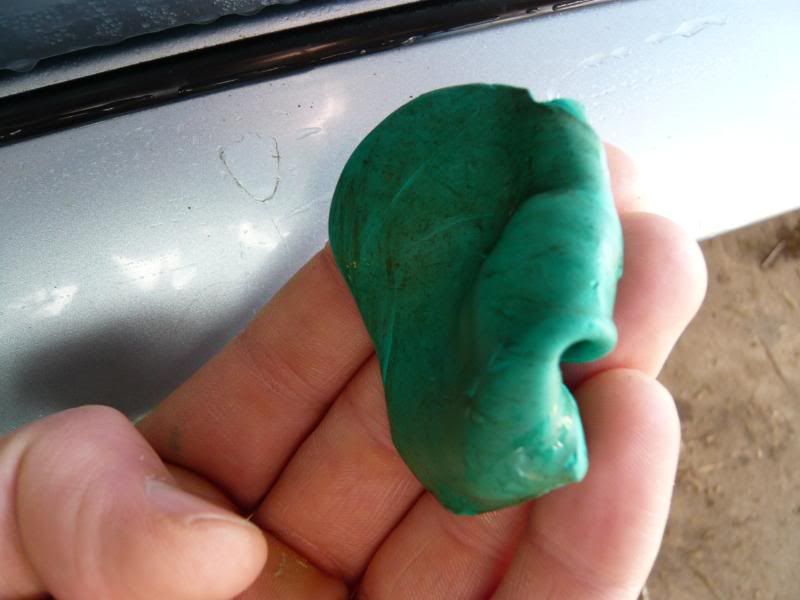
Now onto the claying. The front wing.
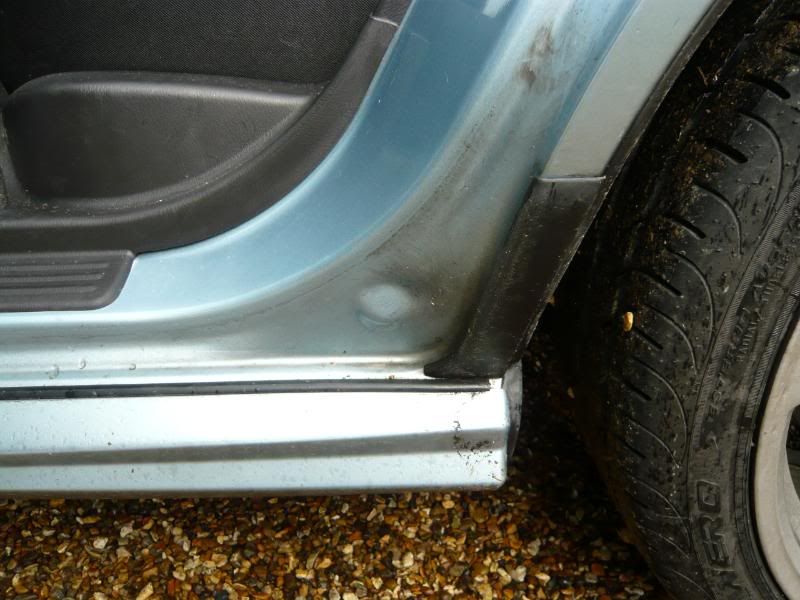
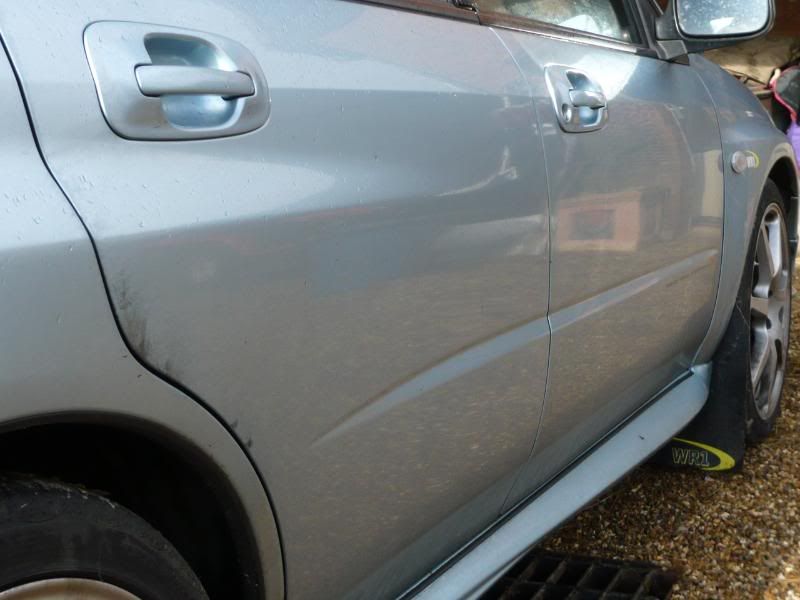
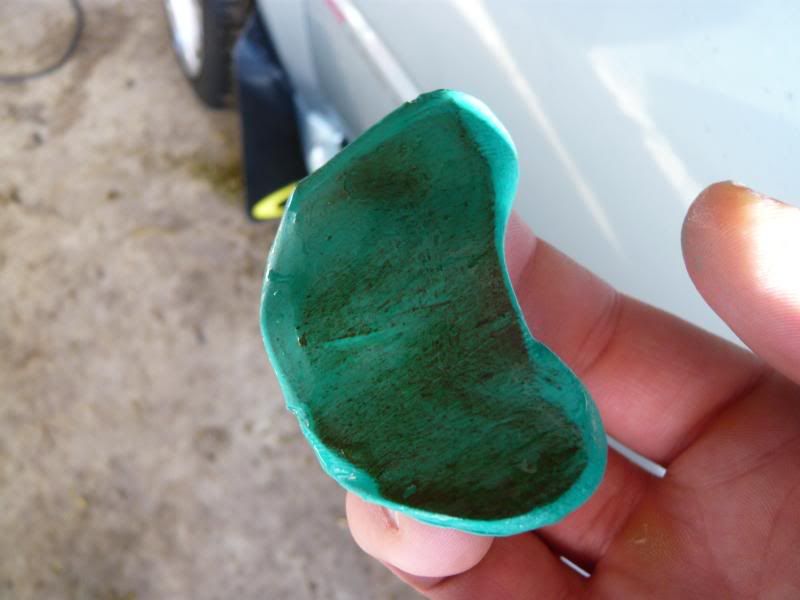
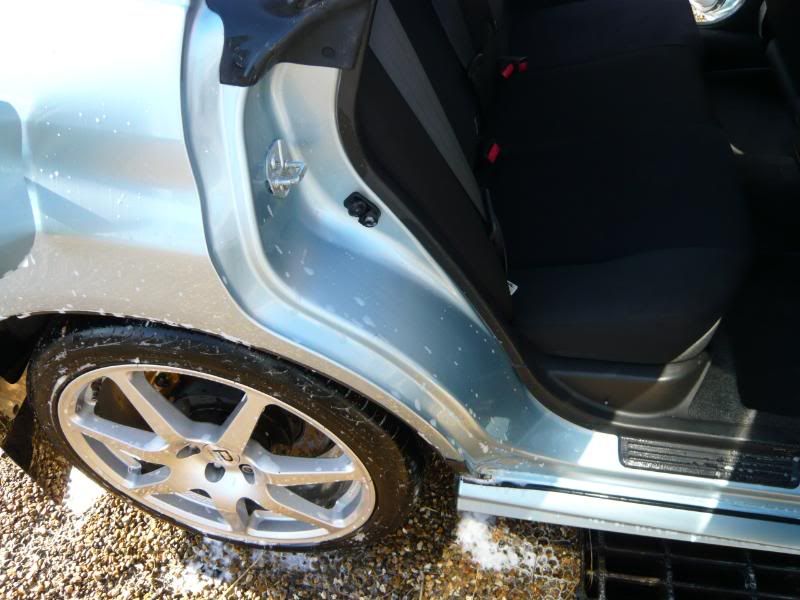
The lower halfs of the doors, as expected, were terrible and shows just how important the claying procedure is when looking for an exquisite finish.
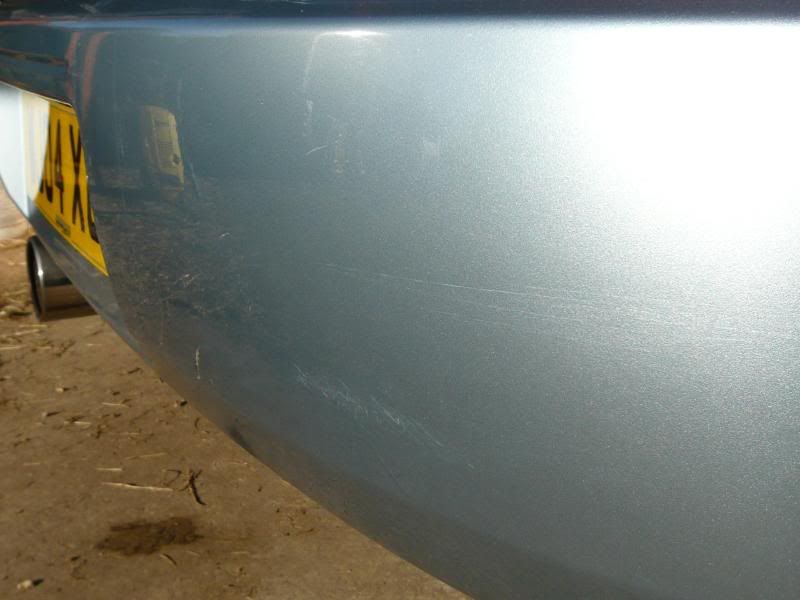
The side skirts also not great. Small chip in the clearcoat noted before machine polishing.
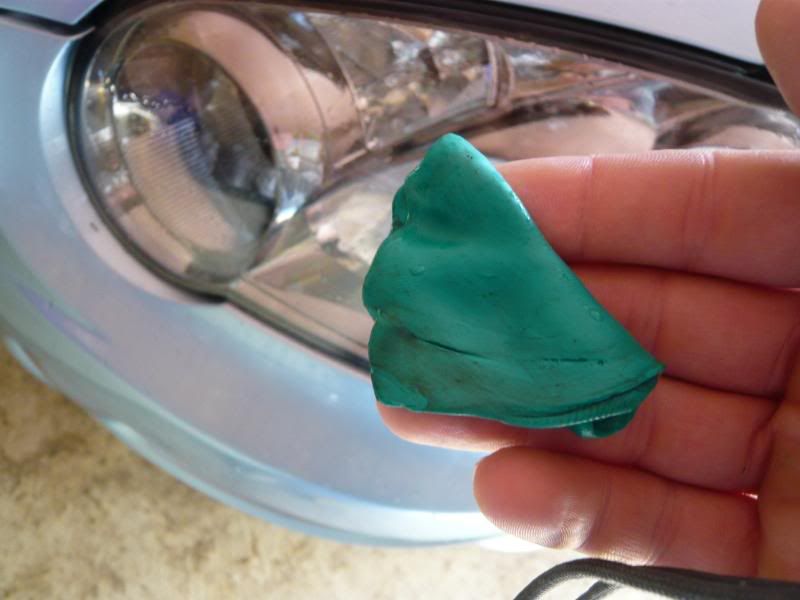
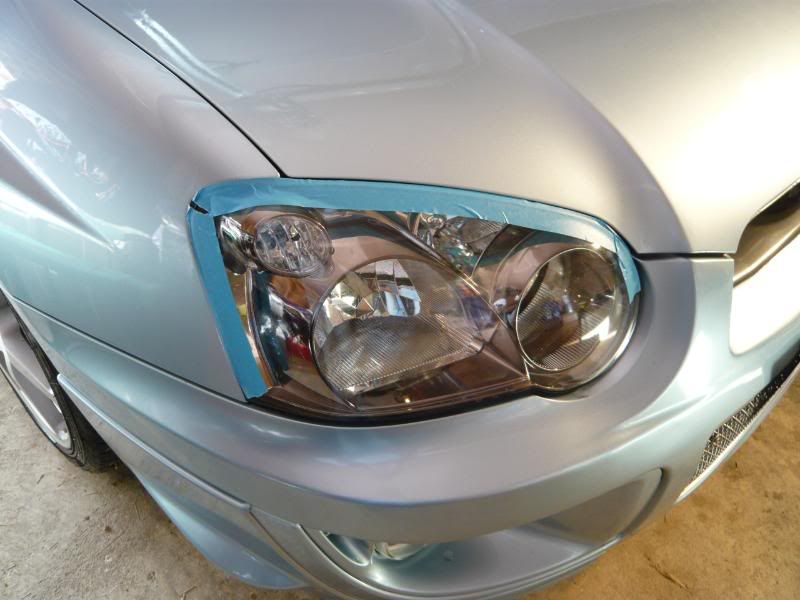
The lights were also clayed.
It was then taken outside and washed again using the 2 bucket method.
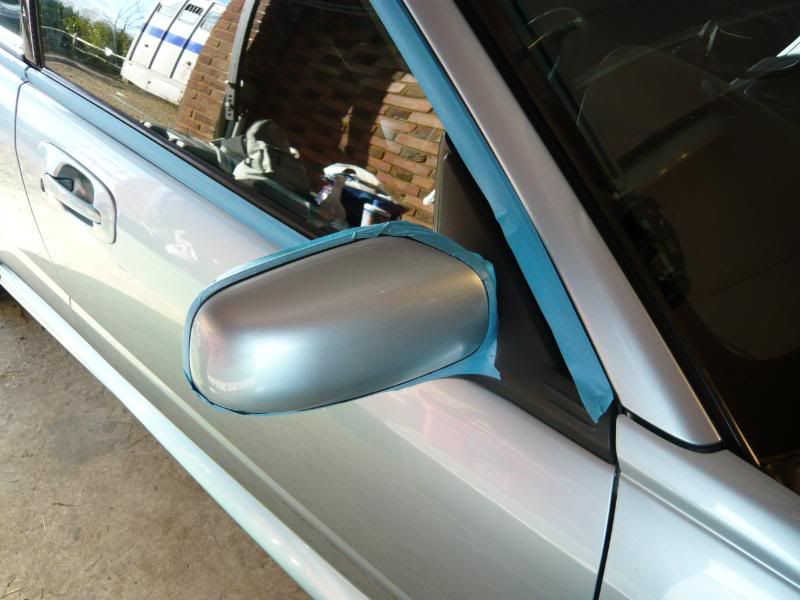
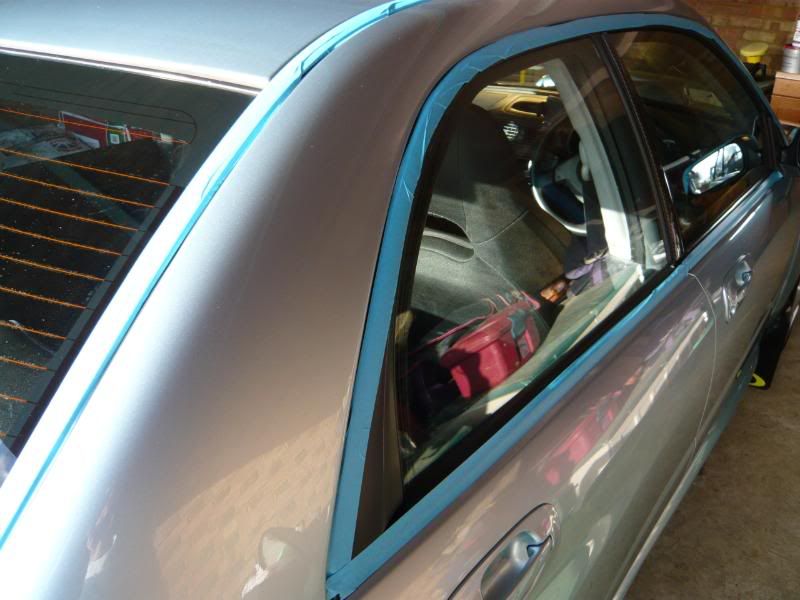
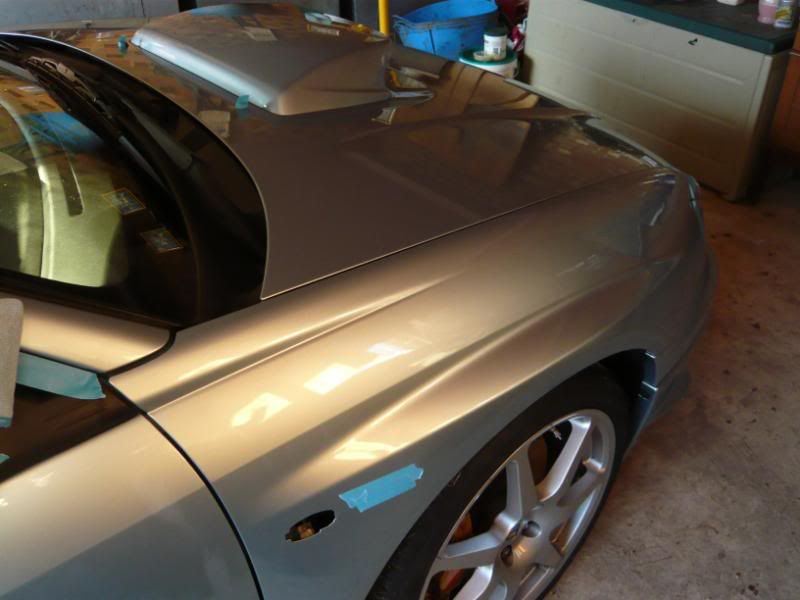
The vehicle was then taped up ready for machine polishing, including any stickers. The side repeaters were also removed to aid the process.

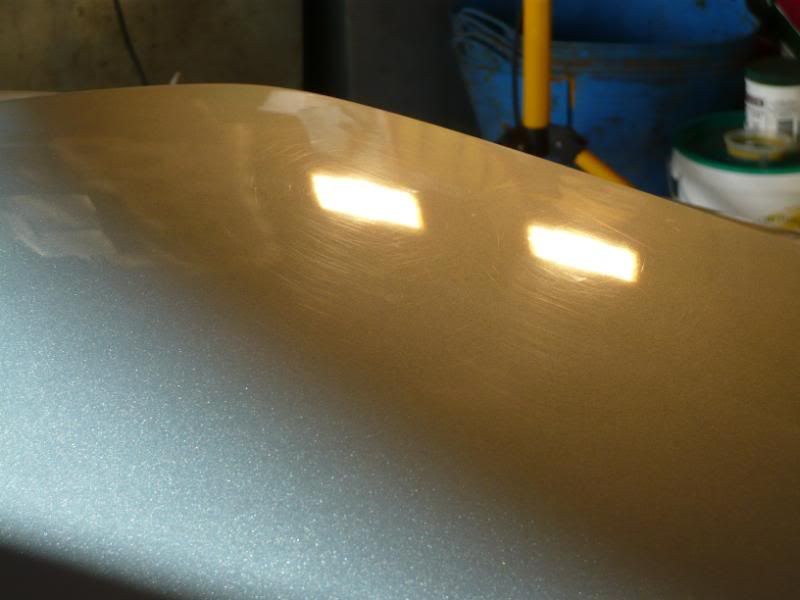
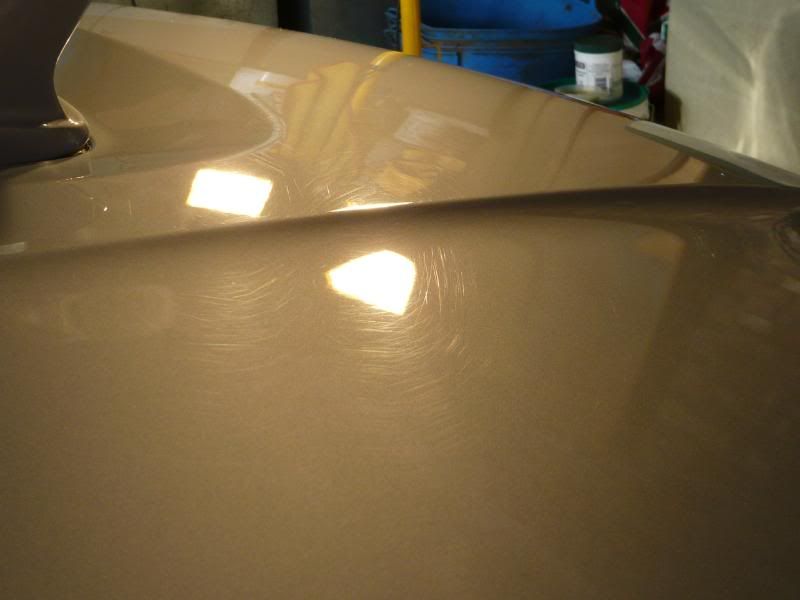
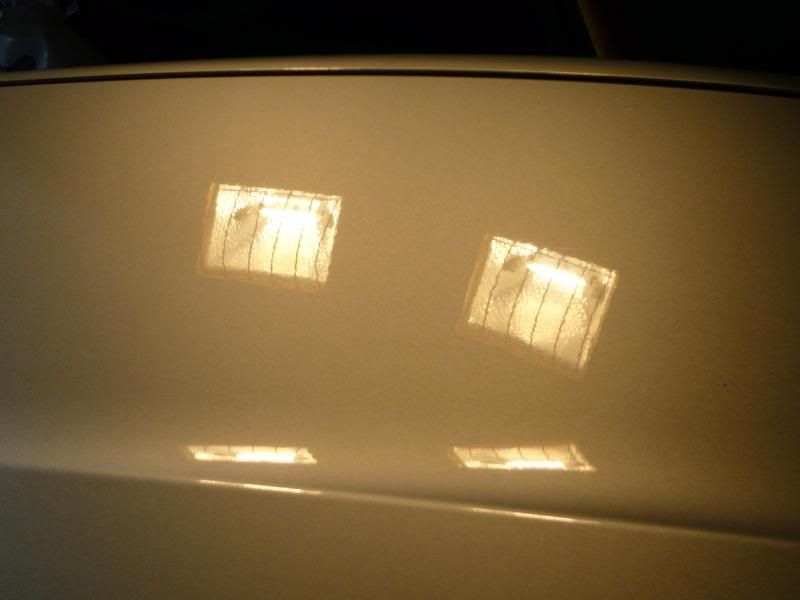
Under the halogen lights the paint condition was now much clearer to see.
I used the Makita rotary, Menzerna 106FA and a 3M 150mm Polishing Pad, with 80mm spot pads for tighter areas. Front passenger wing corrected.
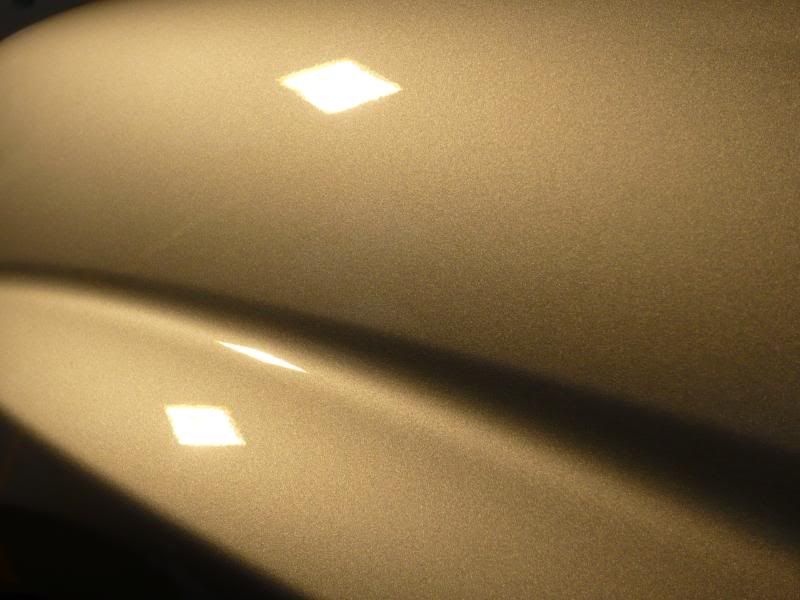
Bonnet corrected.
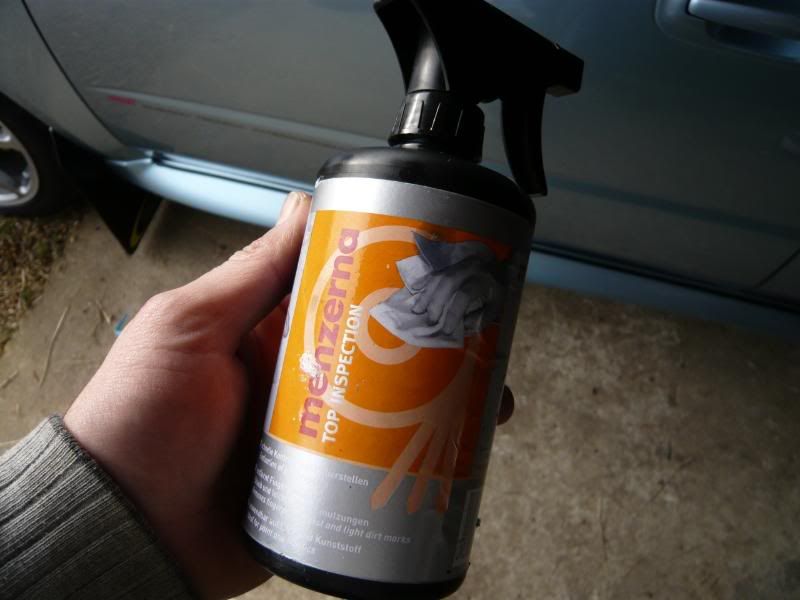
The vehicle was then dusted down using Menzerna Top Inspection to remove any polishing oils.
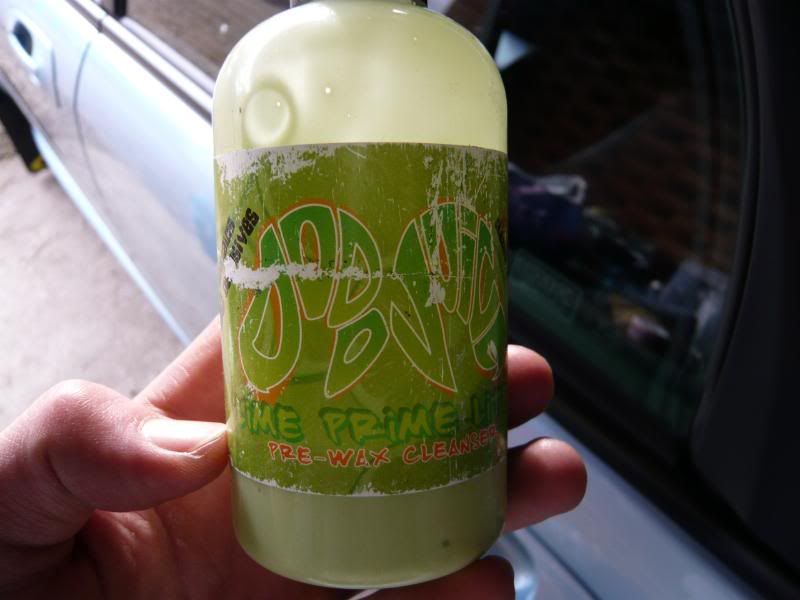
Dodo Juice Lime Prime lite was the chosen glaze / pre wax cleanser. This was applied by hand per panel and buffed straight off.
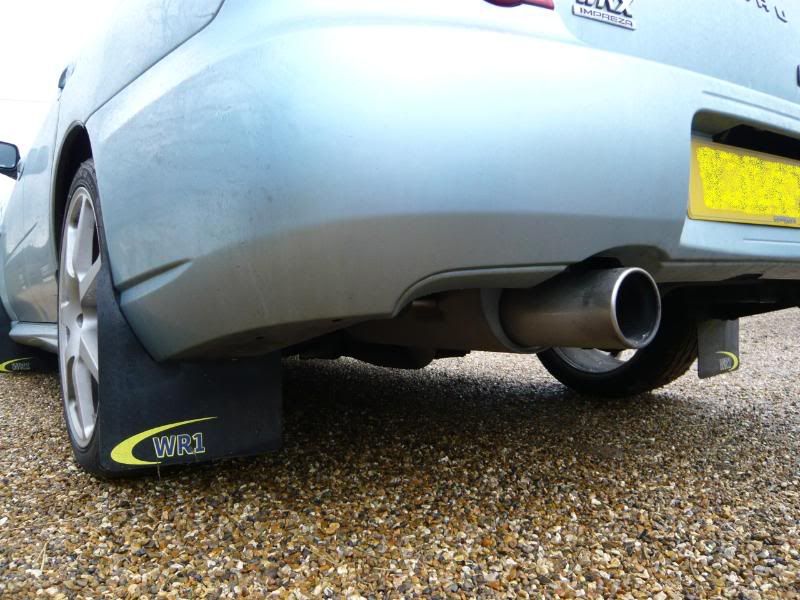
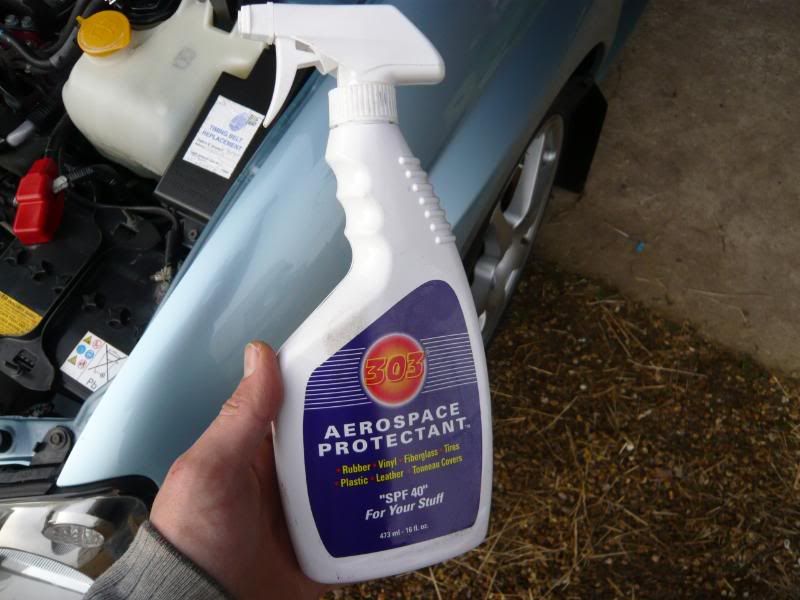
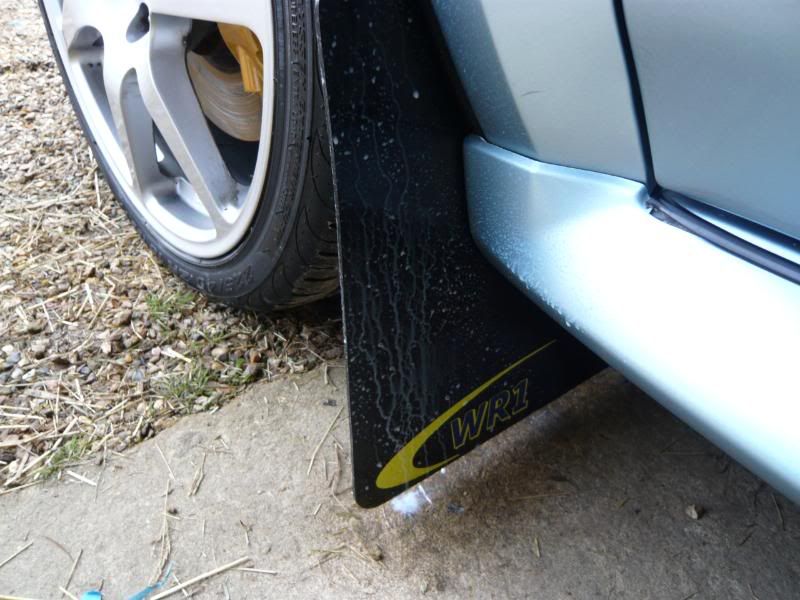
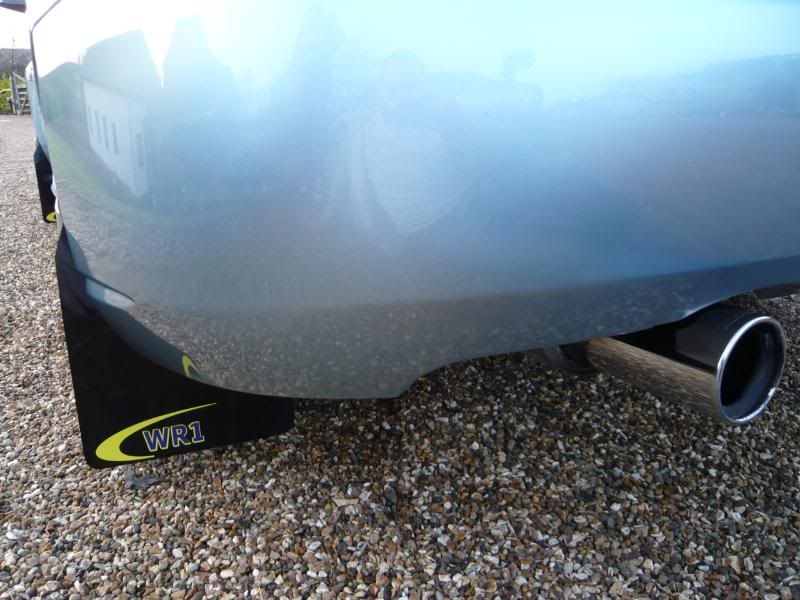
Aerospace 303 was applied to the mud flaps as well as the plastics and rubbers in the engine bay.
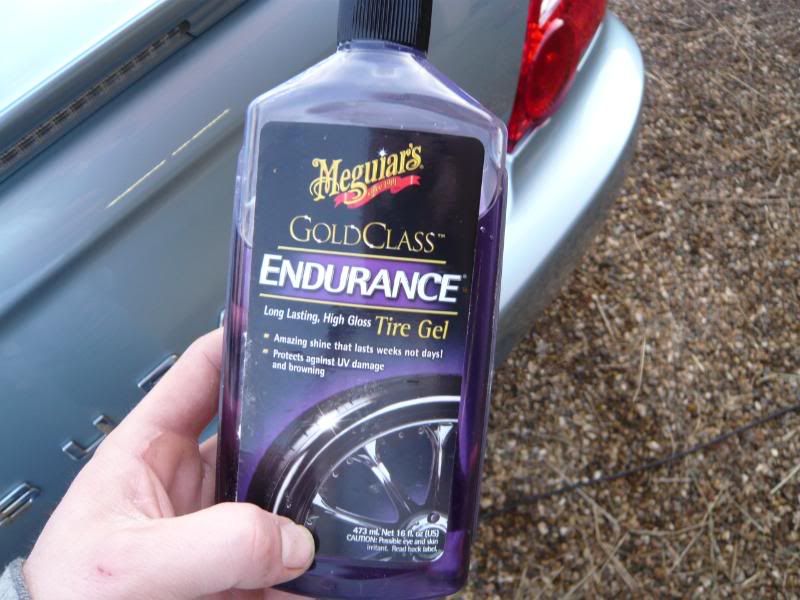
2 Coats of Meguiars Endurance Tyre Gel was applied to the tyres.
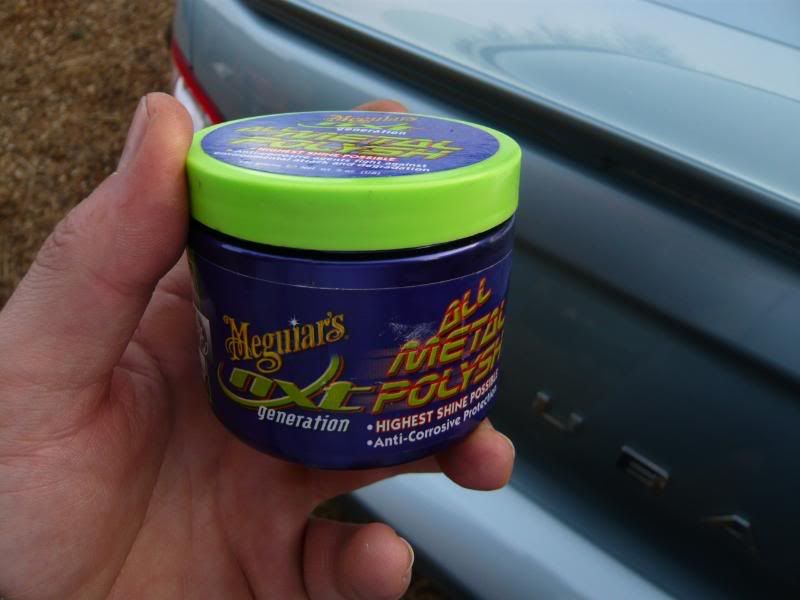
The exhaust was polished using Meguiars NXT Metal Polish.
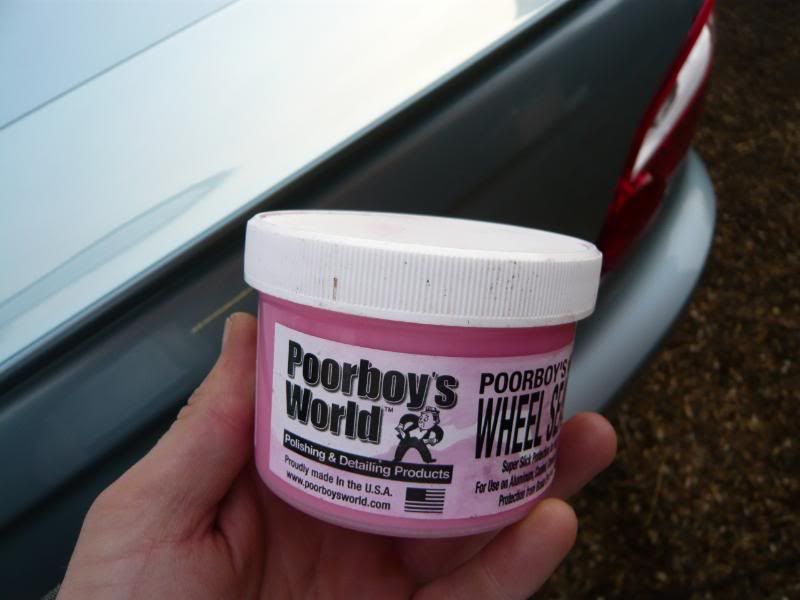
The wheels were treated with 2 coats of Poorboys Wheel Sealant.
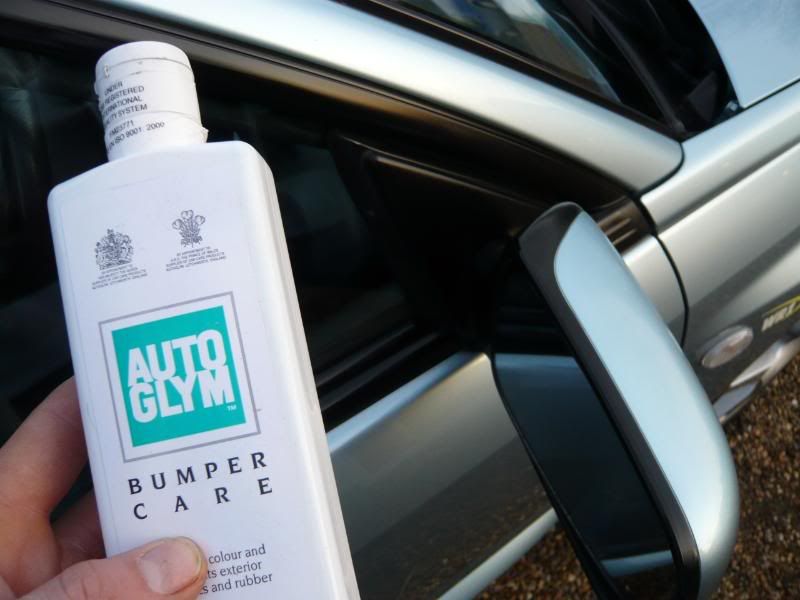
Exterior plastics and door rubbers were treated with Autoglym Bumper Care.
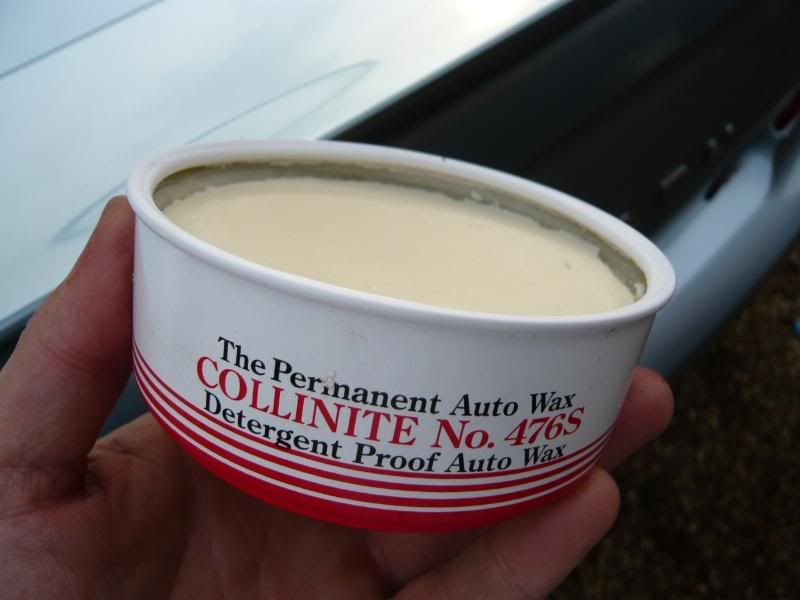
Due to the time of year, the chosen wax was Collinite 476s. Its lovely to use, produces fantastic results and has an even better durability, perfect.
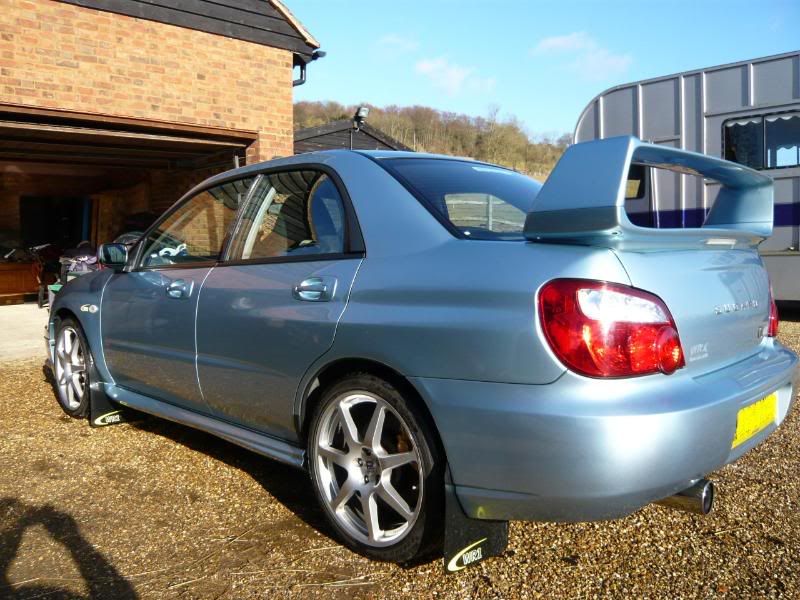
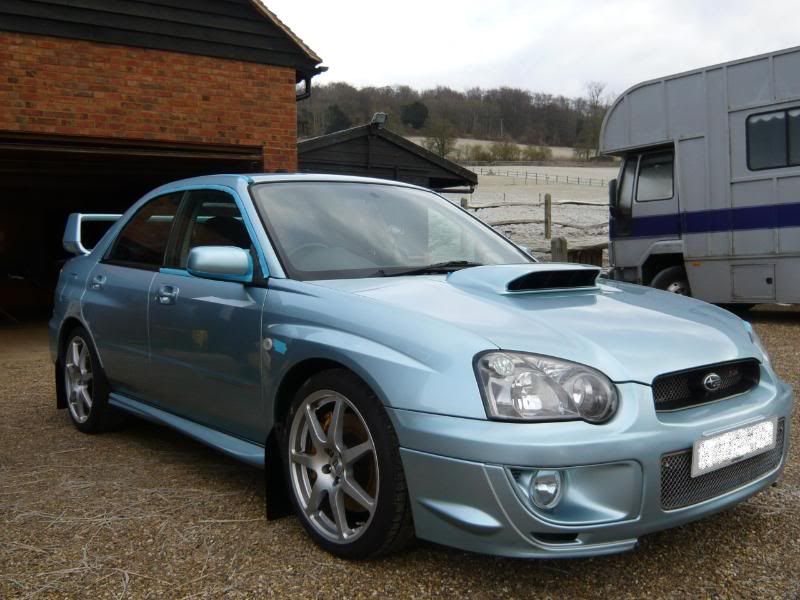
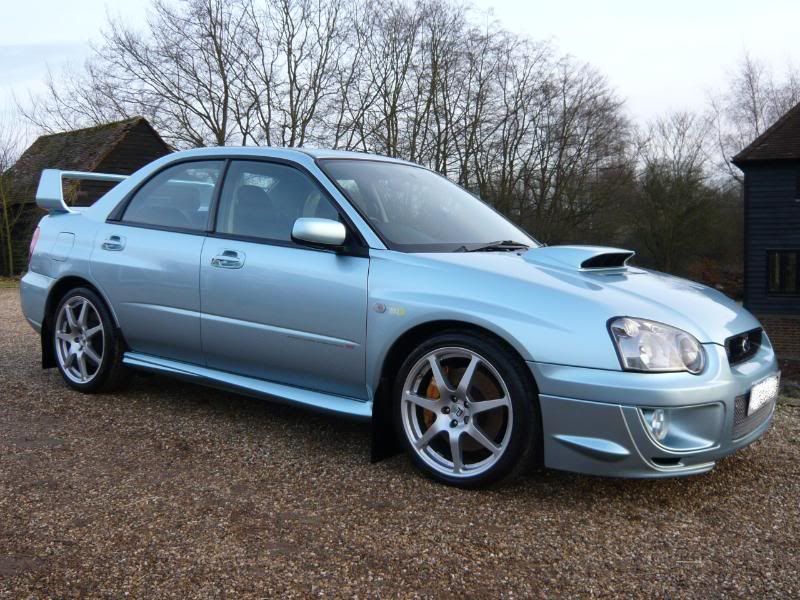
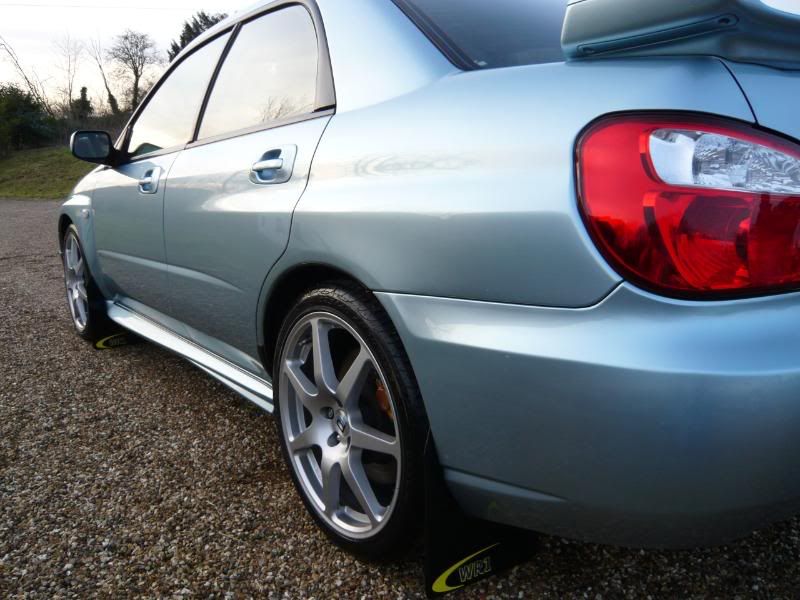
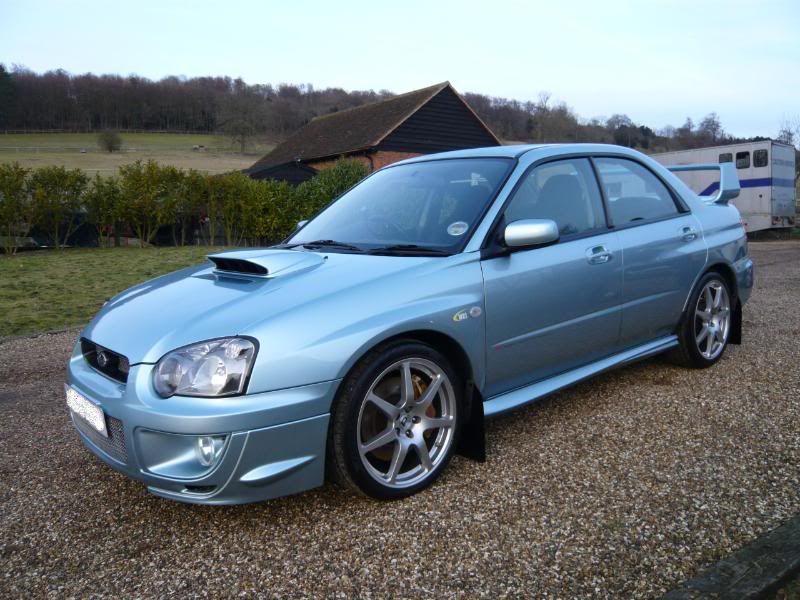
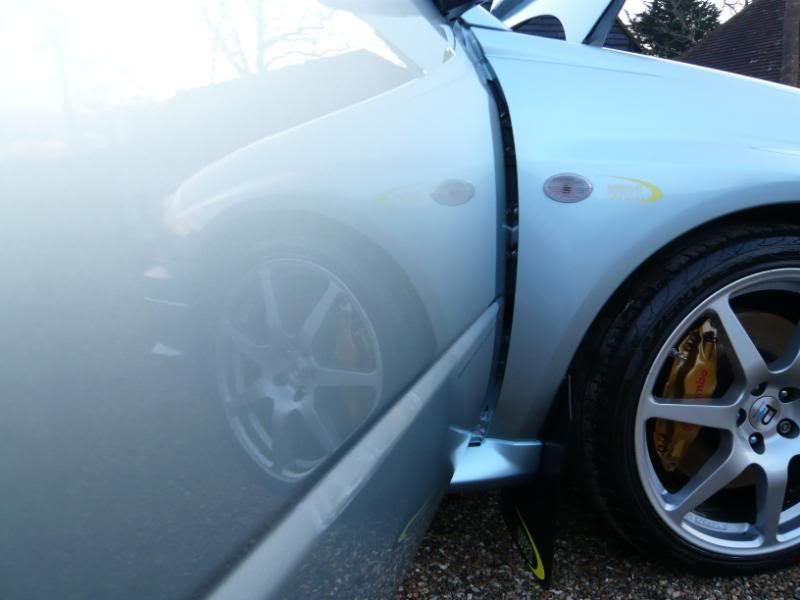
Lastly i fitted the 3 chrome badges to the boot lid. Here are the final pics.
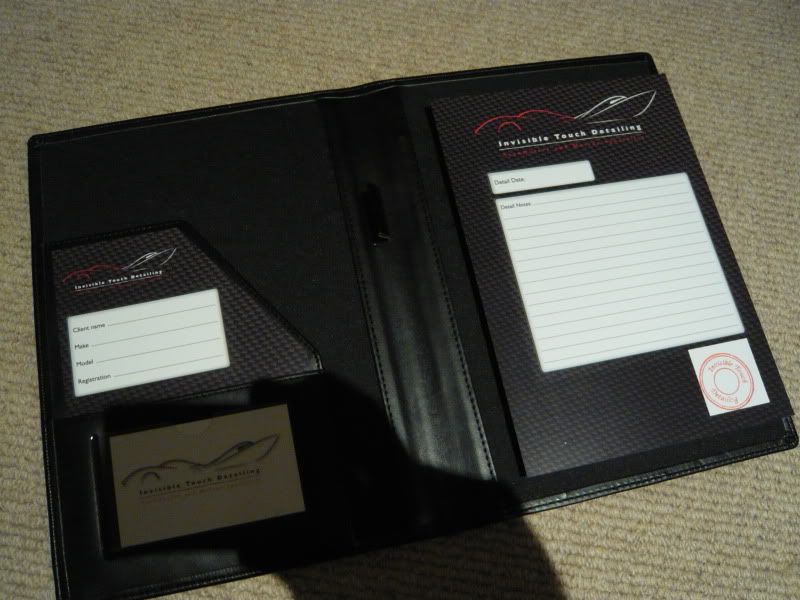
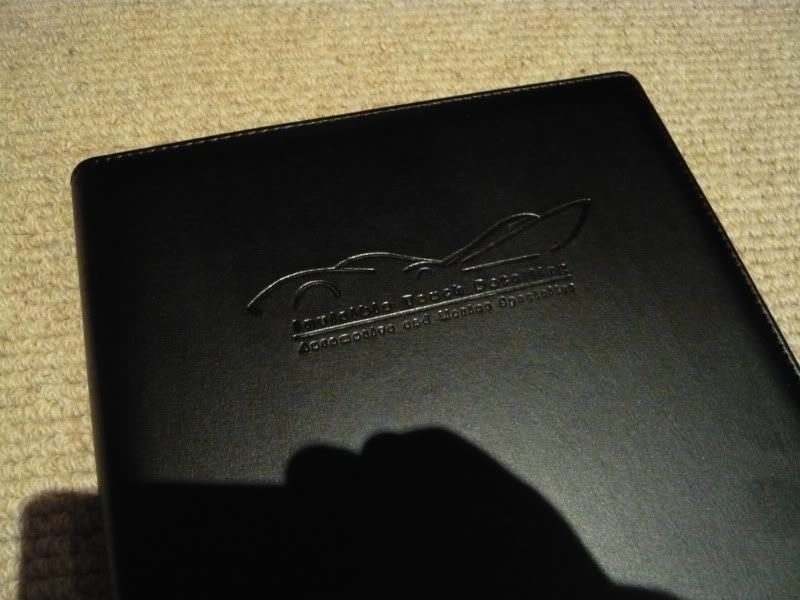
And finally, the Invisible Touch Detailing Service Book was prepared for the client. This contains a record of the processes carried out.
Overall, a thoroughly enjoyable vehicle to work on although it could have been warmer at times Thankyou for looking.
Christian
This w'end i was asked to carry out a Stage 1 Paint Correction and Engine Bay treatment by a member from this forum, on this lovely WR1.
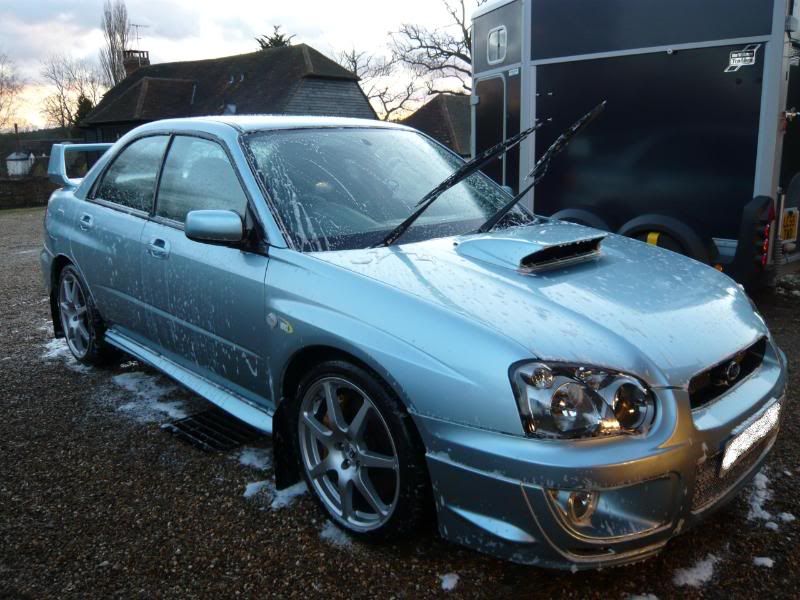
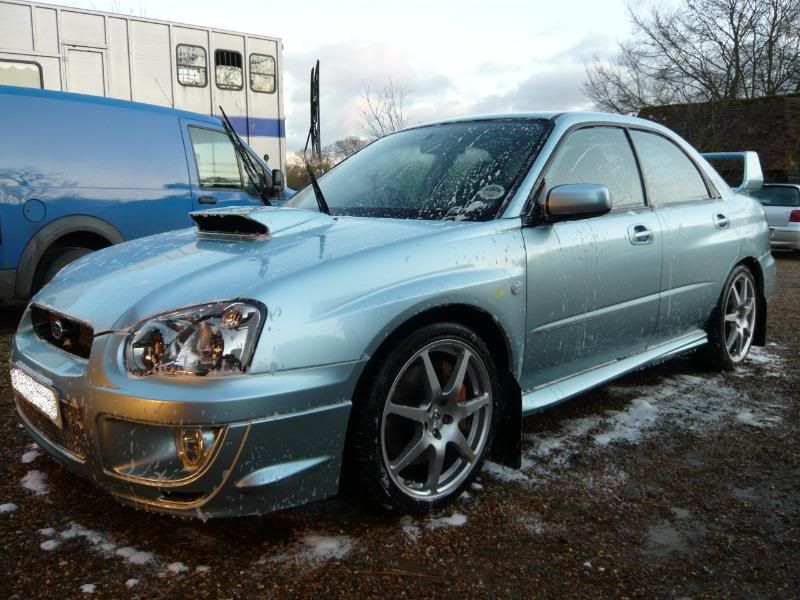
These were the photos of the vehicle on arrival. Lots of baked on brake dust and the paintwork in typical condition for this time of year.
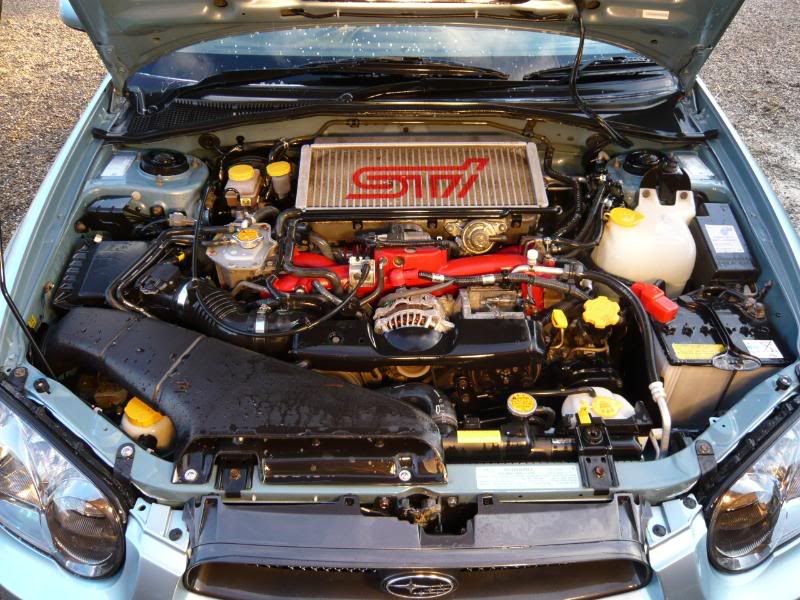
The engine bay on arrival.
I was asked by the client to remove the WRX, Impreza and STI badges from the boot lid and refit a chrome WR1 badge which he supplied.
I softened the badges with hot water and removed them using fishing line. Leaving this.
As the sun came out briefly, 1 last picture and current reflection shot before the wash process.
[IMG]http://i27.photobucket.com/albums/c194/Stonkin/Subaru%20Impreza%
20WR1/P1040476.jpg[/IMG]
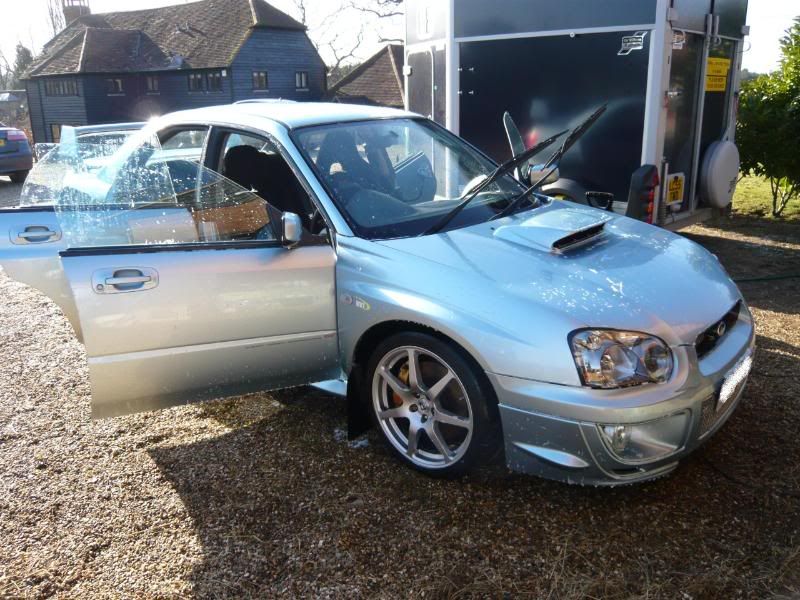
The vehicle was jet washed down and then snow foamed to loosen any dirt before washing with a wash mitt, to avoid inflicting any further paint defects.
The tyres, arches, door and boot shuts were sprayed with Meguiars APC and left to dwell before being agitated with brushes.
The wheels were left to soak in Bilberry for 5 mins before being jet washed and then washed with a wash mitt and wheel brush in a hot, Shampoo Plus solution. Some areas of baked on brake dust were also clayed where required.
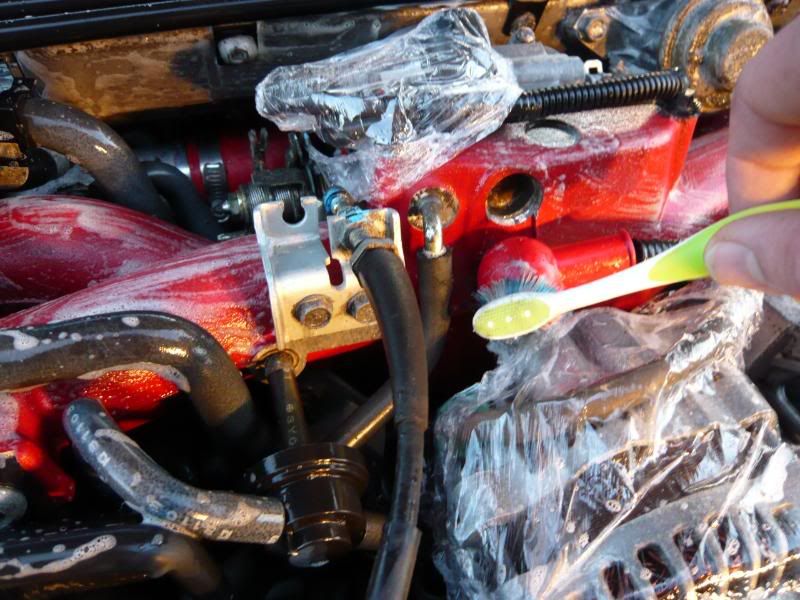
Moving onto the engine bay.
I covered any major electrical parts with clingfilm. It was then washed with a hot Shampoo Plus solution, rinsed and then left to dwell for 5 mins in Meguiars APC.
It was then scrubbed using a toothbrush.
And finally, rinsed off.
The vehicle was then washed using the 2 bucket method and Shampoo Plus.
It was then tucked away for the night.
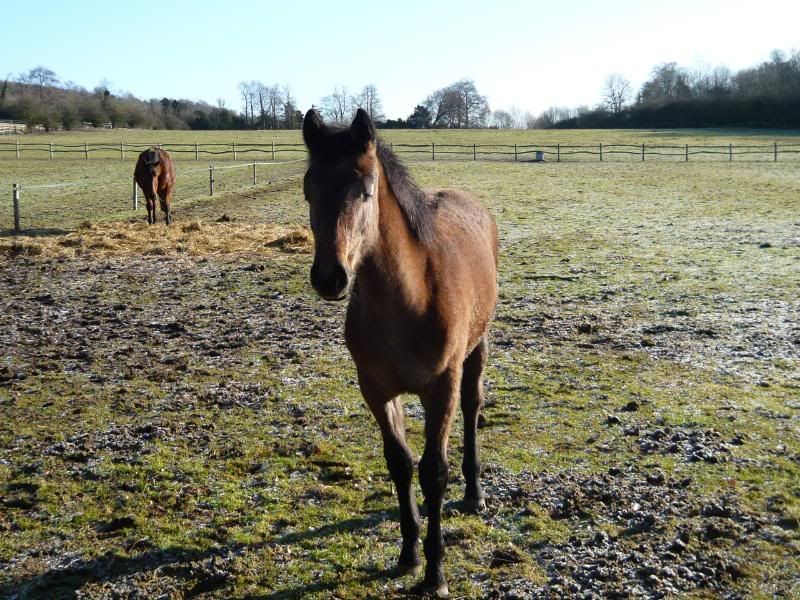
Next morning, i had to stop and say good morning to the littl'un on the way past
The vehicle was dusted down using Meguiars Last Touch.
As the sun was out it was showing a few paint defects in the light.
Now onto the claying. The front wing.
The lower halfs of the doors, as expected, were terrible and shows just how important the claying procedure is when looking for an exquisite finish.
The side skirts also not great. Small chip in the clearcoat noted before machine polishing.
The lights were also clayed.
It was then taken outside and washed again using the 2 bucket method.
The vehicle was then taped up ready for machine polishing, including any stickers. The side repeaters were also removed to aid the process.
Under the halogen lights the paint condition was now much clearer to see.
I used the Makita rotary, Menzerna 106FA and a 3M 150mm Polishing Pad, with 80mm spot pads for tighter areas. Front passenger wing corrected.
Bonnet corrected.
The vehicle was then dusted down using Menzerna Top Inspection to remove any polishing oils.
Dodo Juice Lime Prime lite was the chosen glaze / pre wax cleanser. This was applied by hand per panel and buffed straight off.
Aerospace 303 was applied to the mud flaps as well as the plastics and rubbers in the engine bay.
2 Coats of Meguiars Endurance Tyre Gel was applied to the tyres.
The exhaust was polished using Meguiars NXT Metal Polish.
The wheels were treated with 2 coats of Poorboys Wheel Sealant.
Exterior plastics and door rubbers were treated with Autoglym Bumper Care.
Due to the time of year, the chosen wax was Collinite 476s. Its lovely to use, produces fantastic results and has an even better durability, perfect.
Lastly i fitted the 3 chrome badges to the boot lid. Here are the final pics.
And finally, the Invisible Touch Detailing Service Book was prepared for the client. This contains a record of the processes carried out.
Overall, a thoroughly enjoyable vehicle to work on although it could have been warmer at times
Christian
