Impreza WR1 #255 Fully Detailed...
I Finally got the time to spend a few days on my own car recently to get it looking its best for the summer 
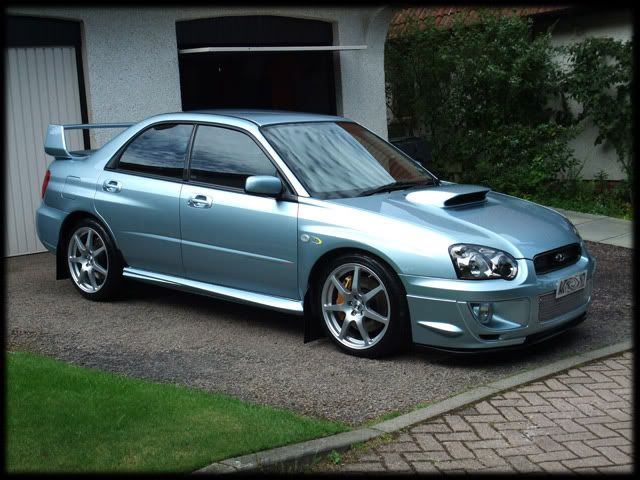
Here it is looking about as dirty as it ever gets in all honesty:
Usually the next pic you see is the pre-foam but first of all it was reversed onto a set of ramps...
Over the winter I'd spent a couple of weeks cleaning the underside and polishing up the exhaust and rear diff casing etc. I was meant to post pics of the full thing but I've completely lost them on my computer, I can only assume I deleted them by mistake or something
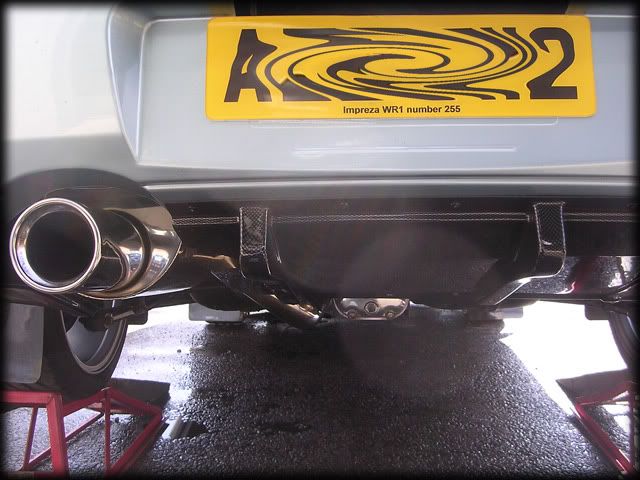
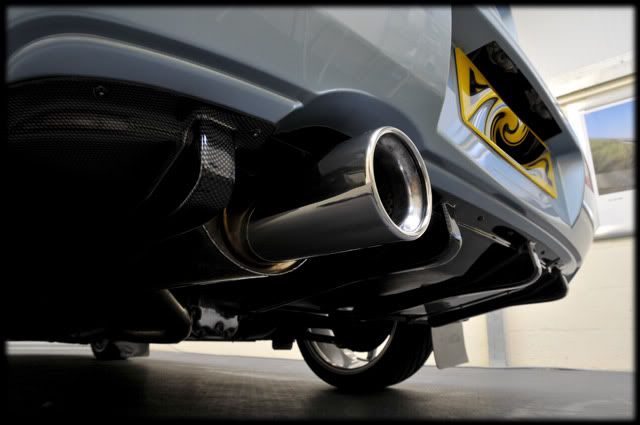
The only pic I have is a before one of the exhaust/diff:
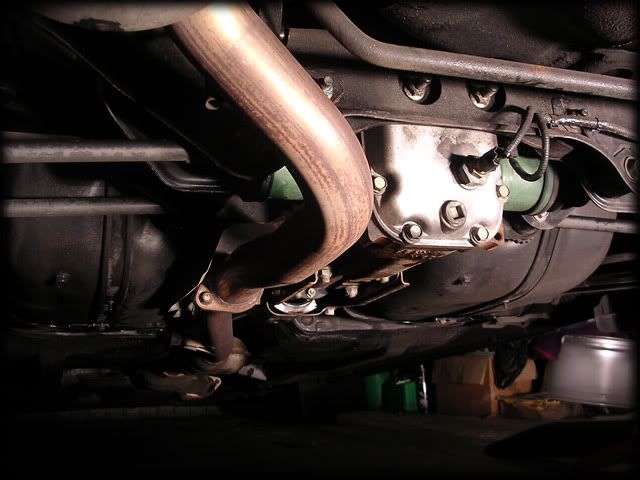
And here it is after I'd used a combination of sandpaper, Blackfire Wool Metal Pads and polishes and the Rotary/dremel:
Still pretty clean but occasionally the car does get driven in the rain (it's pampered but not THAT pampered :driver::D) so it had a small level of dirt that I wanted to remove in order to keep everything nice and clean.
So everything was soaked with R222 and left for 5 mins:
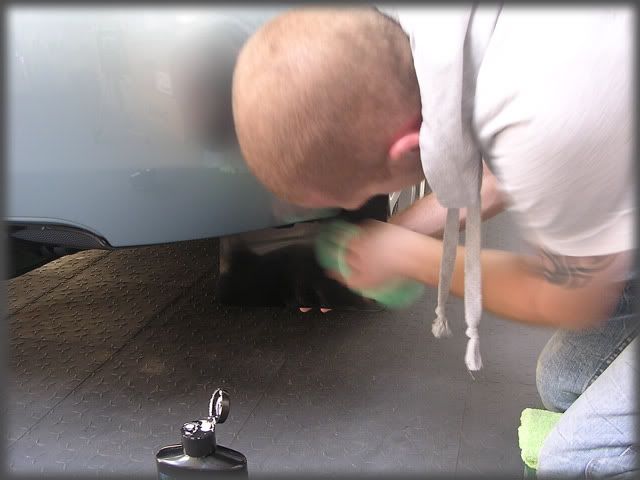
Then steam cleaned with the Karcher at 60/70 degrees:
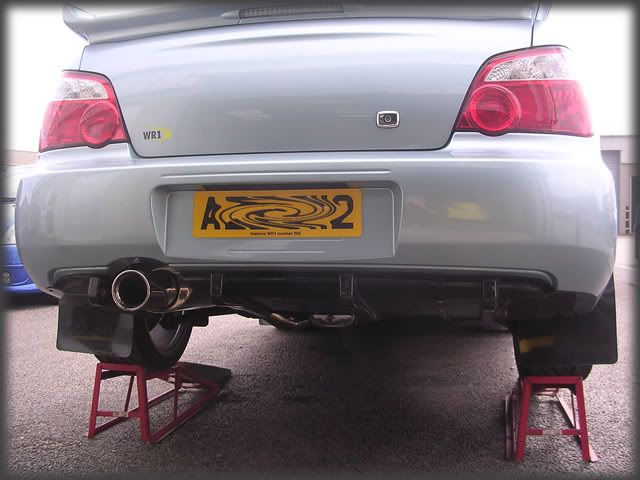
Due to all the black underseal it's never going to look "bling" like alot of your RS owners etc but it looks nice and clean anyways, these are a few pics after a quick blast off with the black baron drier:
I then gave the metal work a quick going over with Brilliant Show Metal Polish before taking the car off the ramps:
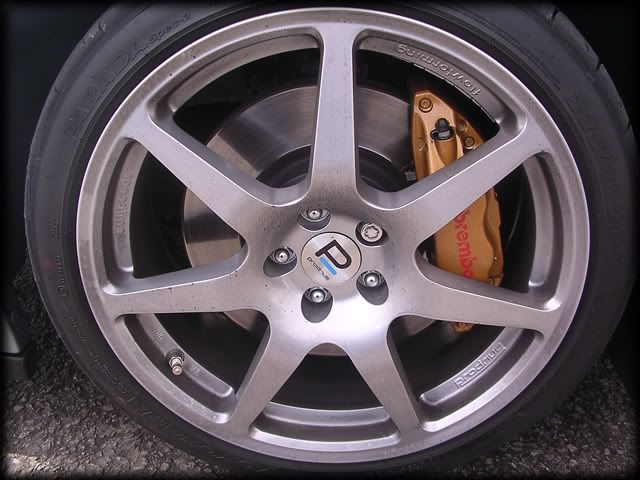
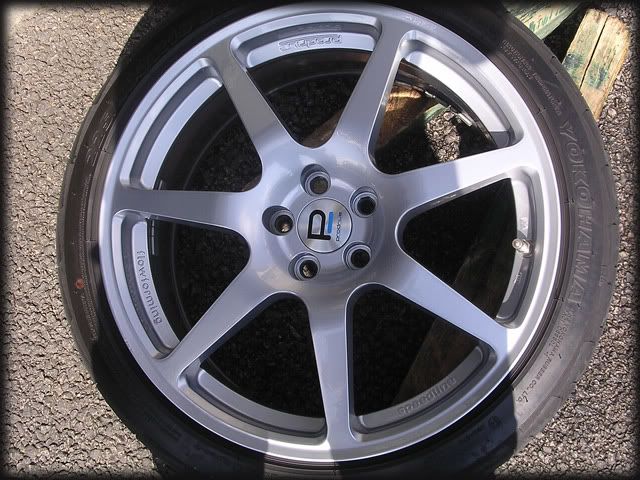
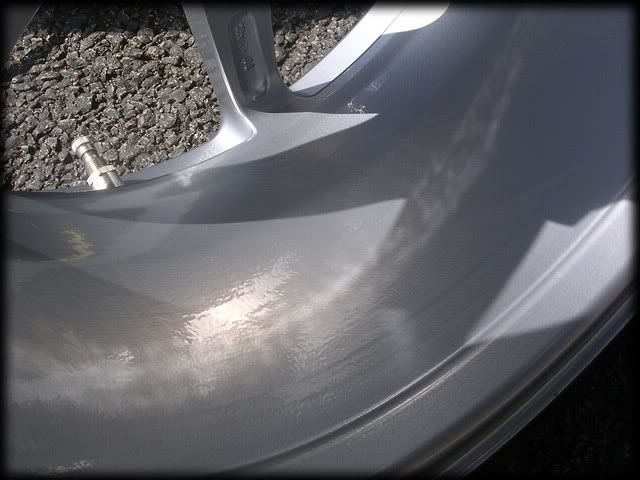
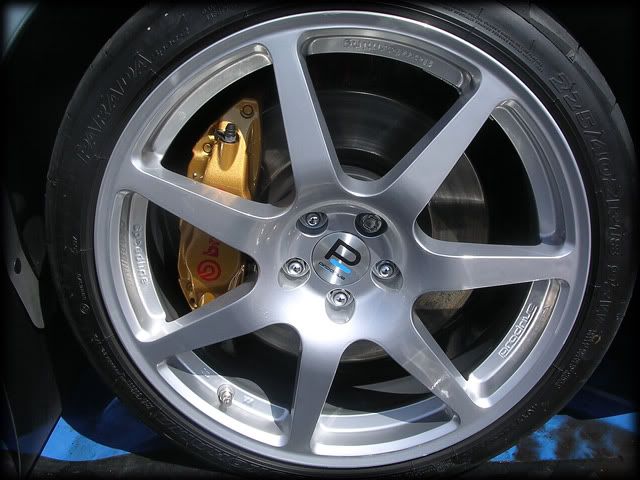
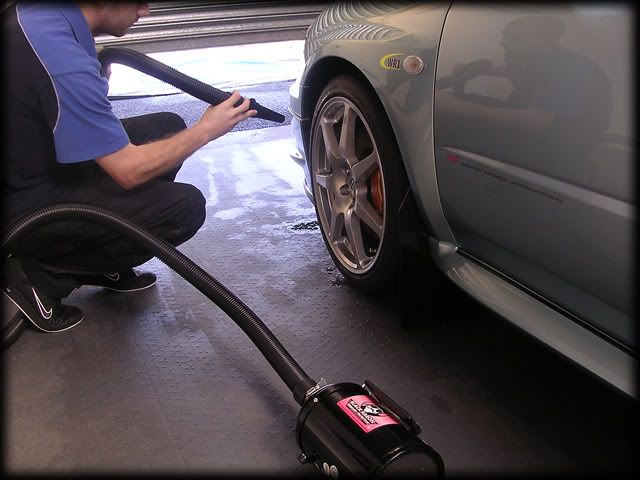
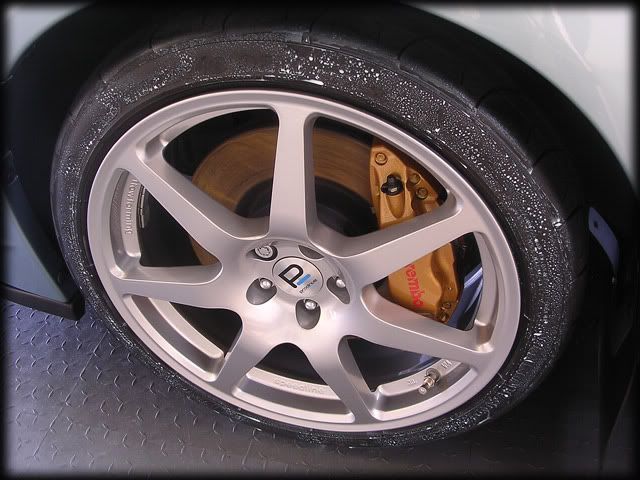
Next up was to remove and then clean/seal all 4 wheels. They were given a quick spray with APC then washed with a MF mitt, clayed and then sealed with Blackfire Metal Sealant:
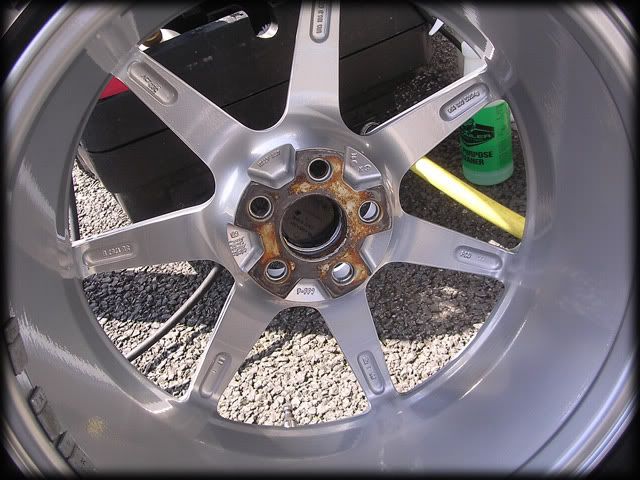
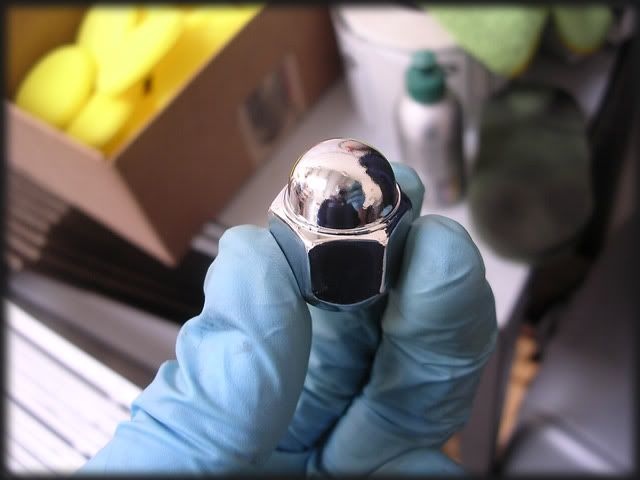
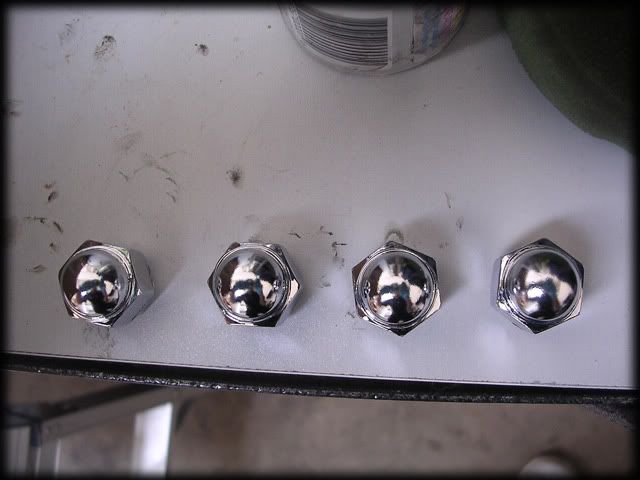
I also polished up my nuts
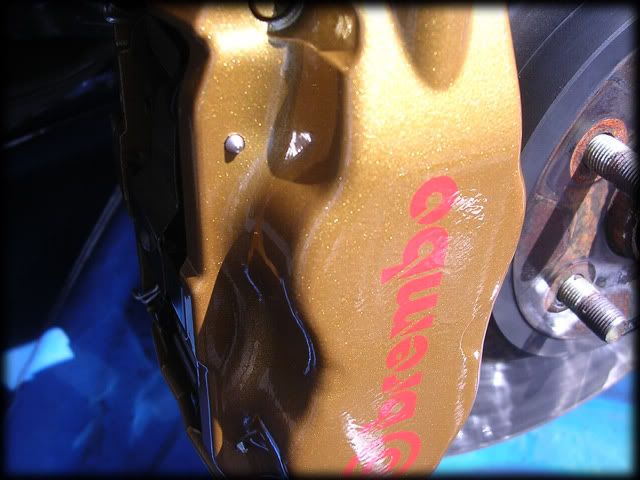
I had already given the arches a thorough clean before I put the car away for winter and they were still clean so no point with pics of those. The Calipers were sealed with Blackfire Metal Sealant aswell though:
1 down, 3 to go
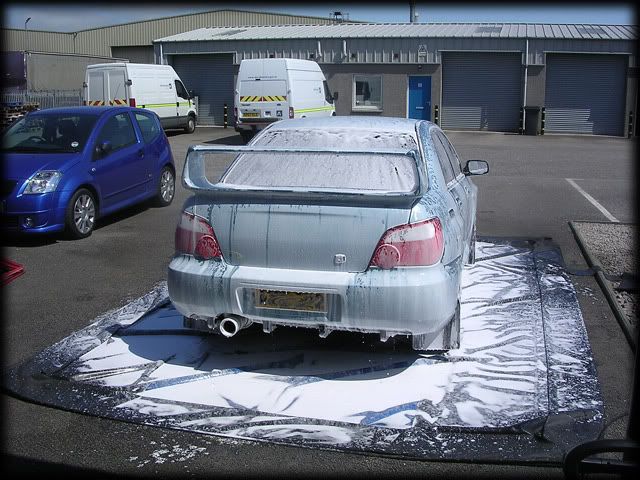
With all the wheels finally done I pre-foamed the car with APC:
The usual wash routine followed so I wont bother with pics.
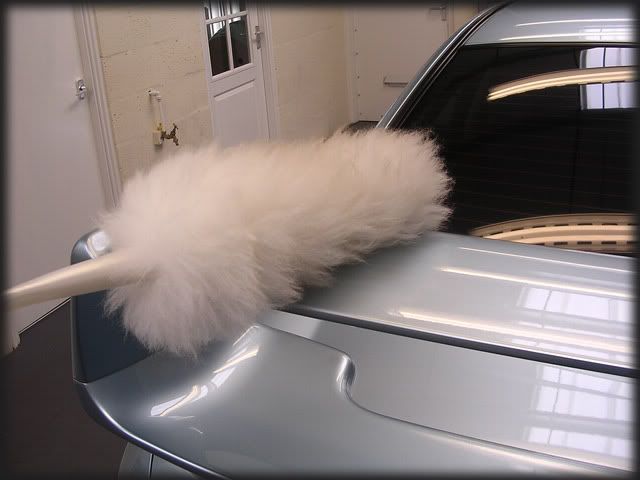
Following a quick clay with Gloss-It Mild then a re-wash I dried the car off with the new drier:
Then the 1st of 3 coats of Gloss-It Signature Tyre Dressing was applied:
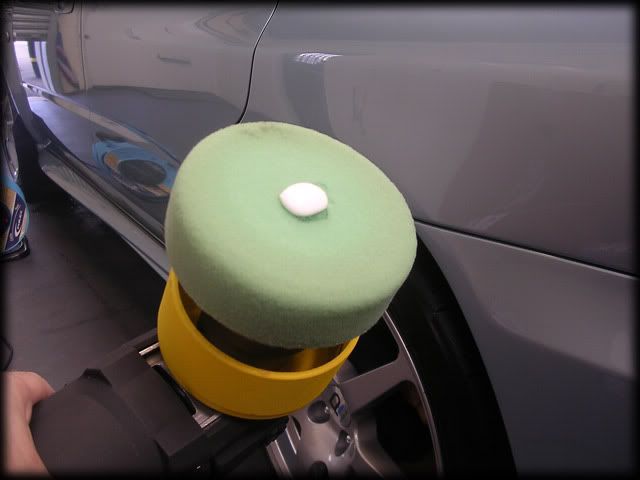
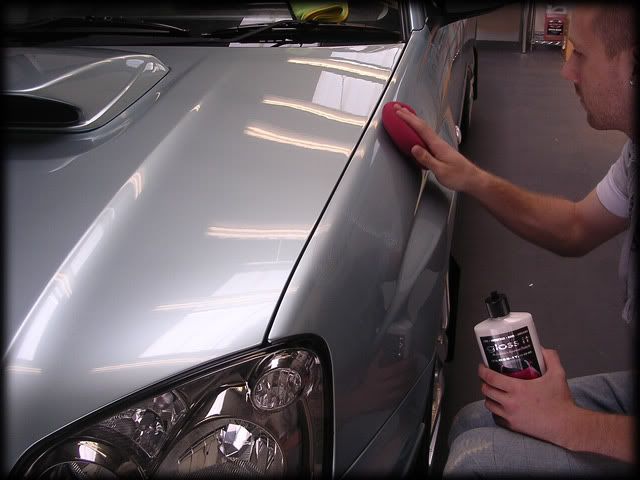
Paint wise - the car was 99% swirl free but as it had been into the bodyshop for its front end respray a few months back it had picked up the expected bit of marring and odd light scratch or two, nothing major so Meguiars 205 and Gloss-It polishing pads were used with the G220:
On cars with very little correction needed I regularly find that it's quicker to work by DA than the Rotary, especially on the likes of Imprezas/Evo's where you have to break up alot of panels into smaller sections.
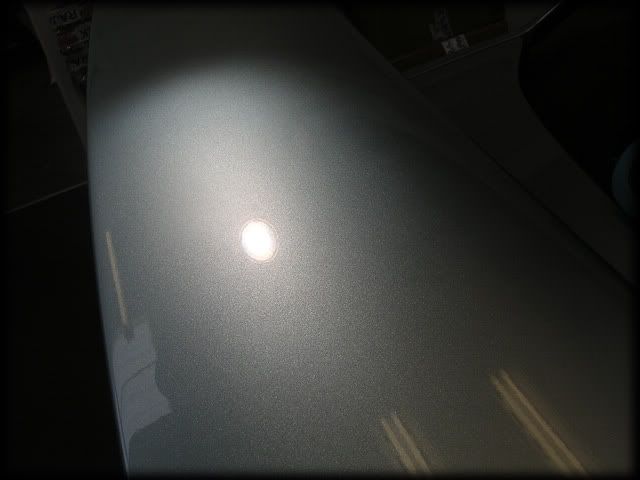
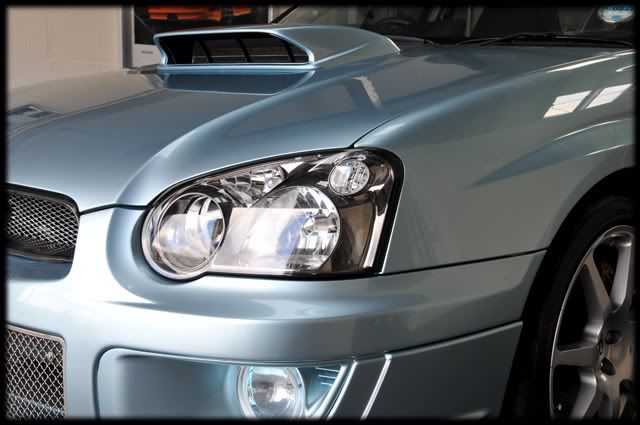
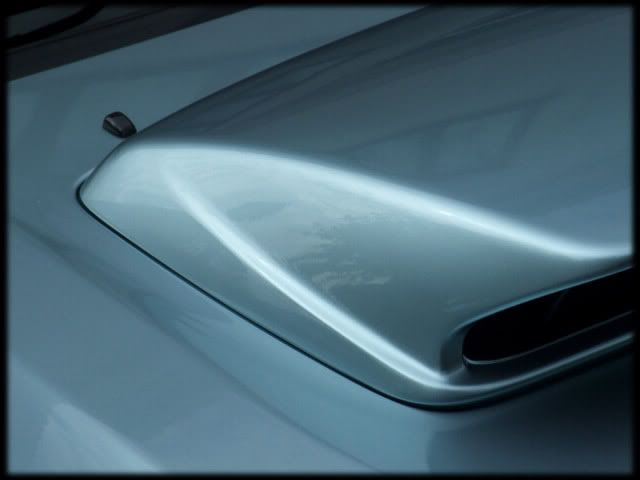
As expected, the 205 produced a crystal clear finish for all to see
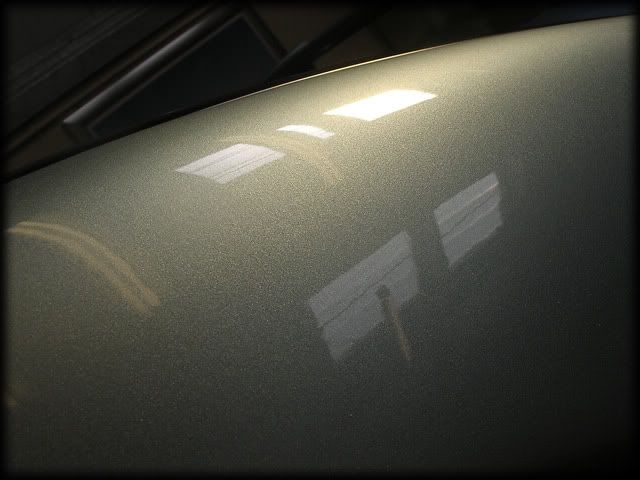
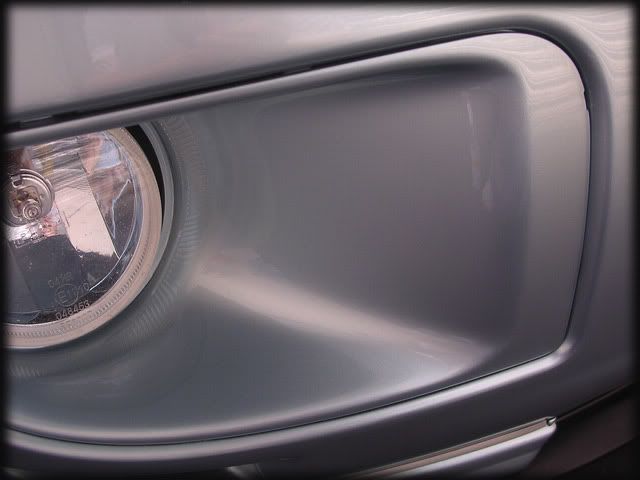
As mentioned already, the car had received a front end respray (bumper, bonnet and both wings) at the local Porsche Approved Bodyshop and I still cant praise them highly enough for the quality of the job. Usually you see horror stories from bodyshops with pictures of horrendous buffer trails etc but this is about the full extent of what I was faced with:
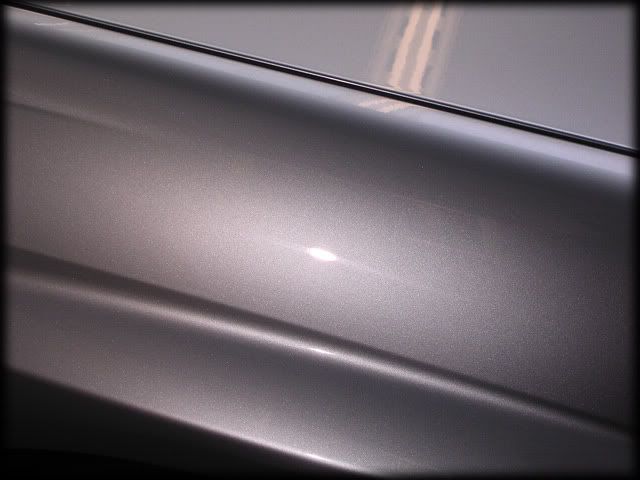
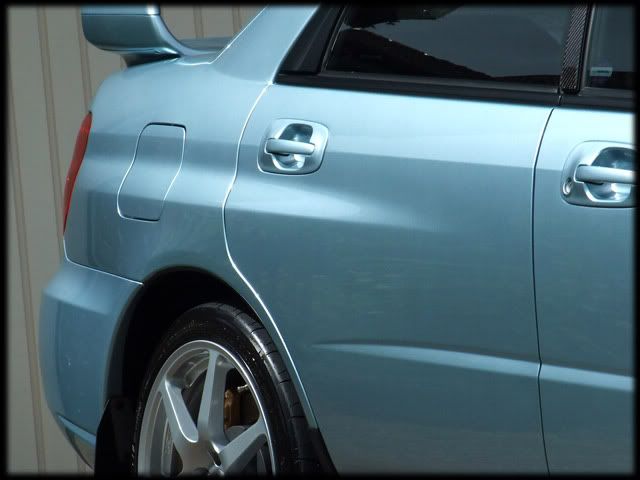
The lightest of buffer trails and that was it, easily sorted with the Megs and Gloss-It combination:
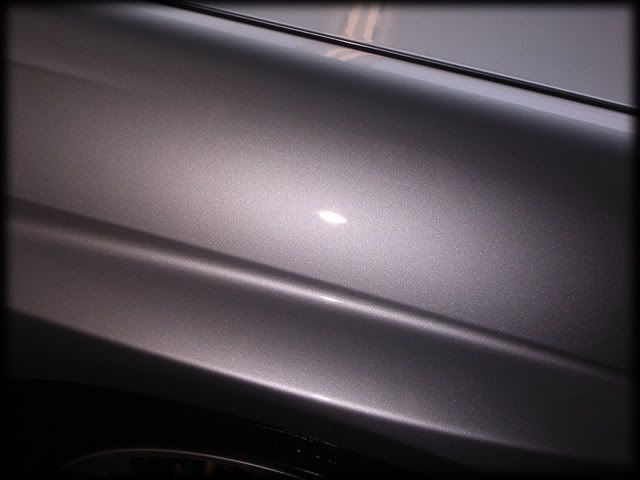
Even in places where you would expect a bit of orange peel there was very little if any at all:
Big thumbs up from me
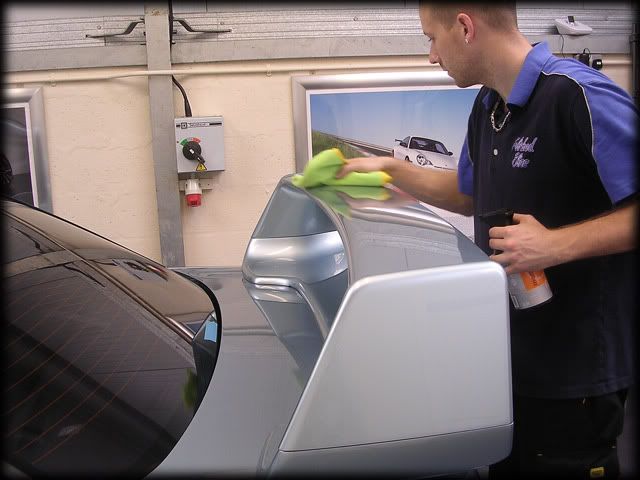
When all the polishing was completed the paint was dusted down...
...and given the usual Top Inspection wipe down:
Our "Project Awesome" was then machined into the paint at speed 5 on the G220 and left for an hour then buffed off.
Next day I applied the 1st of 3 coats of Concorso Gloss:
In between waiting for the Gloss coats to cure I did all the other little details such as lightly polishing the mud flaps with Blackfire Gloss Enhancing Polish:
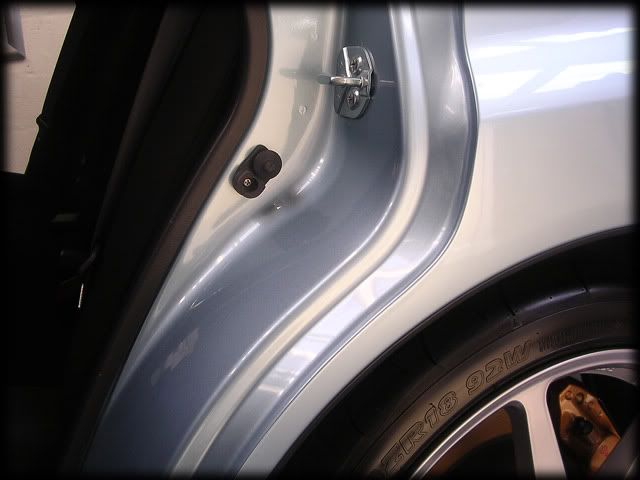
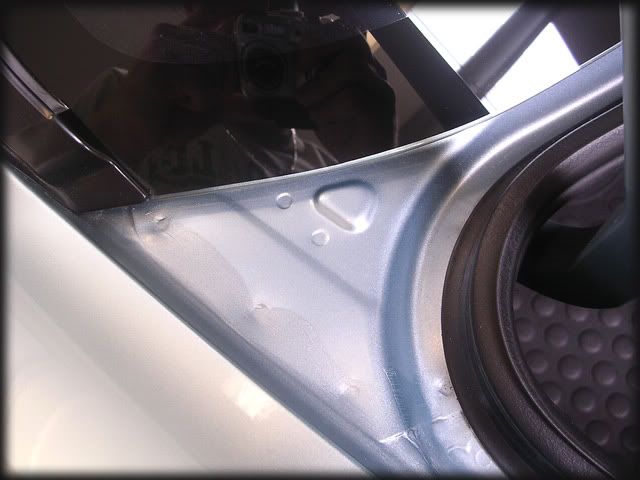
I polished and sealed the shuts with Werkstat Prime Strong:
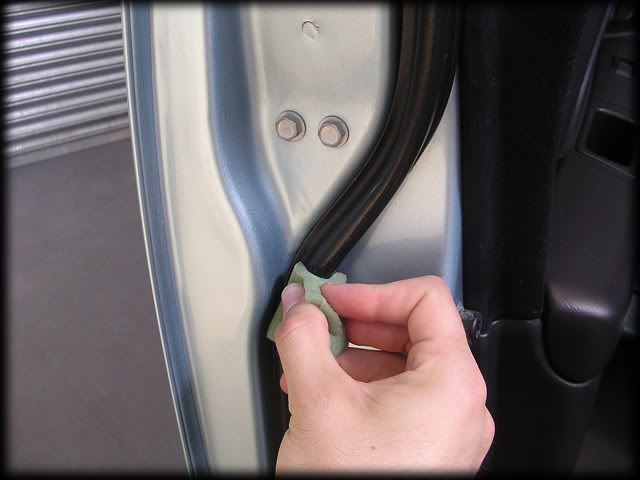
Door seals/rubbers were conditioned with Gloss-It TRV:
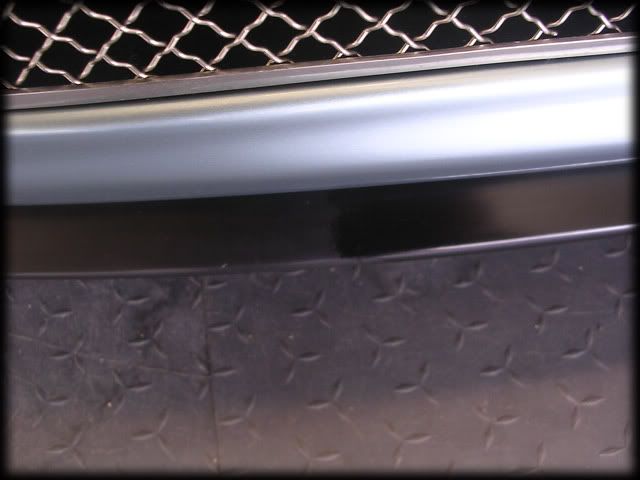
Front splitter was dressed with Meguiars All Season Dressing:
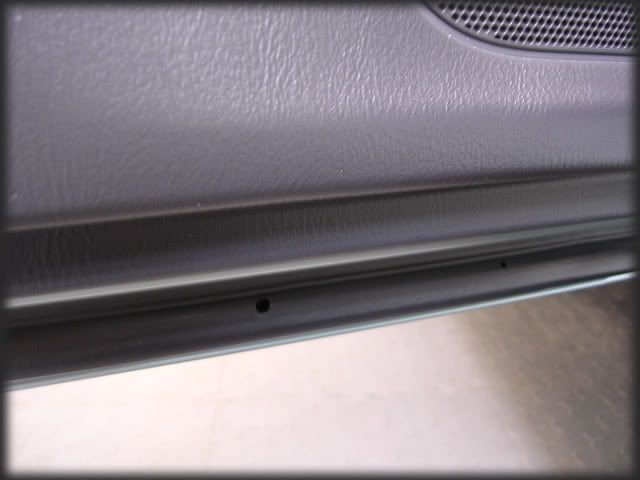
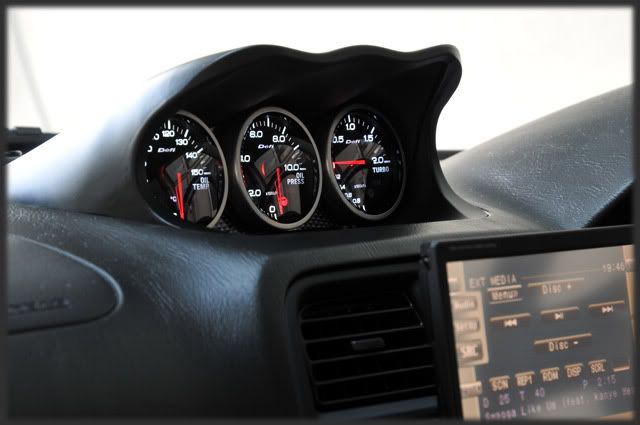
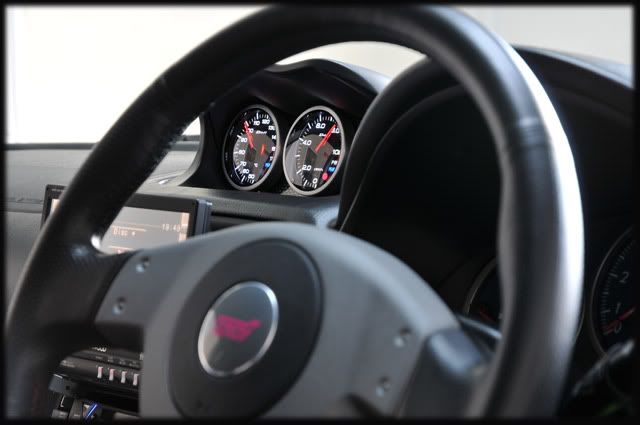
The interior is regularly cleaned with all the plastics dressed and protected with Werkstat Satin Prot so it just needed a quick hoover and the glass was done with the Werkstat Glass Sealant System.
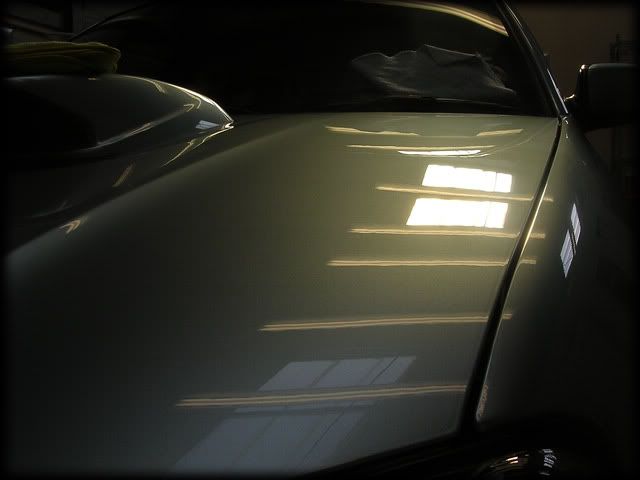
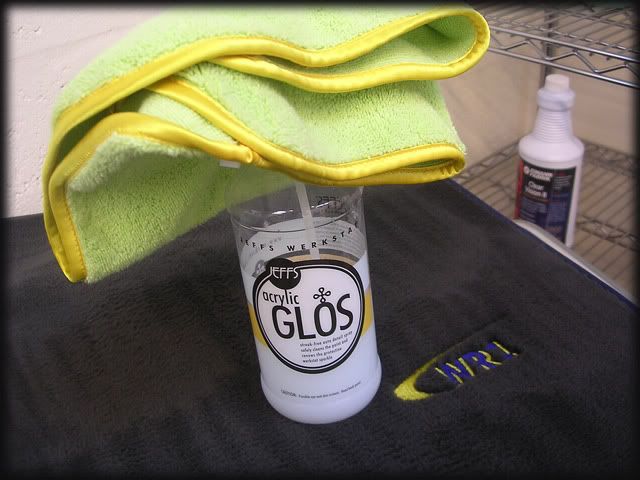
A final wipe down with Werkstat Acrylic Gloss was all that remained...
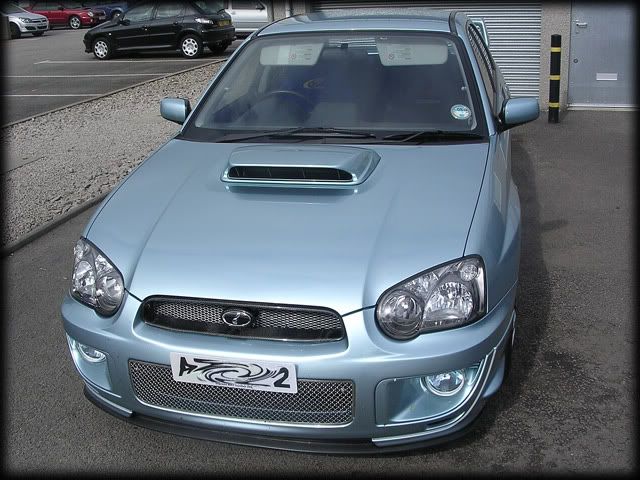
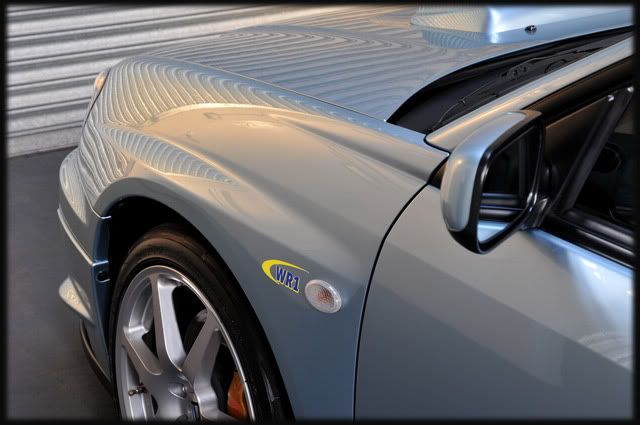
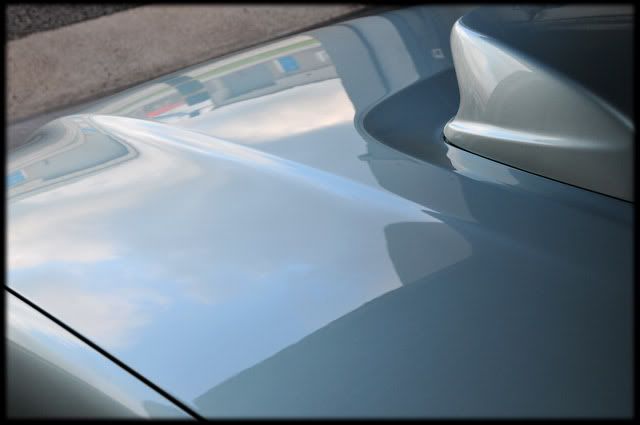
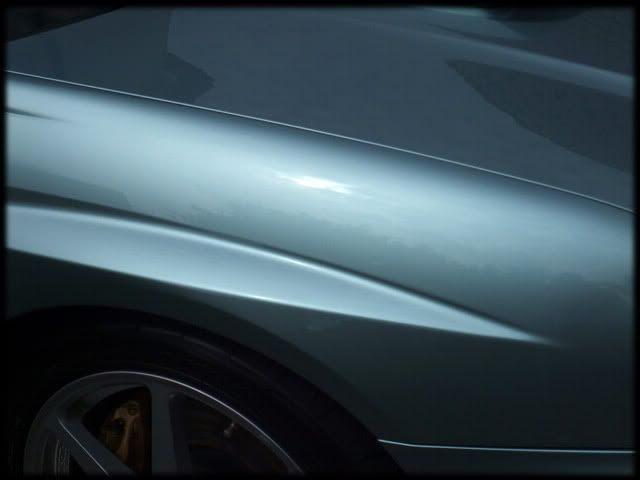
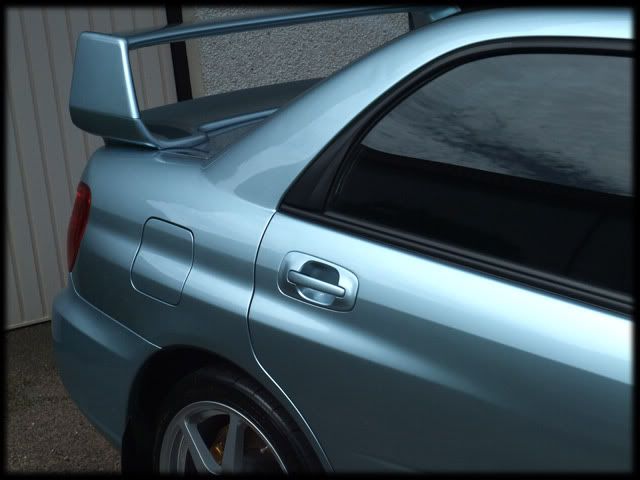
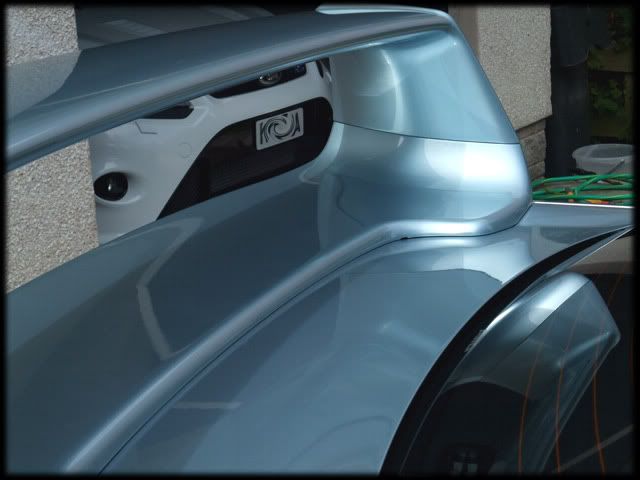
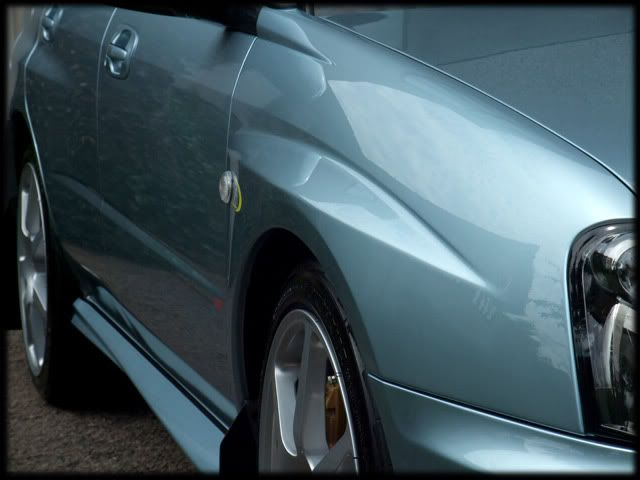
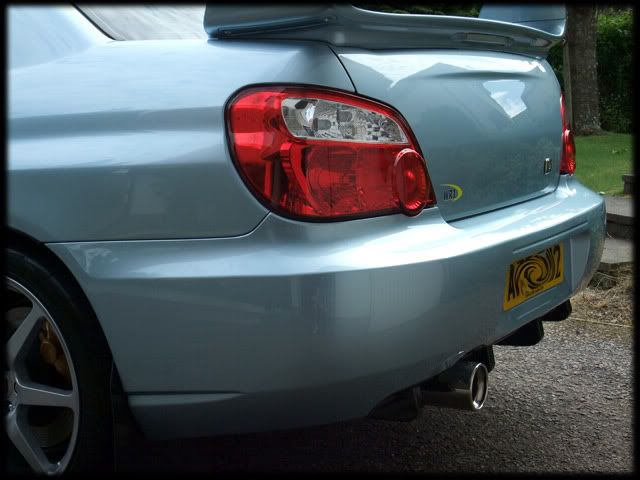
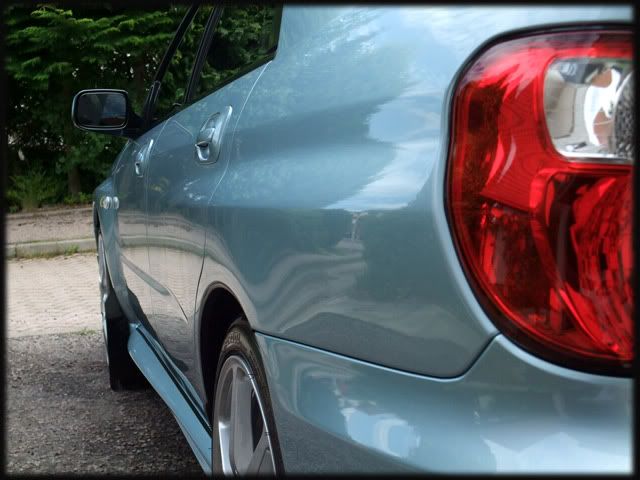
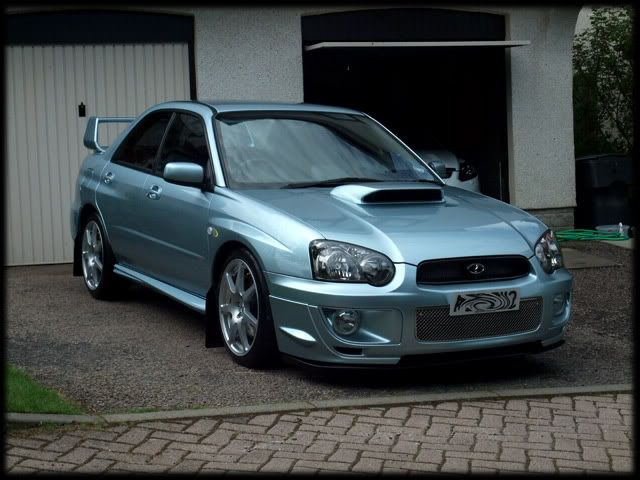
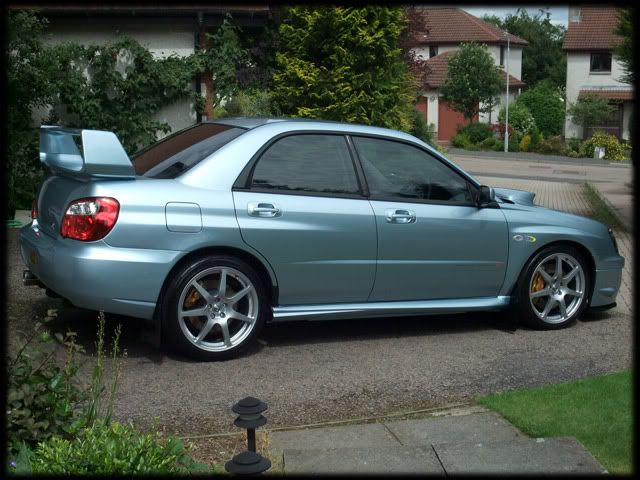
...which gave the following results
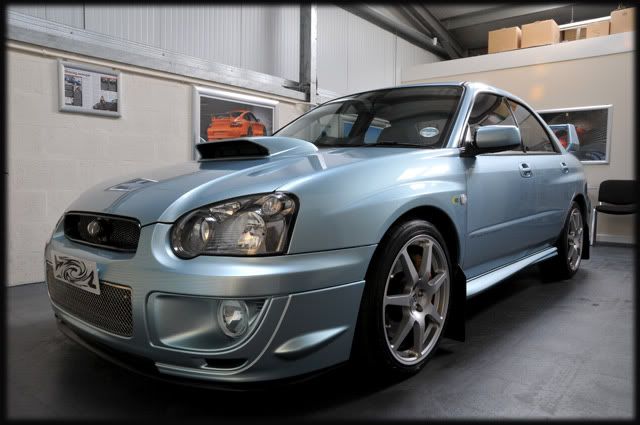
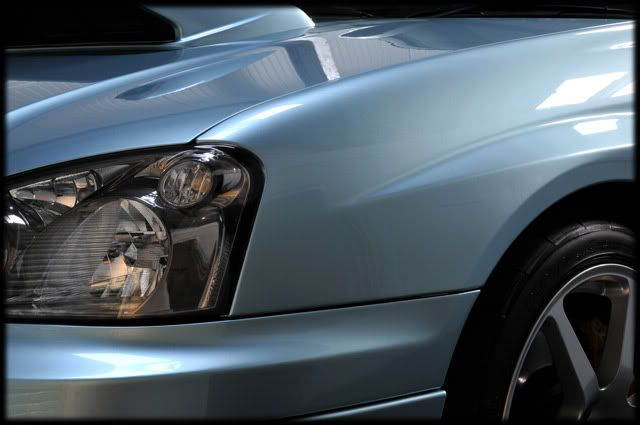
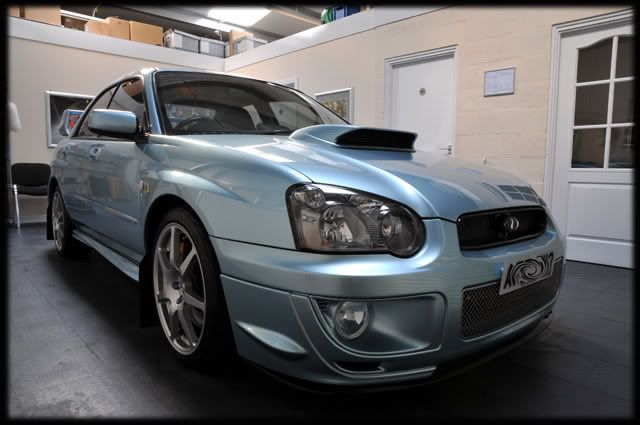
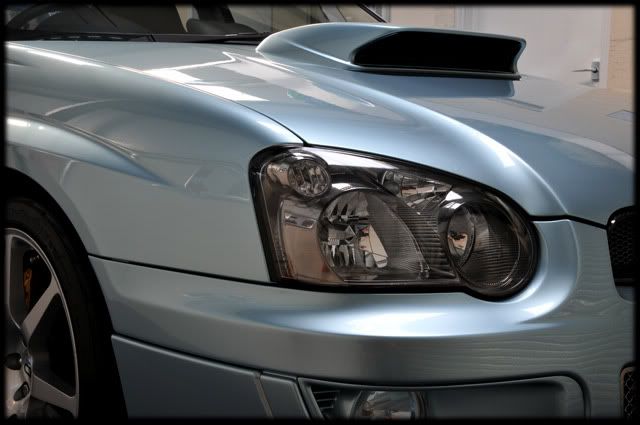
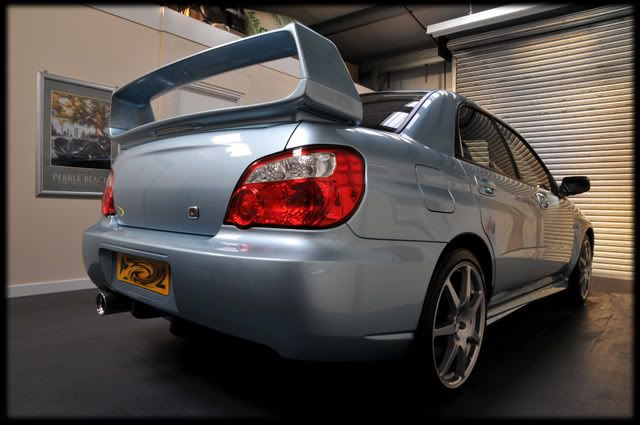
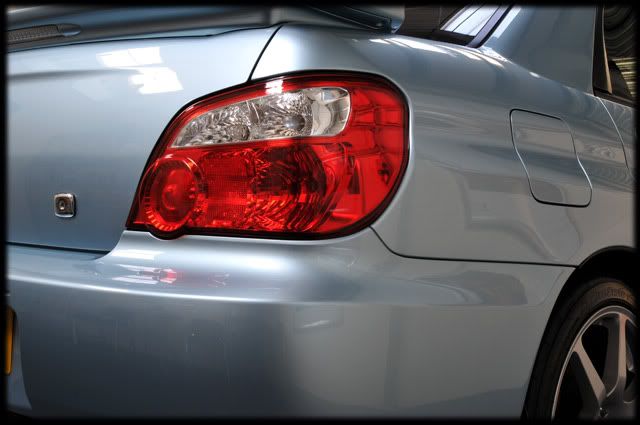
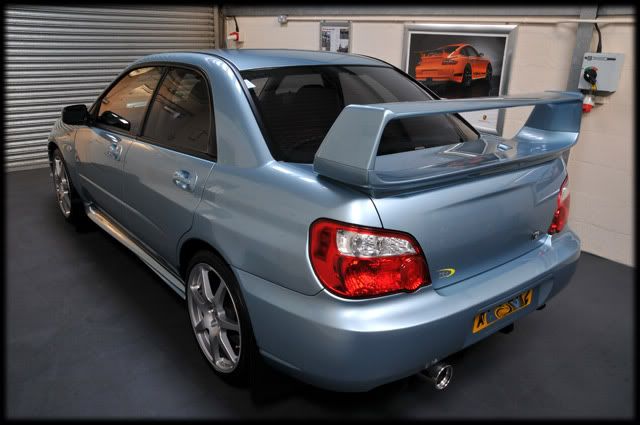
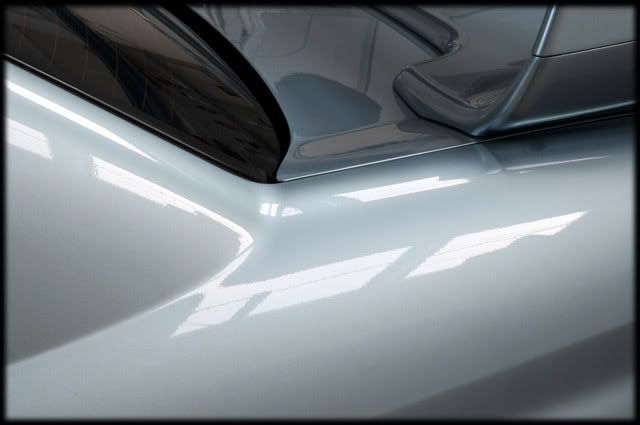
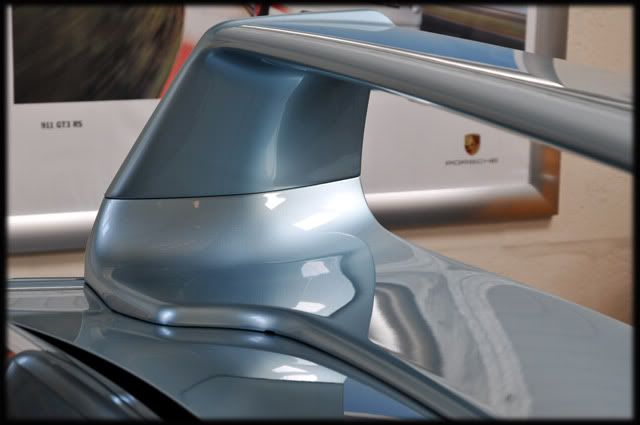

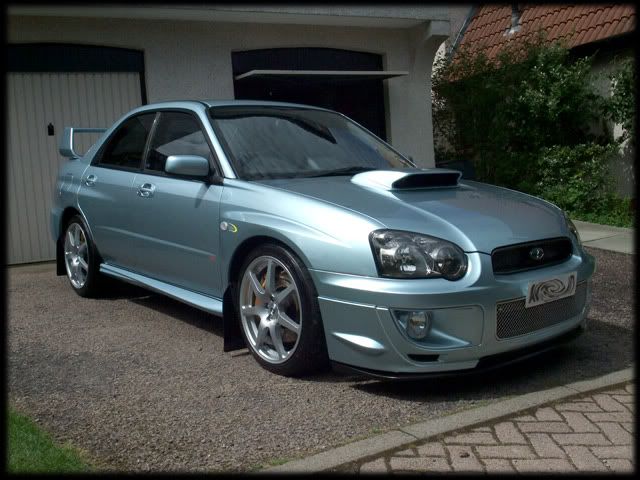
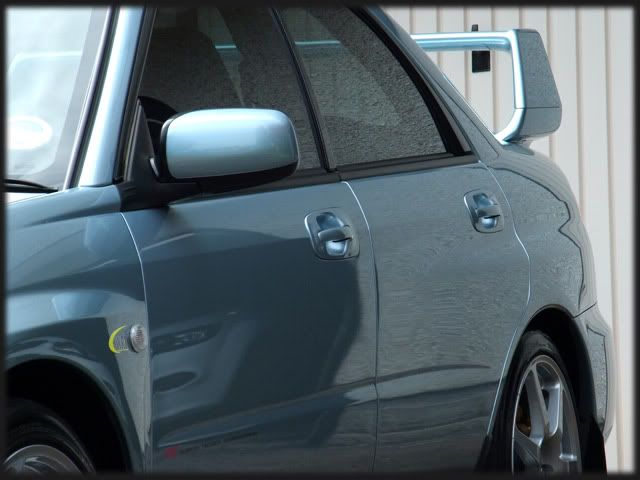
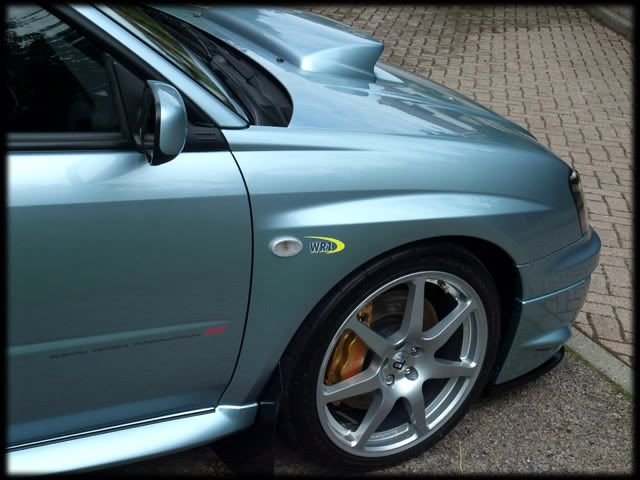
And here are a few that I took yesterday after a wash. These were taken with my new compact (Fuji film F200 EXR) so I'm still getting to grips with it


Thanks for looking as always - Ne Plus Ultra will probably be next
Clark
Here it is looking about as dirty as it ever gets in all honesty:
Usually the next pic you see is the pre-foam but first of all it was reversed onto a set of ramps...
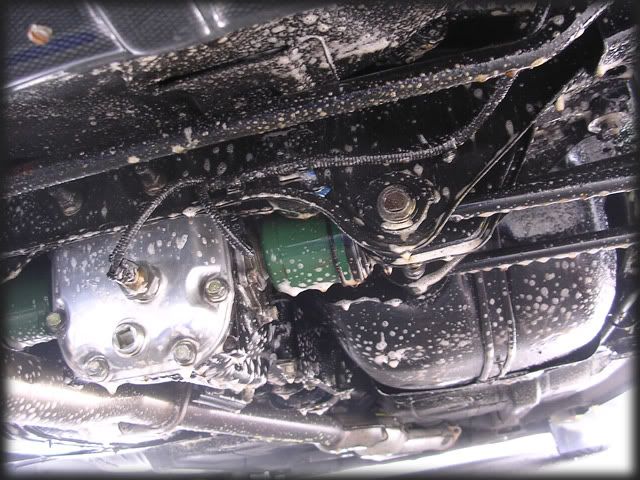
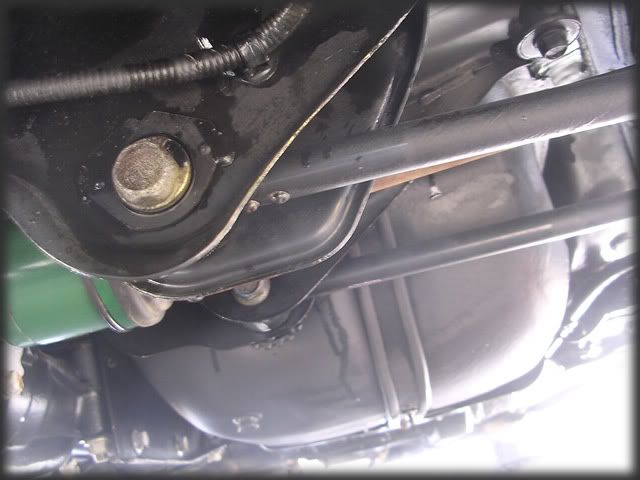
Over the winter I'd spent a couple of weeks cleaning the underside and polishing up the exhaust and rear diff casing etc. I was meant to post pics of the full thing but I've completely lost them on my computer, I can only assume I deleted them by mistake or something
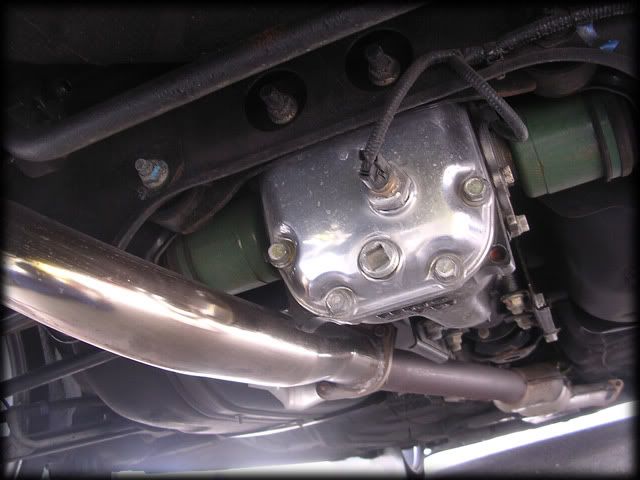
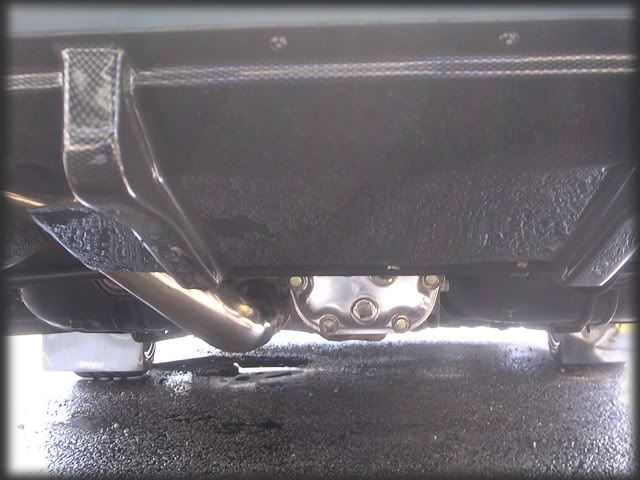
The only pic I have is a before one of the exhaust/diff:
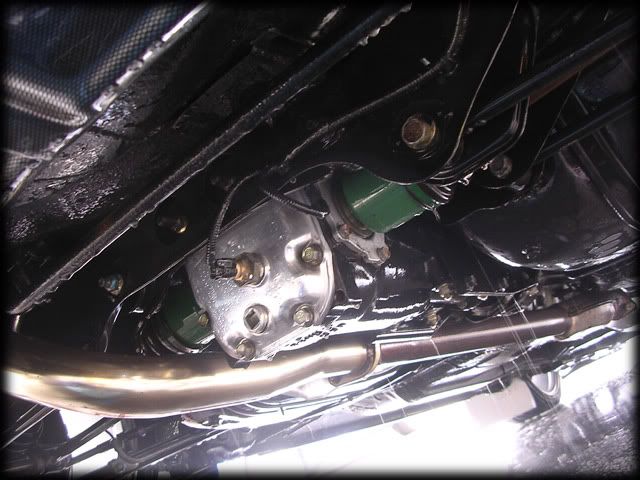
And here it is after I'd used a combination of sandpaper, Blackfire Wool Metal Pads and polishes and the Rotary/dremel:
Still pretty clean but occasionally the car does get driven in the rain (it's pampered but not THAT pampered :driver::D) so it had a small level of dirt that I wanted to remove in order to keep everything nice and clean.
So everything was soaked with R222 and left for 5 mins:
Then steam cleaned with the Karcher at 60/70 degrees:
Due to all the black underseal it's never going to look "bling" like alot of your RS owners etc but it looks nice and clean anyways, these are a few pics after a quick blast off with the black baron drier:
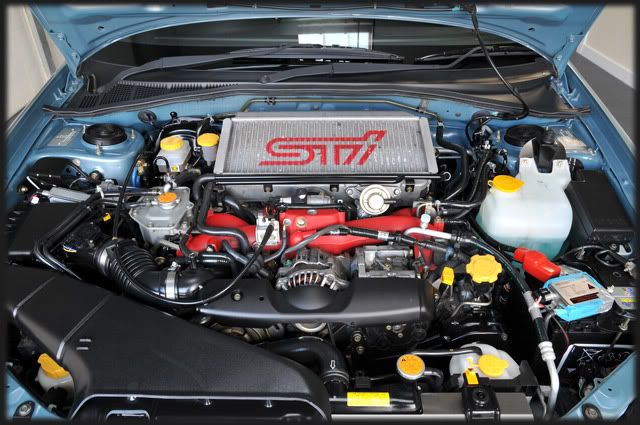
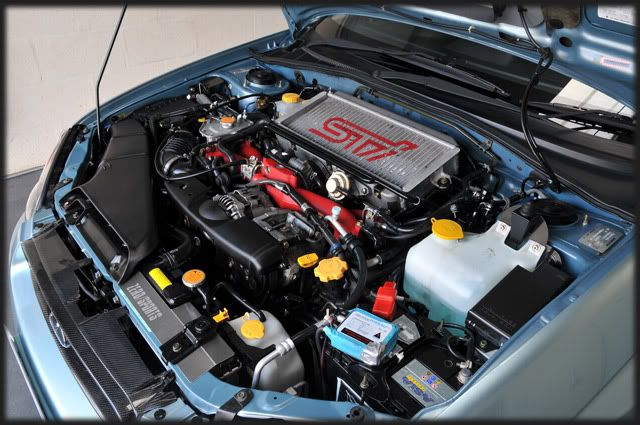
I then gave the metal work a quick going over with Brilliant Show Metal Polish before taking the car off the ramps:
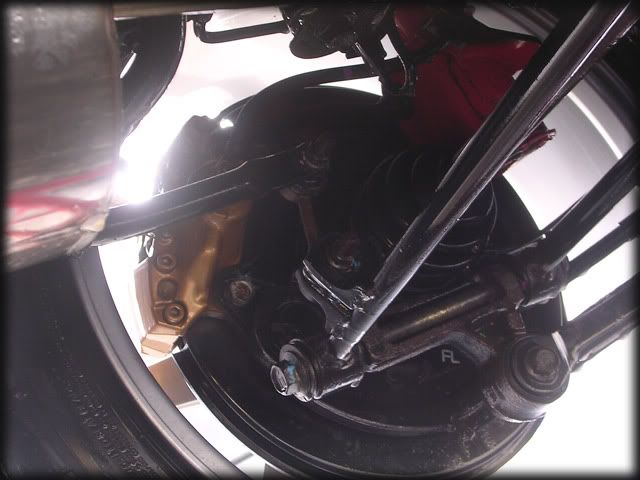
Next up was to remove and then clean/seal all 4 wheels. They were given a quick spray with APC then washed with a MF mitt, clayed and then sealed with Blackfire Metal Sealant:
I also polished up my nuts
I had already given the arches a thorough clean before I put the car away for winter and they were still clean so no point with pics of those. The Calipers were sealed with Blackfire Metal Sealant aswell though:
1 down, 3 to go
With all the wheels finally done I pre-foamed the car with APC:
The usual wash routine followed so I wont bother with pics.
Following a quick clay with Gloss-It Mild then a re-wash I dried the car off with the new drier:
Then the 1st of 3 coats of Gloss-It Signature Tyre Dressing was applied:
Paint wise - the car was 99% swirl free but as it had been into the bodyshop for its front end respray a few months back it had picked up the expected bit of marring and odd light scratch or two, nothing major so Meguiars 205 and Gloss-It polishing pads were used with the G220:
On cars with very little correction needed I regularly find that it's quicker to work by DA than the Rotary, especially on the likes of Imprezas/Evo's where you have to break up alot of panels into smaller sections.
As expected, the 205 produced a crystal clear finish for all to see
As mentioned already, the car had received a front end respray (bumper, bonnet and both wings) at the local Porsche Approved Bodyshop and I still cant praise them highly enough for the quality of the job. Usually you see horror stories from bodyshops with pictures of horrendous buffer trails etc but this is about the full extent of what I was faced with:
The lightest of buffer trails and that was it, easily sorted with the Megs and Gloss-It combination:
Even in places where you would expect a bit of orange peel there was very little if any at all:
Big thumbs up from me
When all the polishing was completed the paint was dusted down...
...and given the usual Top Inspection wipe down:
Our "Project Awesome" was then machined into the paint at speed 5 on the G220 and left for an hour then buffed off.
Next day I applied the 1st of 3 coats of Concorso Gloss:
In between waiting for the Gloss coats to cure I did all the other little details such as lightly polishing the mud flaps with Blackfire Gloss Enhancing Polish:
I polished and sealed the shuts with Werkstat Prime Strong:
Door seals/rubbers were conditioned with Gloss-It TRV:
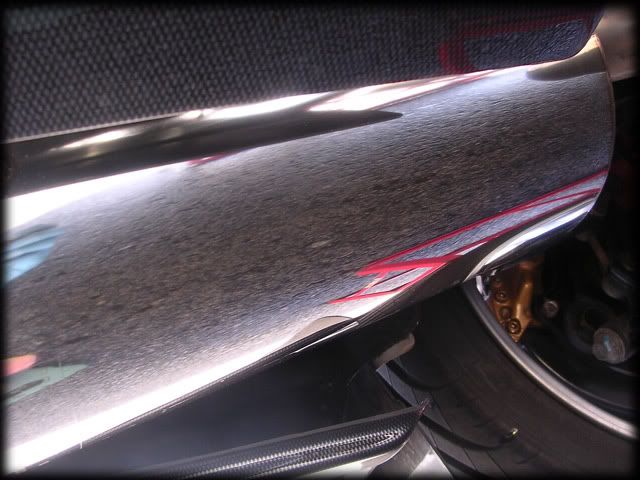
Front splitter was dressed with Meguiars All Season Dressing:
The interior is regularly cleaned with all the plastics dressed and protected with Werkstat Satin Prot so it just needed a quick hoover and the glass was done with the Werkstat Glass Sealant System.
A final wipe down with Werkstat Acrylic Gloss was all that remained...
...which gave the following results
And here are a few that I took yesterday after a wash. These were taken with my new compact (Fuji film F200 EXR) so I'm still getting to grips with it
Thanks for looking as always - Ne Plus Ultra will probably be next
Clark
