Login    Register

Impreza WR1 #255 Fully Detailed...

Share your car cleaning and general car care tips with everyone in here.

Moderators: WR 1mposter, The Swede, Megaman, danr55, WR1 Bro, Moderators

  • Author
    Message

Impreza WR1 #255 Fully Detailed...

Postby Clark » Sun Jul 05, 2009 11:55 am

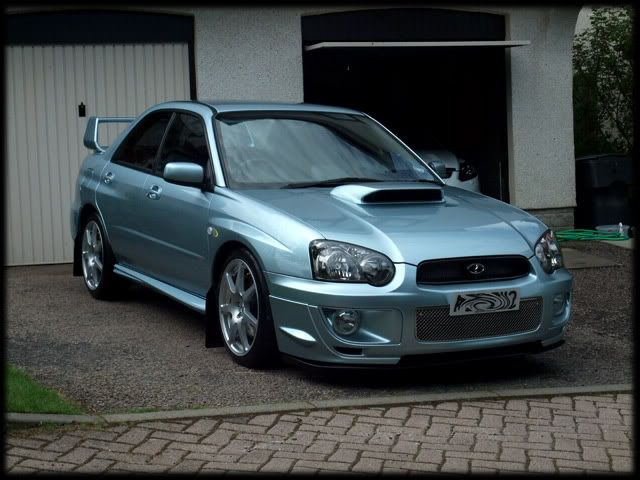
I Finally got the time to spend a few days on my own car recently to get it looking its best for the summer :)

Here it is looking about as dirty as it ever gets in all honesty:

Image

Image


Usually the next pic you see is the pre-foam but first of all it was reversed onto a set of ramps...

Image


Over the winter I'd spent a couple of weeks cleaning the underside and polishing up the exhaust and rear diff casing etc. I was meant to post pics of the full thing but I've completely lost them on my computer, I can only assume I deleted them by mistake or something :confused:

The only pic I have is a before one of the exhaust/diff:

Image

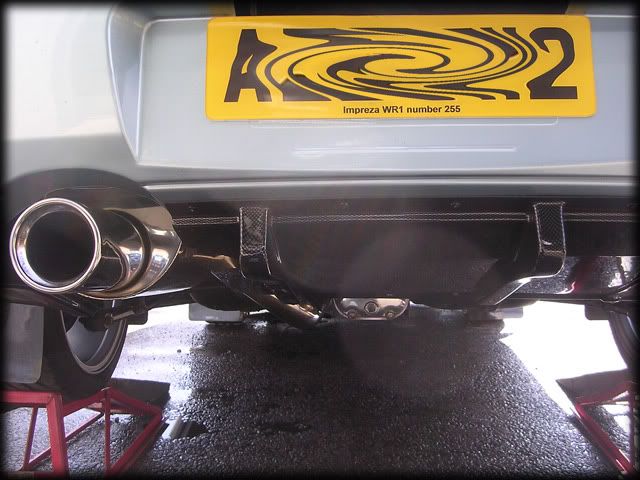
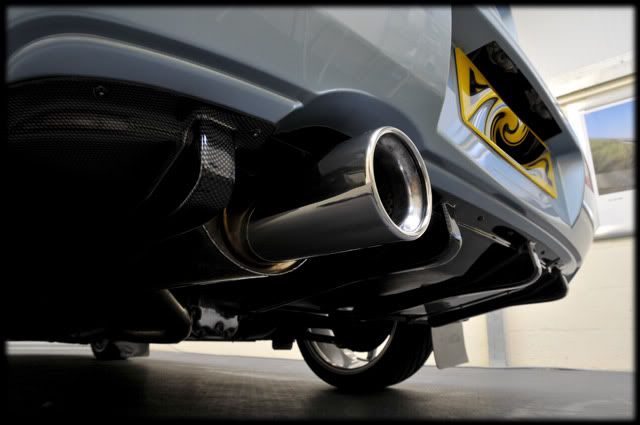
And here it is after I'd used a combination of sandpaper, Blackfire Wool Metal Pads and polishes and the Rotary/dremel:

Image


Still pretty clean but occasionally the car does get driven in the rain (it's pampered but not THAT pampered :driver::D) so it had a small level of dirt that I wanted to remove in order to keep everything nice and clean.


So everything was soaked with R222 and left for 5 mins:
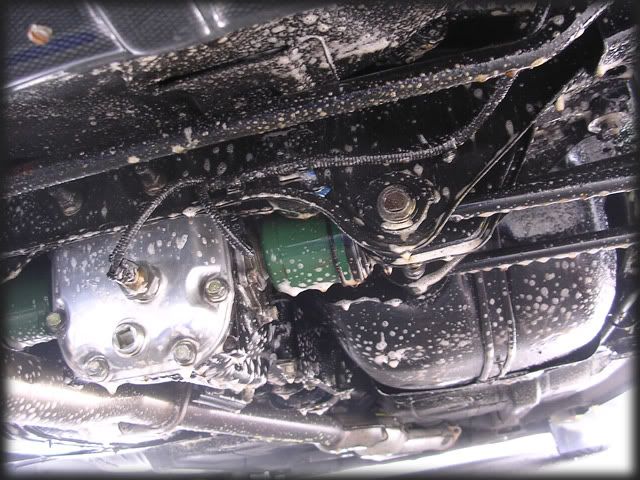
Image

Then steam cleaned with the Karcher at 60/70 degrees:
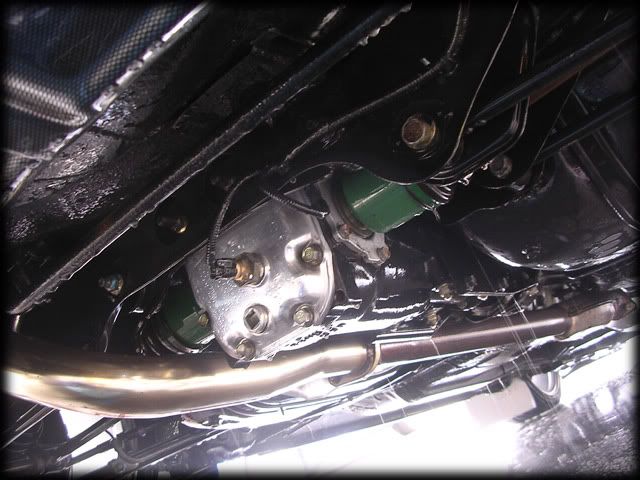
Image


Due to all the black underseal it's never going to look "bling" like alot of your RS owners etc but it looks nice and clean anyways, these are a few pics after a quick blast off with the black baron drier:
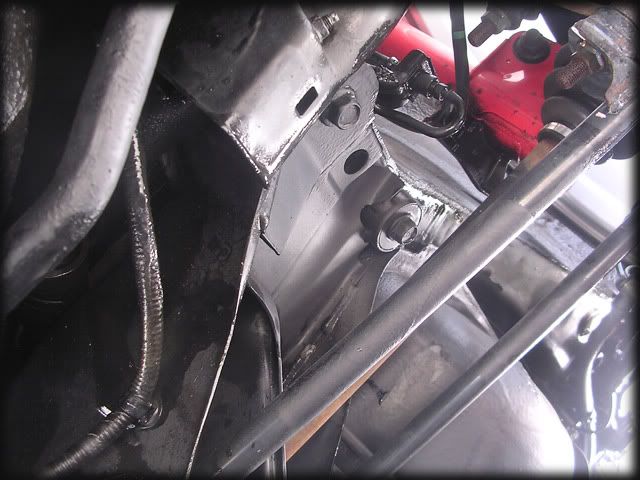
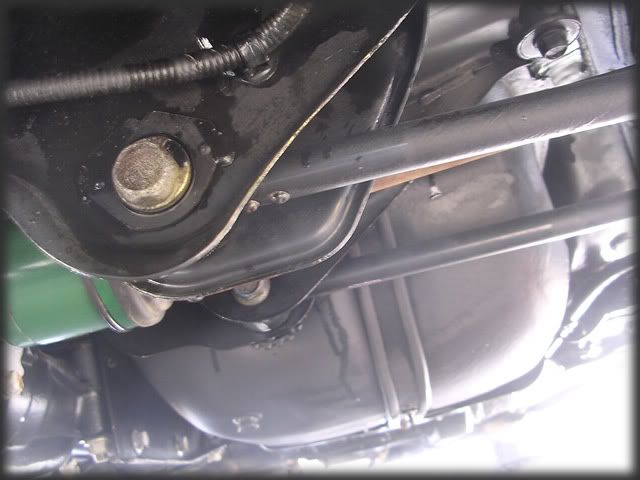
Image

Image

Image


I then gave the metal work a quick going over with Brilliant Show Metal Polish before taking the car off the ramps:
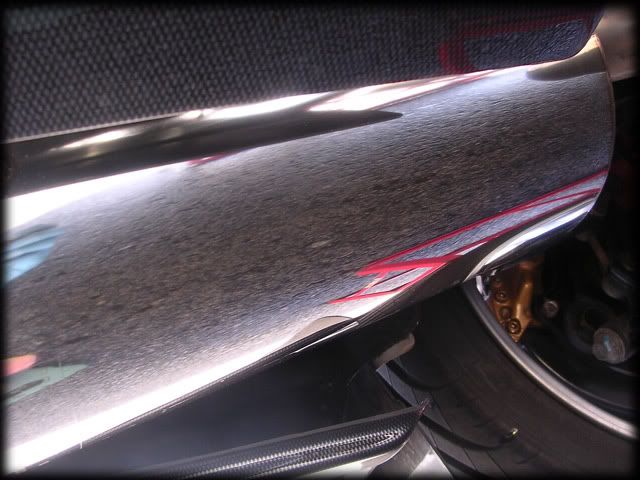
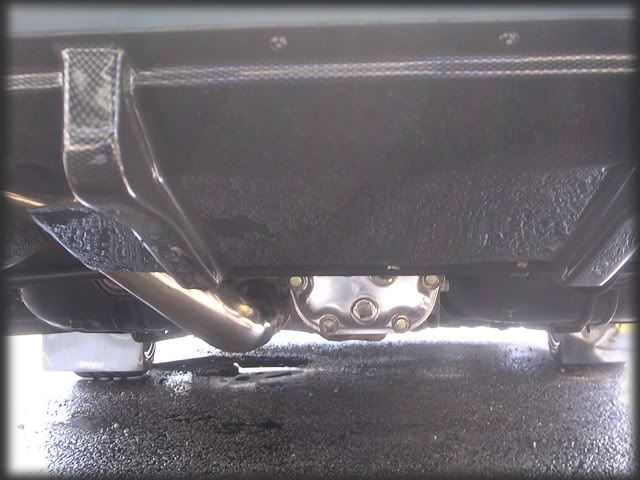
Image

Image

Image


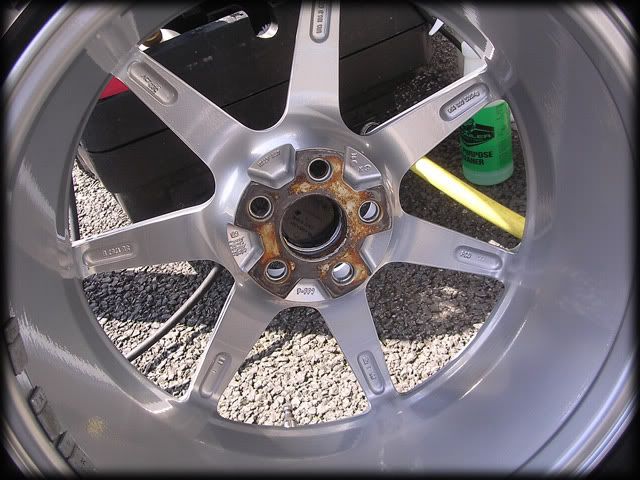
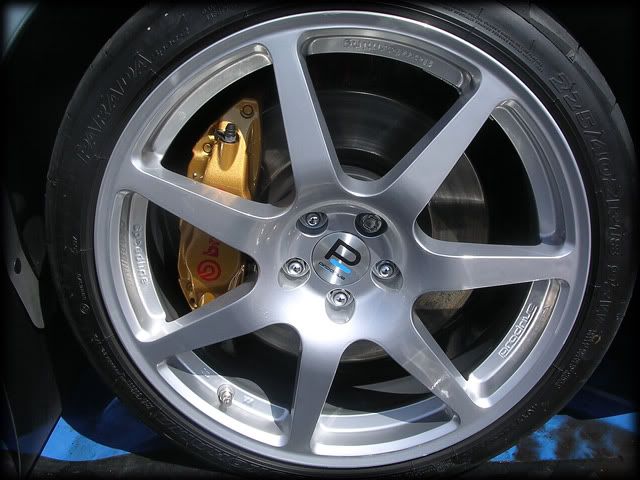
Next up was to remove and then clean/seal all 4 wheels. They were given a quick spray with APC then washed with a MF mitt, clayed and then sealed with Blackfire Metal Sealant:
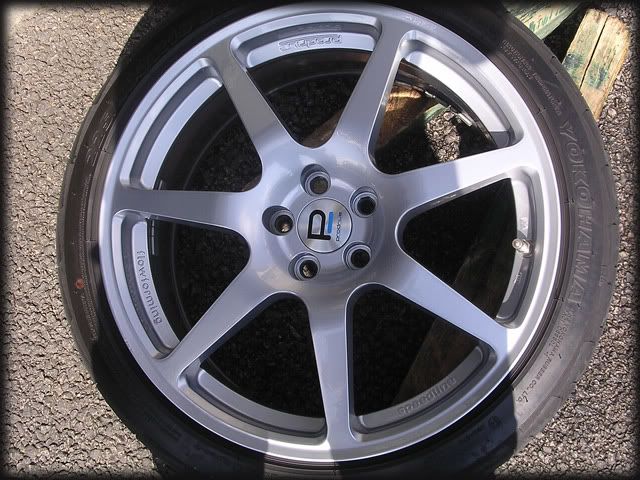
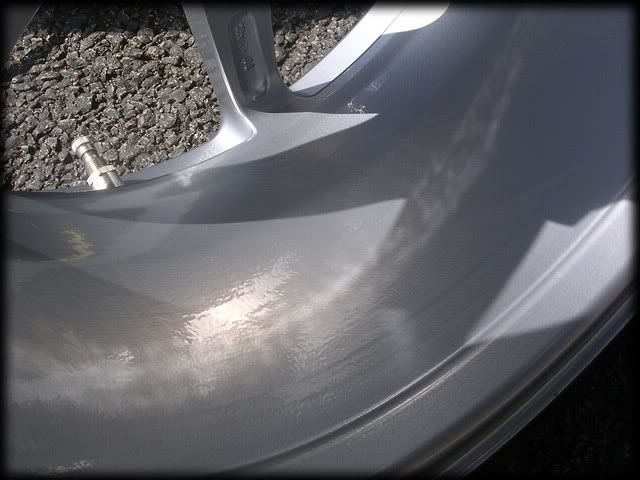
Image

Image

Image


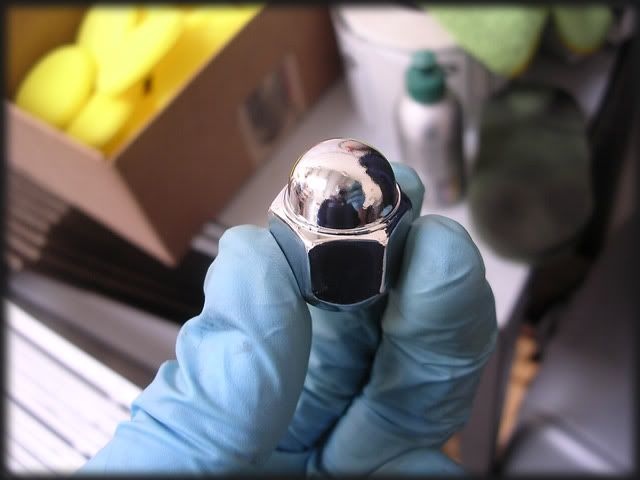
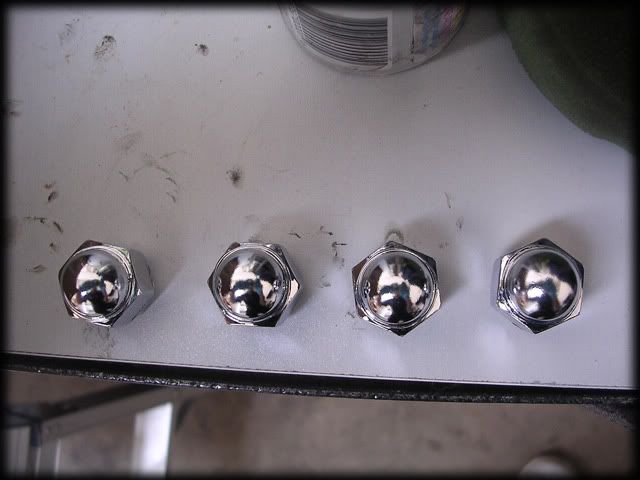
I also polished up my nuts :D

Image

Image


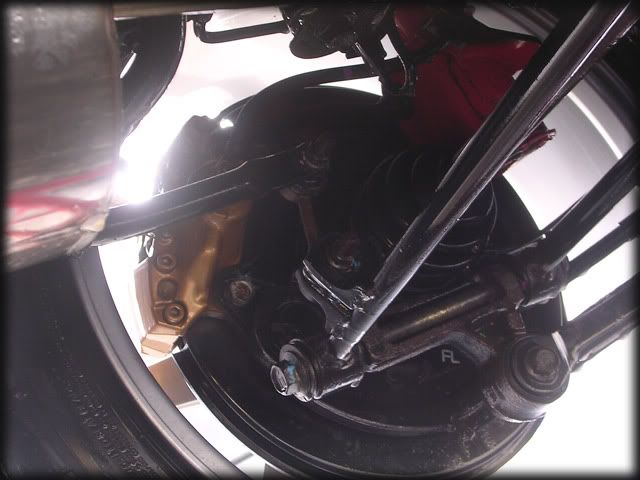
I had already given the arches a thorough clean before I put the car away for winter and they were still clean so no point with pics of those. The Calipers were sealed with Blackfire Metal Sealant aswell though:
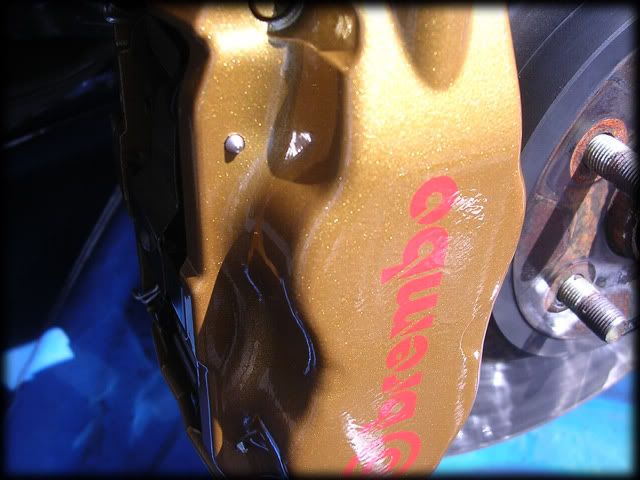
Image


1 down, 3 to go :)

Image


With all the wheels finally done I pre-foamed the car with APC:
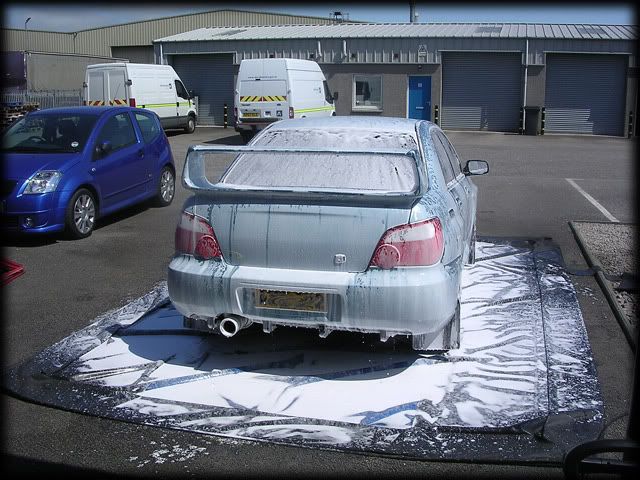
Image

The usual wash routine followed so I wont bother with pics.


Following a quick clay with Gloss-It Mild then a re-wash I dried the car off with the new drier:
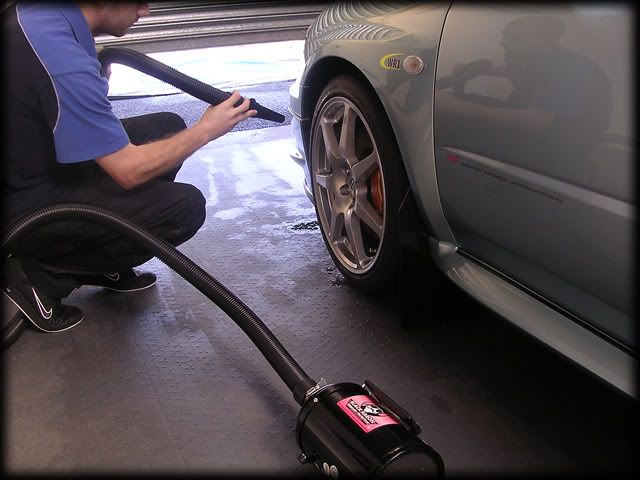
Image


Then the 1st of 3 coats of Gloss-It Signature Tyre Dressing was applied:
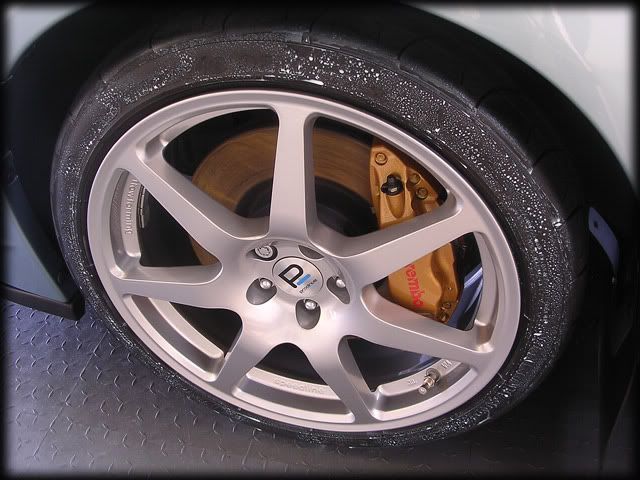
Image


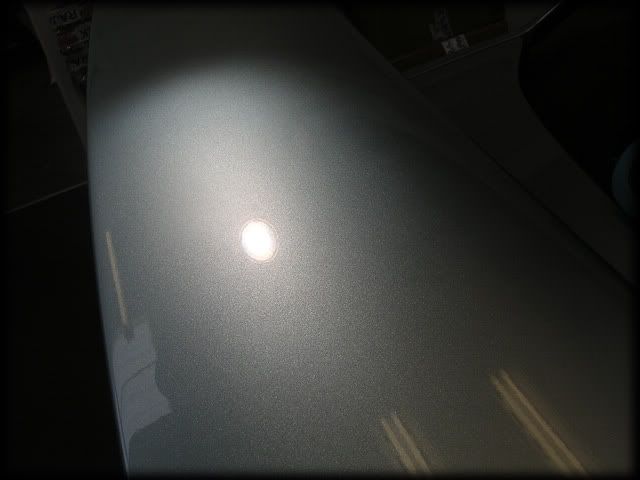
Paint wise - the car was 99% swirl free but as it had been into the bodyshop for its front end respray a few months back it had picked up the expected bit of marring and odd light scratch or two, nothing major so Meguiars 205 and Gloss-It polishing pads were used with the G220:
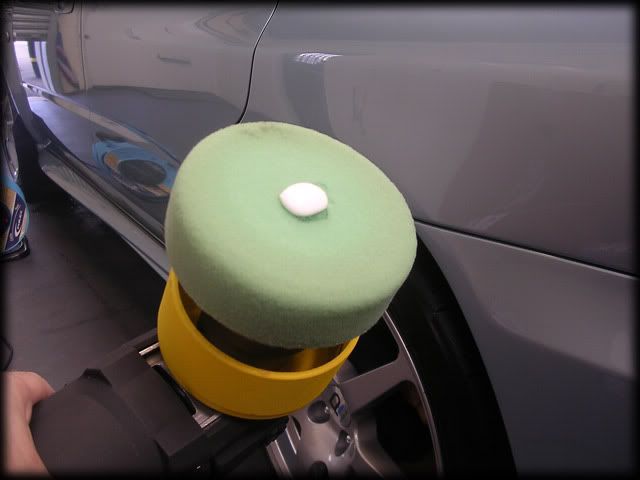
Image

On cars with very little correction needed I regularly find that it's quicker to work by DA than the Rotary, especially on the likes of Imprezas/Evo's where you have to break up alot of panels into smaller sections.


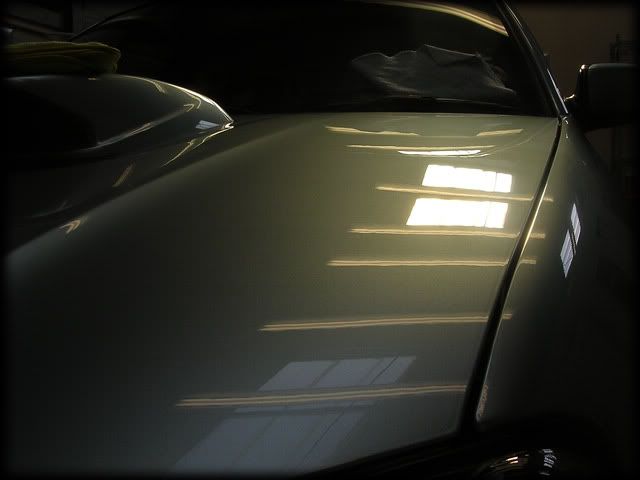
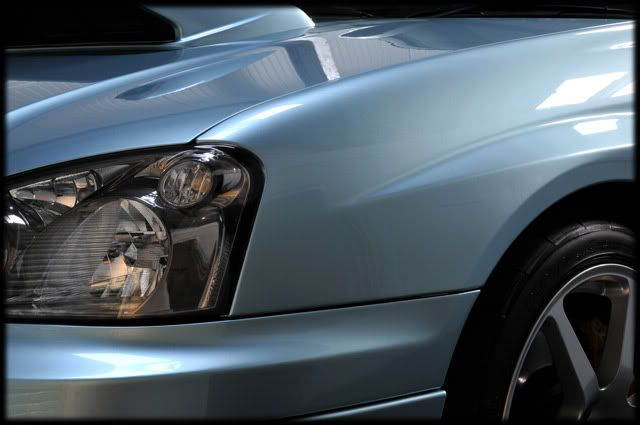
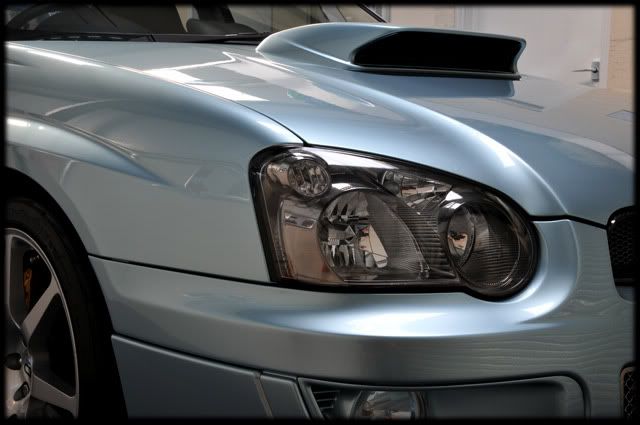
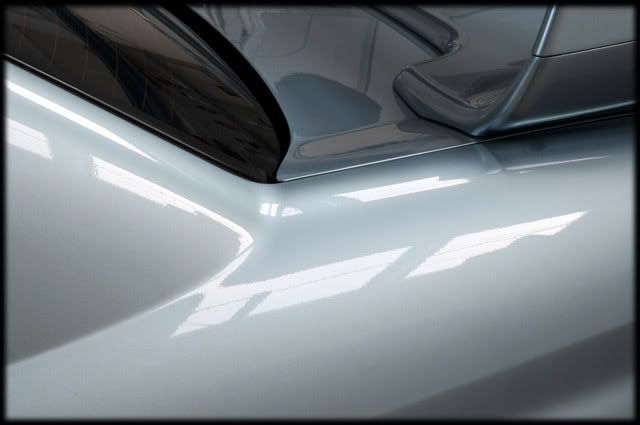
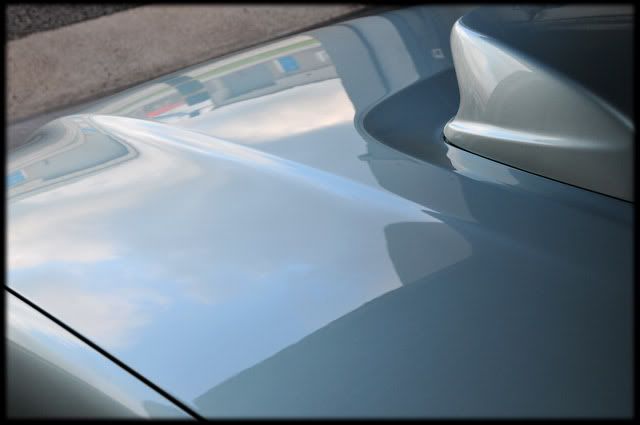
As expected, the 205 produced a crystal clear finish for all to see :)
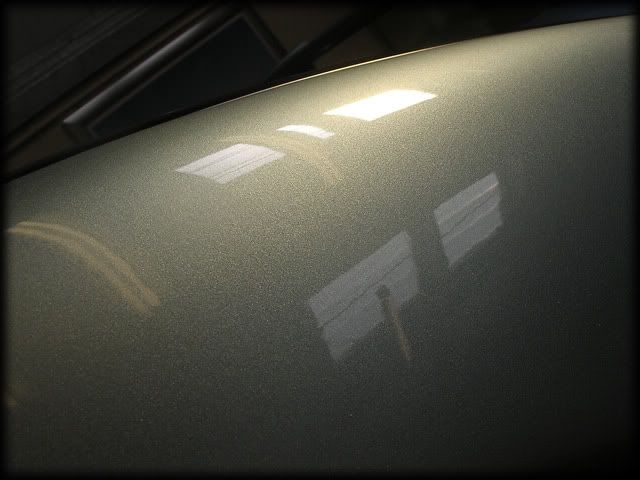
Image

Image

Image

Image


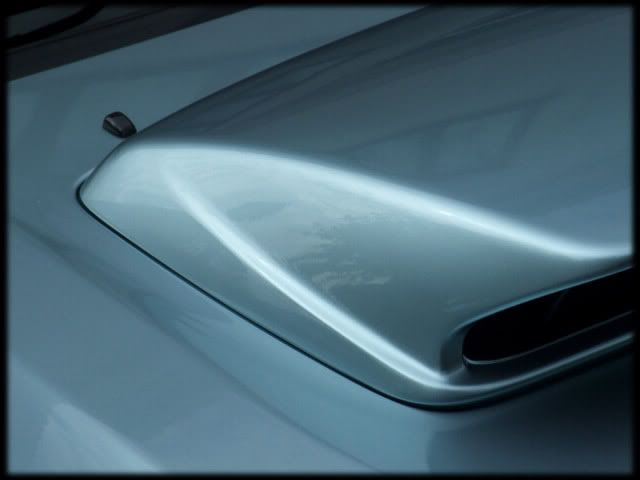
As mentioned already, the car had received a front end respray (bumper, bonnet and both wings) at the local Porsche Approved Bodyshop and I still cant praise them highly enough for the quality of the job. Usually you see horror stories from bodyshops with pictures of horrendous buffer trails etc but this is about the full extent of what I was faced with:
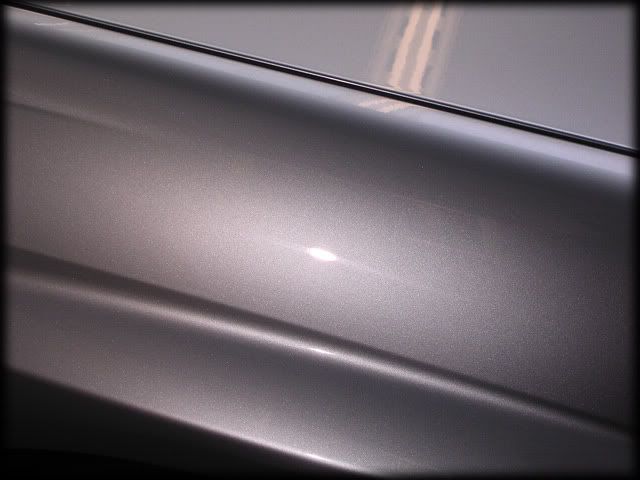
Image

The lightest of buffer trails and that was it, easily sorted with the Megs and Gloss-It combination:
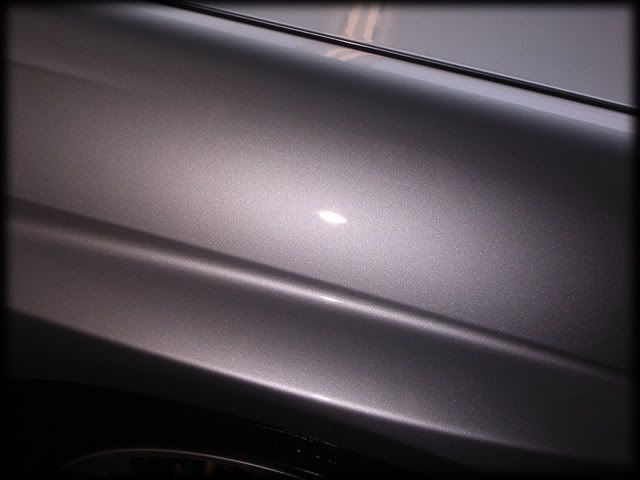
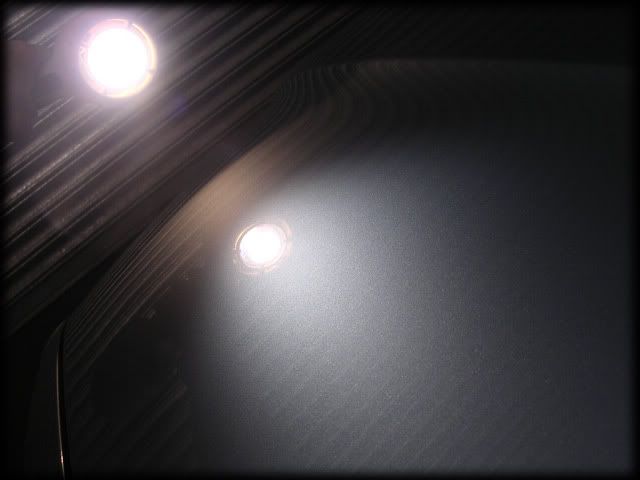
Image

Image

Image

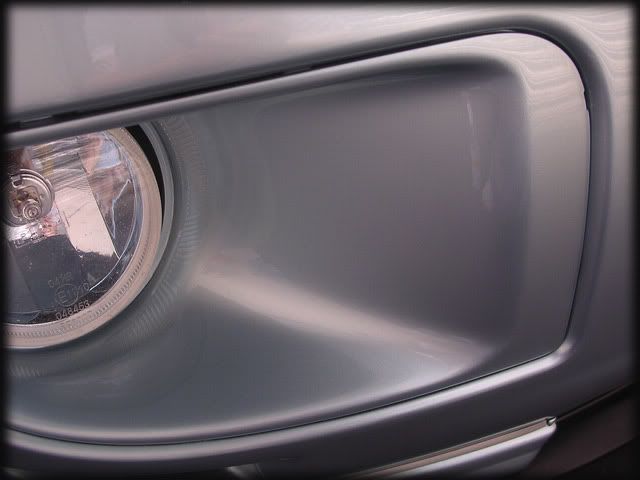
Even in places where you would expect a bit of orange peel there was very little if any at all:
Image


Big thumbs up from me :thumb:


When all the polishing was completed the paint was dusted down...
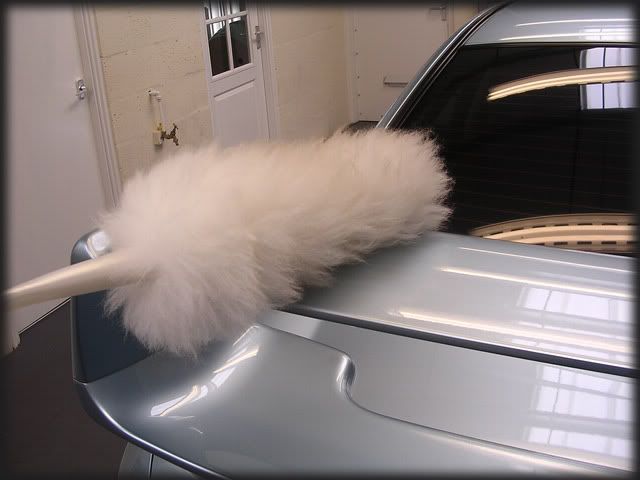
Image

...and given the usual Top Inspection wipe down:
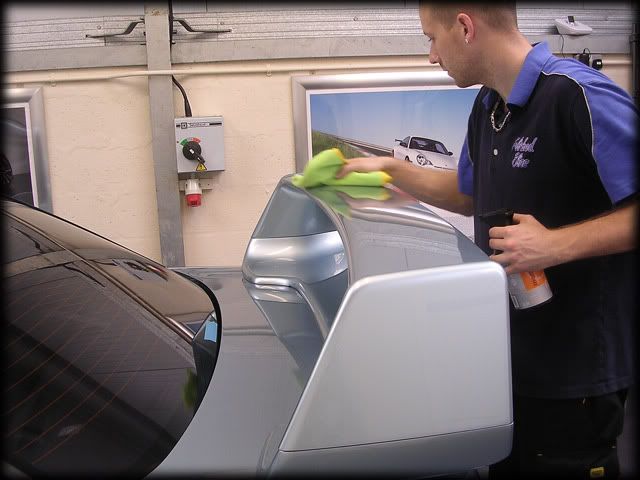
Image


Our "Project Awesome" was then machined into the paint at speed 5 on the G220 and left for an hour then buffed off.

Next day I applied the 1st of 3 coats of Concorso Gloss:
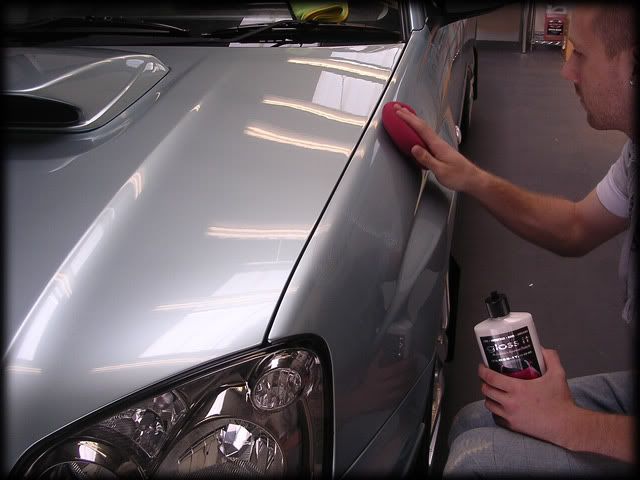
Image


In between waiting for the Gloss coats to cure I did all the other little details such as lightly polishing the mud flaps with Blackfire Gloss Enhancing Polish:
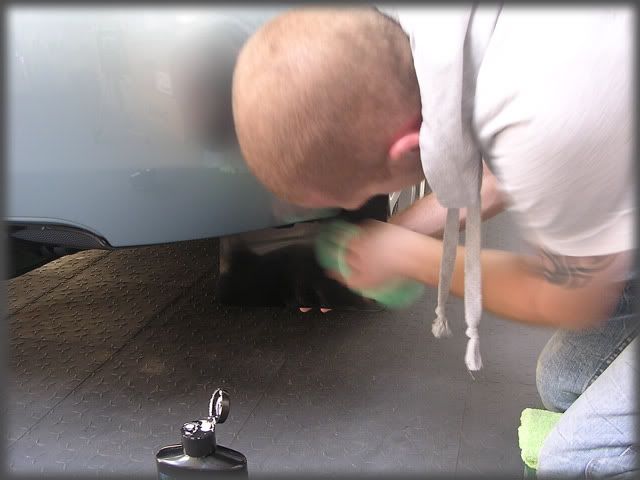
Image

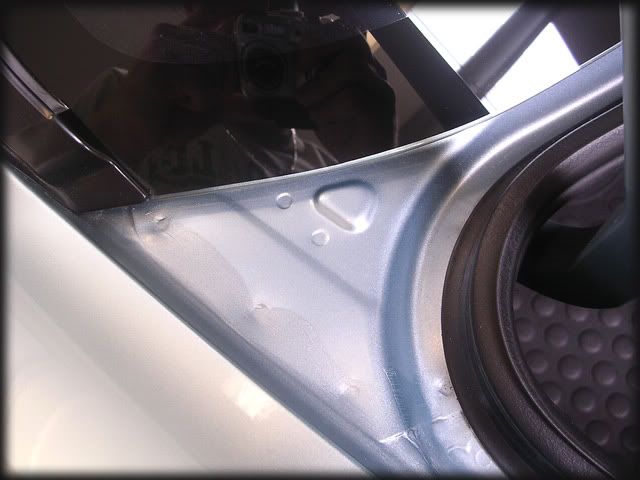
I polished and sealed the shuts with Werkstat Prime Strong:
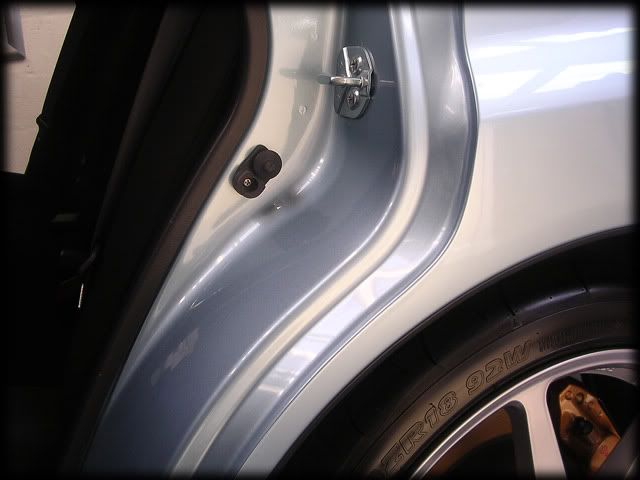
Image

Image


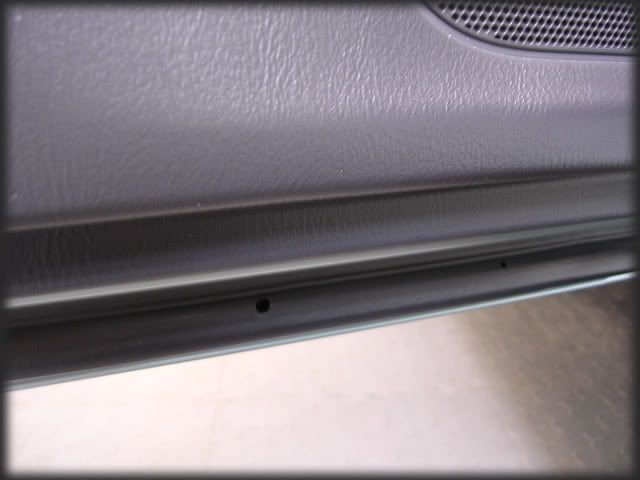
Door seals/rubbers were conditioned with Gloss-It TRV:
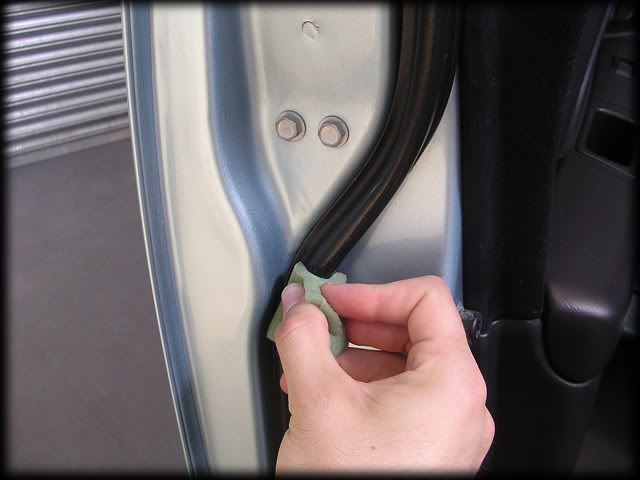
Image

Image


Front splitter was dressed with Meguiars All Season Dressing:
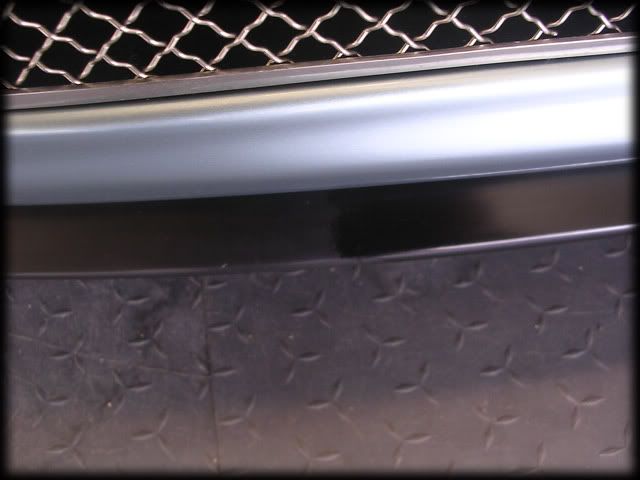
Image


The interior is regularly cleaned with all the plastics dressed and protected with Werkstat Satin Prot so it just needed a quick hoover and the glass was done with the Werkstat Glass Sealant System.

A final wipe down with Werkstat Acrylic Gloss was all that remained...
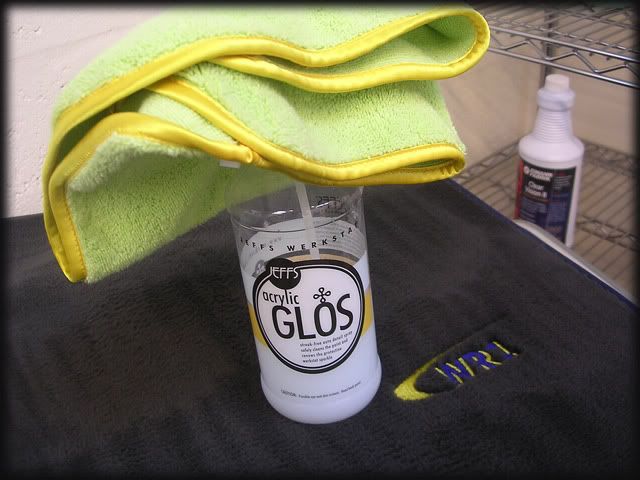
Image


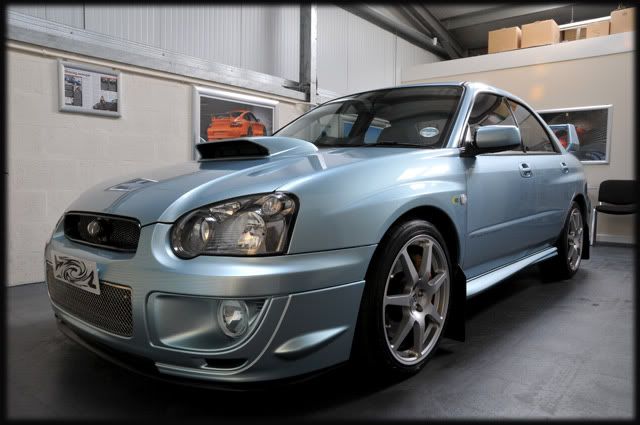
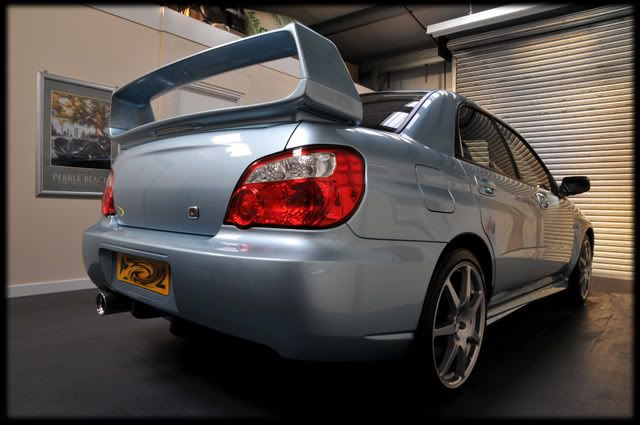
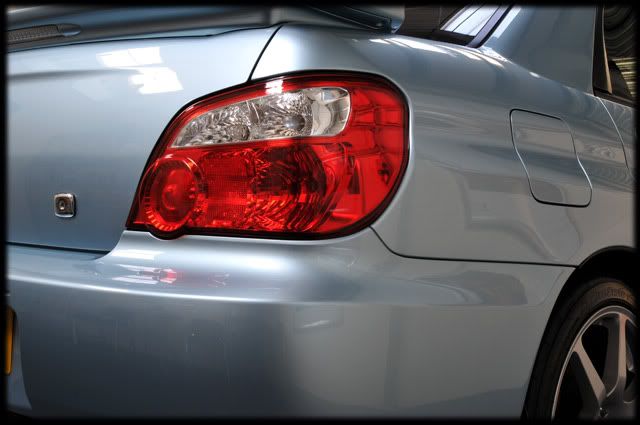
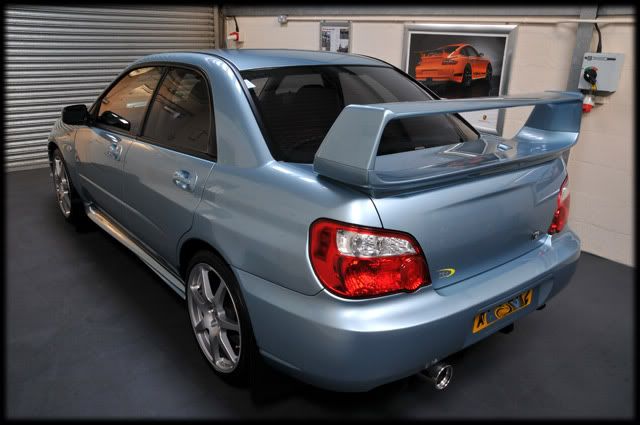
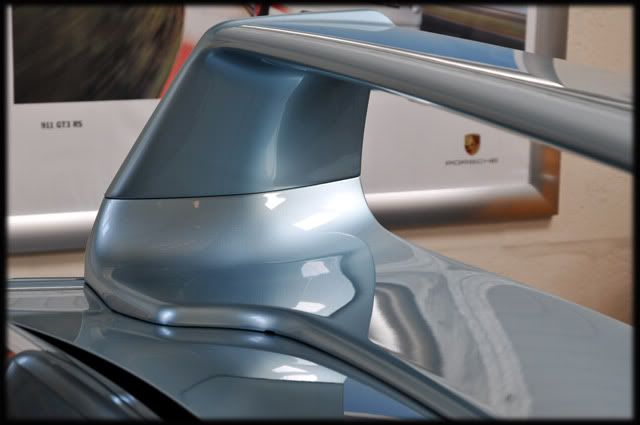
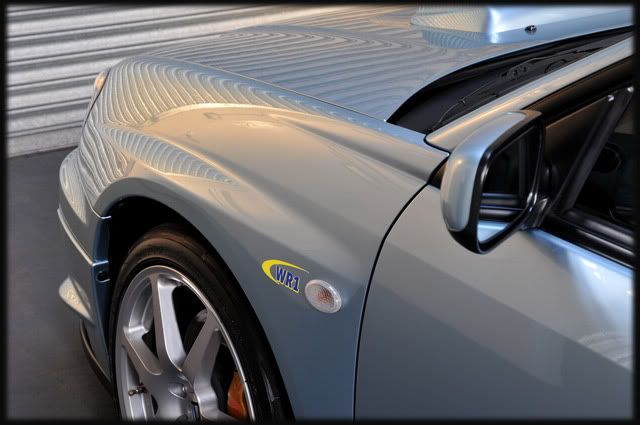
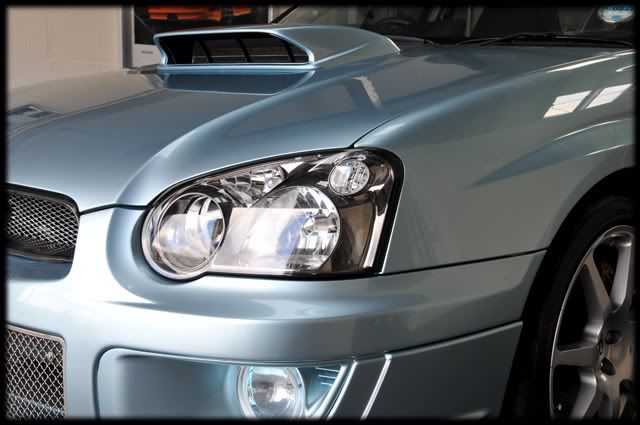
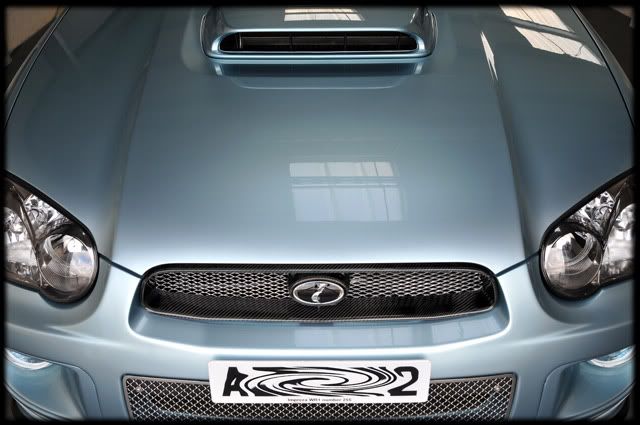
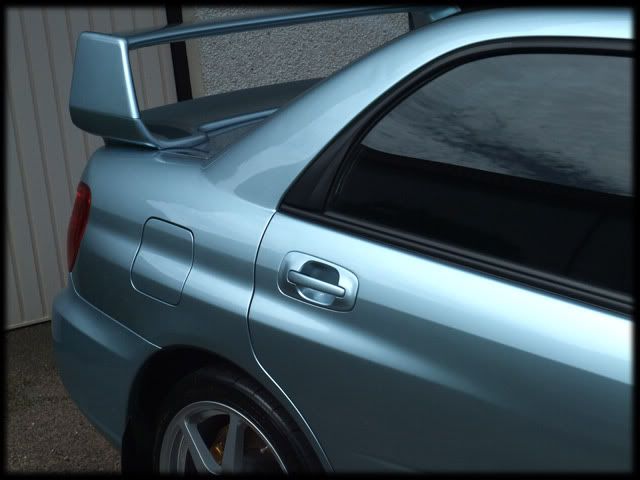
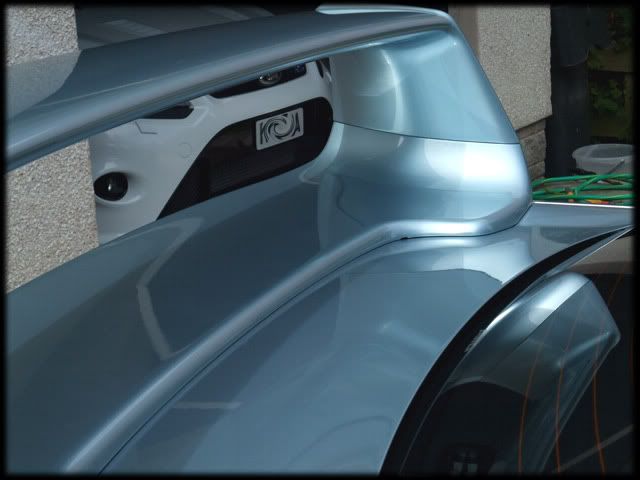
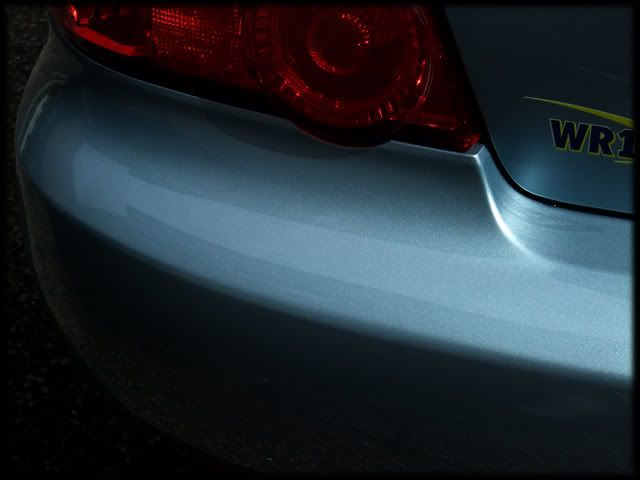
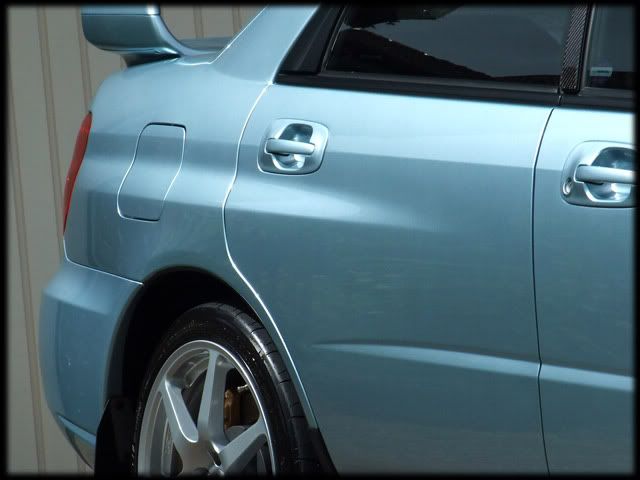
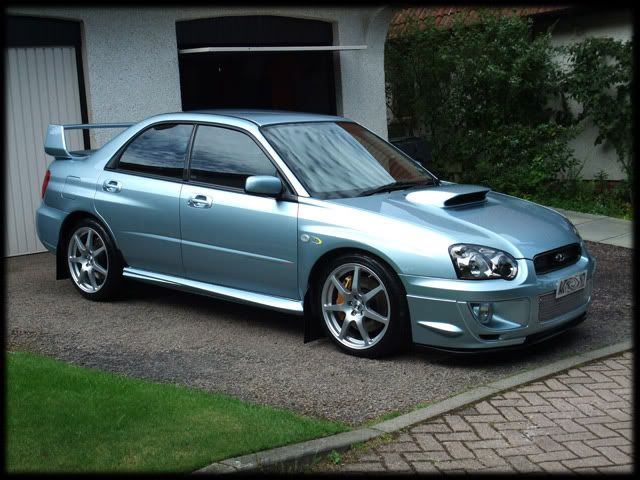
...which gave the following results :)
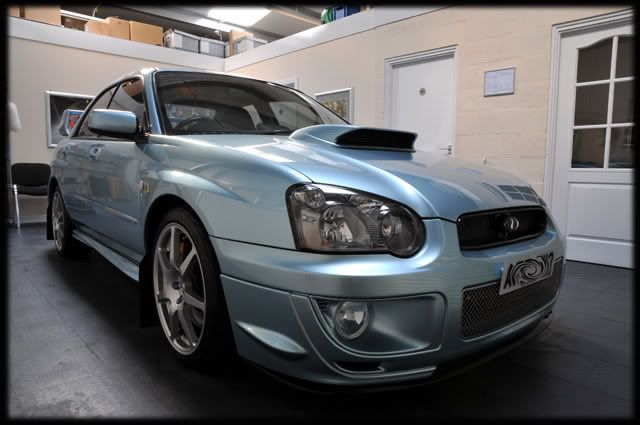


Image

Image

Image

Image

Image

Image

Image

Image

Image

Image

Image

Image

Image

Image

Image

Image

Image

Image

Image

Image

Image


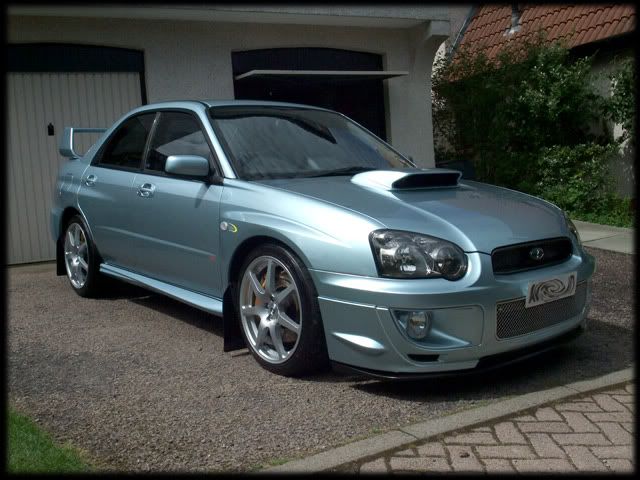
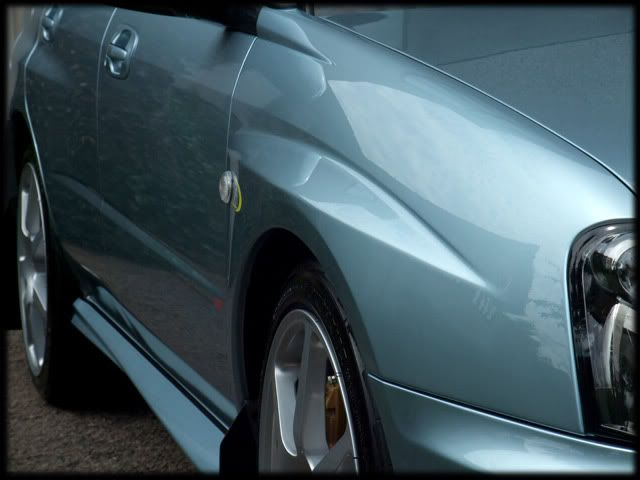
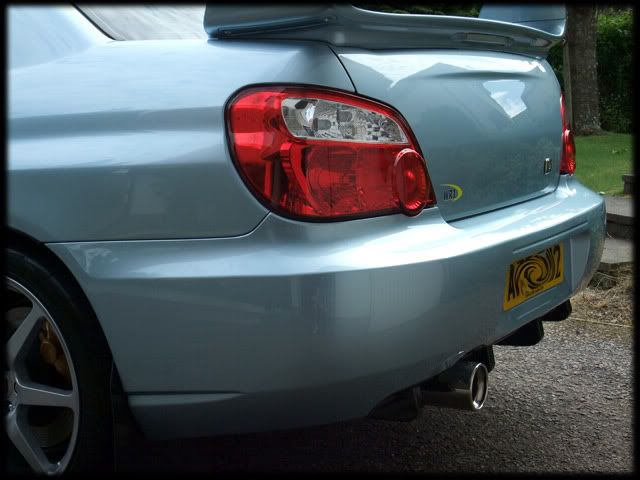
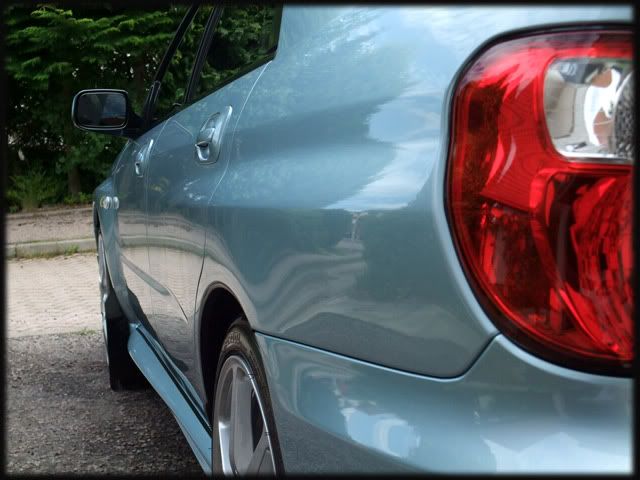
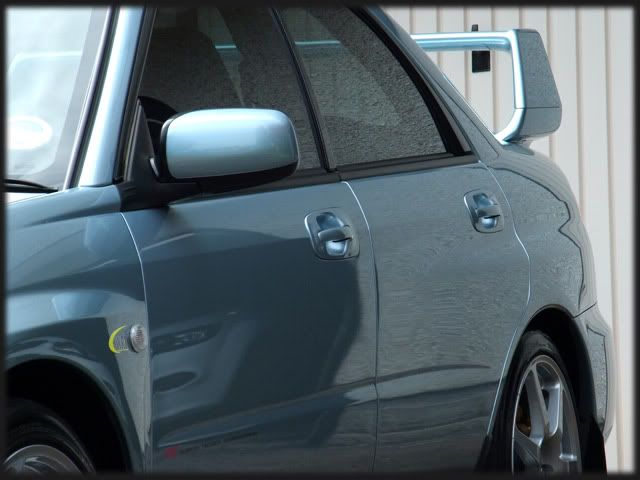
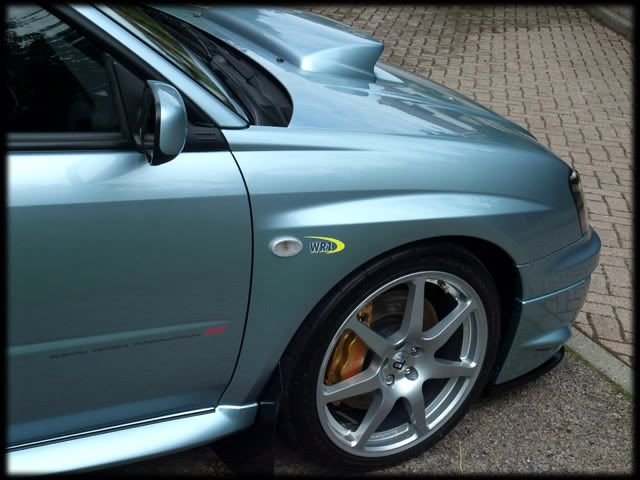
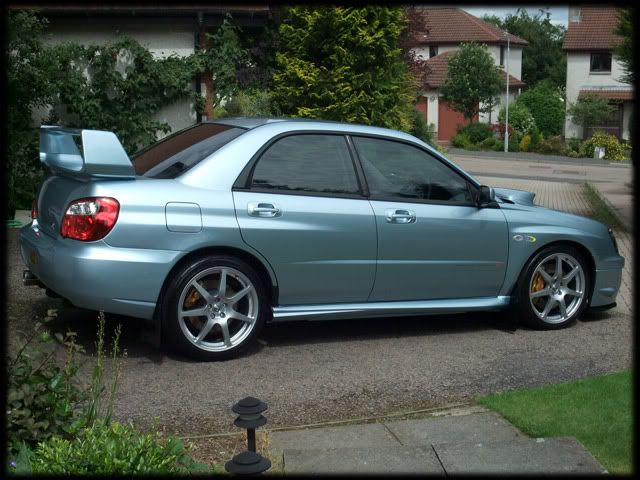
And here are a few that I took yesterday after a wash. These were taken with my new compact (Fuji film F200 EXR) so I'm still getting to grips with it :)
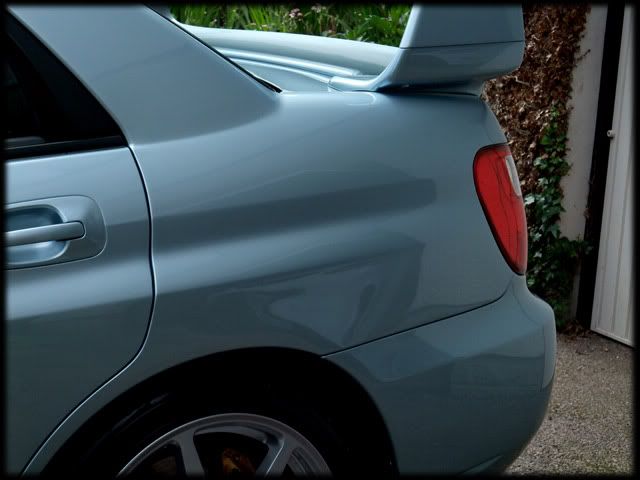

Image

Image

Image

Image

Image

Image

Image

Image

Image

Image

Image

Image

Image

Image

Image

Image


Thanks for looking as always - Ne Plus Ultra will probably be next :thumb:


Clark
Going round corners just got a whole lot faster...
User avatar
Clark
 
Posts: 764
Joined: Wed Apr 09, 2008 9:34 pm
Location: Aberdeen

Postby Gee Wr1 » Sun Jul 05, 2009 12:36 pm

8) Stunning mate thats all i can think to say :D

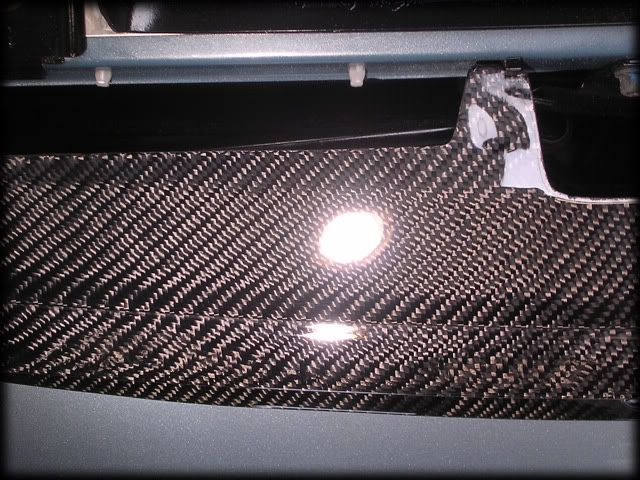
Where did you get the carbon top grill surround from? i was looking for one for a while but gave up in the end. I've got the carbon pillars like you & also altenator cover, fuse box cover & slam panel.
User avatar
Gee Wr1
 
Posts: 1965
Joined: Thu Sep 30, 2004 6:29 pm
Location: The original Highlands Wr1

Postby Dufnut » Sun Jul 05, 2009 12:51 pm

Looks great how long did it take you
Dufnut
 
Posts: 30
Joined: Sun Jun 21, 2009 11:37 am
Location: southend on sea

Postby WR 1mposter » Sun Jul 05, 2009 1:08 pm

8) 8) Clark whats the carbon bits under tha back bumper ?
2007 BMW M5
2004 Petter Solberg STi
User avatar
WR 1mposter
 
Posts: 14095
Joined: Mon Jun 27, 2005 12:04 am
Location: Sunny Falmouth

Postby eck » Sun Jul 05, 2009 1:41 pm

FFS Clark it's almost as clean as my one :shock: :lol:

Brilliant job as ever, really like the wheels in the brighter shade.

You going along to Alford today by any chance?
The WR1 be safe in the knowledge that, short of strapping yourself to an Acme rocket, there's no quicker way to get from A to B.
User avatar
eck
 
Posts: 515
Joined: Fri Apr 18, 2008 3:53 pm
Location: Aberdeenshire

Postby Clark » Sun Jul 05, 2009 3:46 pm

Unfortunately not mate, my dads gone up for a look though so if u see a silver 993 turbo sitting in the car park that's his!
Going round corners just got a whole lot faster...
User avatar
Clark
 
Posts: 764
Joined: Wed Apr 09, 2008 9:34 pm
Location: Aberdeen

Postby Chris B » Sun Jul 05, 2009 5:11 pm

Great job Clark,looks nearly as good as mine now,keep working on it your nearly there mate.
Heaven can wait....I'm playing with my scooby.
Chris B
 
Posts: 1729
Joined: Tue Sep 07, 2004 1:59 pm
Location: Leicestershire

Postby eck » Sun Jul 05, 2009 6:12 pm

Clark wrote:Unfortunately not mate, my dads gone up for a look though so if u see a silver 993 turbo sitting in the car park that's his!


Will have a heluva job seeing that, still got 3 weeks to go in Egypt :cry:
The WR1 be safe in the knowledge that, short of strapping yourself to an Acme rocket, there's no quicker way to get from A to B.
User avatar
eck
 
Posts: 515
Joined: Fri Apr 18, 2008 3:53 pm
Location: Aberdeenshire

Postby John Mc » Sun Jul 05, 2009 6:40 pm

Stunning Clark, must be the best condition WR1 in existence I reckon!!

Where did you get that rear diffuser from? I think I've seen one of those somewhere else but can't think where... Finishes the rear of the car off better IMO.
[Just incase this gets lost in translation, I am not slandering you, I know people can be sensitive to these harsh words.]
John Mc
 
Posts: 3528
Joined: Thu May 22, 2008 3:15 pm
Location: Harrogate, N.Yorks

Postby Clark » Sun Jul 05, 2009 8:39 pm

Gee Wr1 wrote:8) Stunning mate thats all i can think to say :D

Where did you get the carbon top grill surround from? i was looking for one for a while but gave up in the end. I've got the carbon pillars like you & also altenator cover, fuse box cover & slam panel.


Someone on one of the local scooby forums was selling it so fortunately I got it for £60 mate, the fittings arent anything like the original ones so you have to make your own but it's worth it in my opinion :)

The detail was done over 3 days.


The rear diffuser is a carbon effect from HT-Autos, there was a group buy on scoobynet, not sure if its still on or not. Piece of piss to fit! I'd have liked a real carbon one but at the price they are I'd have probably cried if a stone was thrown up and cracked it :lol:
Going round corners just got a whole lot faster...
User avatar
Clark
 
Posts: 764
Joined: Wed Apr 09, 2008 9:34 pm
Location: Aberdeen

Postby Gee Wr1 » Sun Jul 05, 2009 9:52 pm

Lucky bugger thats a bargin :D
Wonder if its one of those ones from china that are on ebay as i saw them but some of the feedback said the fittings were poor so i decided against it.

How hard was it to make up the fixings?
User avatar
Gee Wr1
 
Posts: 1965
Joined: Thu Sep 30, 2004 6:29 pm
Location: The original Highlands Wr1

Postby Clark » Sun Jul 05, 2009 10:43 pm

piece of piss mate, drilled a couple of holes in the grill (re-laquered them to stop water getting in) and then fitted it with a few black cable ties :D
Going round corners just got a whole lot faster...
User avatar
Clark
 
Posts: 764
Joined: Wed Apr 09, 2008 9:34 pm
Location: Aberdeen

Postby M9JOC » Mon Jul 06, 2009 9:26 am

Brilliant work, to be able to do that is amazing, i am well impressed. If my car was that clean i couldnt drive it i would be scared of any dirt.
I had hoped to pop out to grab some product from you but been working 7days with late night finishes.


To jet wash the engine is there anything i should prep first and how?

James
98 DC2 Integra type R
00 Audi TT 180 Coupe
03 DC5 Integra typeR
02 Alfa spider V6
01 Honda s2000
03 Audi TT 225 roadster
02 Porsche Boxster S
06 porsche Cayman
04 Subaru Impreza STi WR1
Now:
07 BMW Z4M
User avatar
M9JOC
 
Posts: 500
Joined: Thu Jun 11, 2009 10:05 pm
Location: BALMEDIE, ABERDEEN

Postby markywr1 » Mon Jul 06, 2009 9:11 pm

As said before 'stunning' no other word for it. Are the badges on the boot just stuck on, if so how easy do they come off? i personally feel that the boot is cluttered with badges, yours looks much cleaner.
User avatar
markywr1
 
Posts: 294
Joined: Tue Jun 02, 2009 4:01 pm
Location: Derbyshire

Postby col » Tue Jul 07, 2009 10:44 am

Awesome! Your attention to detail is something else.

Great job.

8) 8)
User avatar
col
 
Posts: 96
Joined: Mon Dec 31, 2007 12:46 pm
Location: Scotland

Postby hightower » Tue Jul 07, 2009 7:57 pm

that car is cleaner than when it was new out of the box.
stunning!!!!
Gracing the drive.....BMW M3 E92 with all the toys!/Integra DC5/ Integra DC2 race car/BMW X5
gone...Impreza RB320 No 112
gone...Impreza WR1 No 84
gone...Civic Type R EP3
gone...Seat Leon Cupra 225
gone...Civic Type R EP3
gone...(shed with weels)
User avatar
hightower
 
Posts: 743
Joined: Mon Aug 06, 2007 11:29 pm
Location: Stirling

Postby wr1.305 » Tue Jul 07, 2009 8:29 pm

Awsome!!!! :D
Image
wr1.305
 
Posts: 607
Joined: Sat May 17, 2008 10:02 am
Location: moreton-in-marsh

Postby WAYNE WRX » Tue Jul 07, 2009 8:58 pm

As always, excellent job 8) 8) 8)
Image
www.wwjpc.co.uk Wales "n" West Japanese Performance Cars WR1 495
WAYNE WRX
 
Posts: 294
Joined: Fri Sep 12, 2008 10:42 pm
Location: Mid Wales

Postby Ferret WR1 » Wed Jul 08, 2009 6:10 pm

Clark, amazing job! :D
User avatar
Ferret WR1
 
Posts: 645
Joined: Sat Feb 14, 2009 2:34 pm
Location: North West

Postby Clark » Wed Jul 08, 2009 6:43 pm

Cheers guys!

markywr1 wrote:As said before 'stunning' no other word for it. Are the badges on the boot just stuck on, if so how easy do they come off? i personally feel that the boot is cluttered with badges, yours looks much cleaner.


The badges are just stuck on. Heat them up with a heat gun or hair drier and use some thread or fishing line to carefully cut the adhesive on the badges. Then use a tar and glue remover to get rid of the remaining residue and wax/seal to protect the paint afterwards :)
Going round corners just got a whole lot faster...
User avatar
Clark
 
Posts: 764
Joined: Wed Apr 09, 2008 9:34 pm
Location: Aberdeen

Postby Daz » Wed Jul 08, 2009 8:25 pm

excellent job clark , did you find that you got better results using all the different prducts rather than just the jeffs range ?
Daz
 
Posts: 140
Joined: Fri Apr 10, 2009 10:45 am
Location: Wakefield west yorkshire

Postby markywr1 » Wed Jul 08, 2009 9:14 pm

Clark wrote:Cheers guys!

markywr1 wrote:As said before 'stunning' no other word for it. Are the badges on the boot just stuck on, if so how easy do they come off? i personally feel that the boot is cluttered with badges, yours looks much cleaner.


The badges are just stuck on. Heat them up with a heat gun or hair drier and use some thread or fishing line to carefully cut the adhesive on the badges. Then use a tar and glue remover to get rid of the remaining residue and wax/seal to protect the paint afterwards :)

Cheers Clark :thumb:
User avatar
markywr1
 
Posts: 294
Joined: Tue Jun 02, 2009 4:01 pm
Location: Derbyshire

Re: Impreza WR1 #255 Fully Detailed...

Postby Ferret WR1 » Thu Jul 09, 2009 5:20 pm

Clark wrote:Image


Clark how did you do this?
User avatar
Ferret WR1
 
Posts: 645
Joined: Sat Feb 14, 2009 2:34 pm
Location: North West

Postby zedder » Thu Jul 09, 2009 8:49 pm

:thumb: stunning!!
User avatar
zedder
 
Posts: 362
Joined: Sun Jun 29, 2008 9:39 pm

Postby Clark » Thu Jul 09, 2009 9:02 pm

Daz wrote:excellent job clark , did you find that you got better results using all the different prducts rather than just the jeffs range ?


I'd say I've found a look that suits the Ice Blue better but I still think the Werkstat will look better on silvers etc - it's personal preference really at the end of the day. The Gloss-It has definitely darkened the car and gave it a glass like effect whereas the Werkstat made it look lighter :D
Going round corners just got a whole lot faster...
User avatar
Clark
 
Posts: 764
Joined: Wed Apr 09, 2008 9:34 pm
Location: Aberdeen

Re: Impreza WR1 #255 Fully Detailed...

Postby Clark » Thu Jul 09, 2009 9:03 pm

Ferret WR1 wrote:
Clark wrote:Image


Clark how did you do this?


Magic :lol: :lol:


I found them on E-bay ages ago, you have to Iron them on. It took bloody ages to make sure they were straight and it was a bit nerve racking taking the iron to my nice seats :? :shock: :lol:
Going round corners just got a whole lot faster...
User avatar
Clark
 
Posts: 764
Joined: Wed Apr 09, 2008 9:34 pm
Location: Aberdeen

Postby WUZ » Thu Jul 09, 2009 9:43 pm

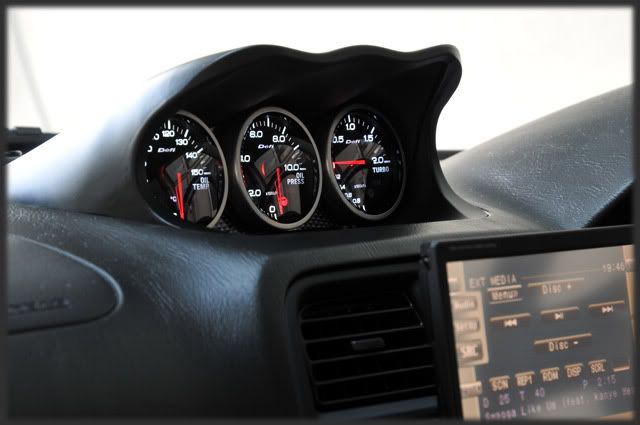
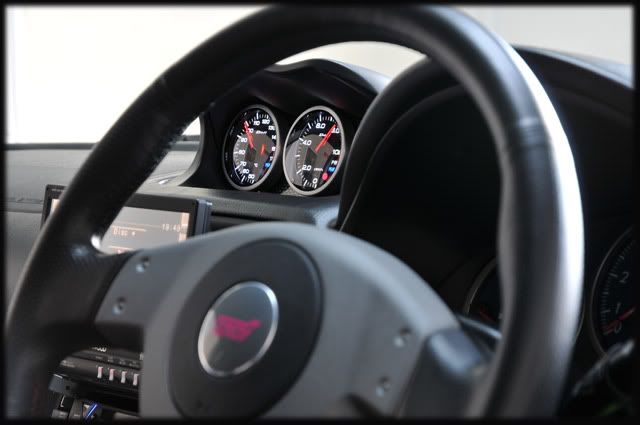
Nice guages :lol:

Seriously though, car looks awesome. You able to look at mine this time home (1st 3 weeks in August) ?

;)

Russell
WUZ
 
Posts: 71
Joined: Thu Jun 25, 2009 4:45 pm

Postby Clark » Sat Jul 11, 2009 10:20 pm

You MIGHT be in luck mate, I should hopefully manage to fit you in one day of a weekend while you're back. Will only have time to give it a good all surface protection detail but we can get it corrected next time you're home and I'm free?

I'll check the diary at work tomoro or Monday and pencil you in 8)
Going round corners just got a whole lot faster...
User avatar
Clark
 
Posts: 764
Joined: Wed Apr 09, 2008 9:34 pm
Location: Aberdeen

Postby Chris B » Sun Jul 12, 2009 7:35 am

Clark,when you switched to the Project Awesome did you have to clean off the werstatt first or did you go straight on top with the new polish,and is the G220 foolproof to use as I thinking about getting one as you seem to catching me up with your car.
Heaven can wait....I'm playing with my scooby.
Chris B
 
Posts: 1729
Joined: Tue Sep 07, 2004 1:59 pm
Location: Leicestershire

Re: Impreza WR1 #255 Fully Detailed...

Postby Ferret WR1 » Mon Jul 13, 2009 5:55 pm

Clark wrote:
Ferret WR1 wrote:
Clark wrote:Image


Clark how did you do this?


Magic :lol: :lol:


I found them on E-bay ages ago, you have to Iron them on. It took bloody ages to make sure they were straight and it was a bit nerve racking taking the iron to my nice seats :? :shock: :lol:


Interesting, looks smart! 8)
User avatar
Ferret WR1
 
Posts: 645
Joined: Sat Feb 14, 2009 2:34 pm
Location: North West

Next

Return to Car Care

Who is online

Users browsing this forum: No registered users and 15 guests

cron