Polished Bliss: Impreza 22B...
Not a WR1 but figured it would appeal to some of you 
Copied over from DW...
This was the latest one just completed this morning
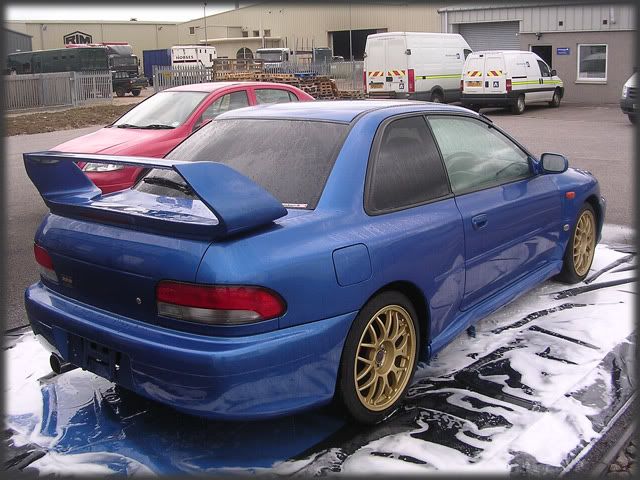
You're lucky if you ever see a 22B on the roads but this was the second we've had in within 12 months, this one was booked in after the owner saw the write up from the previous one.
The car has just recently been imported from Japan and as with most imports it was looking a bit dull and lifeless with old product residue in just about every panel gap.

Onto the wash stage...
As usual, the pre-foam was first using R222 @ 60 degrees:
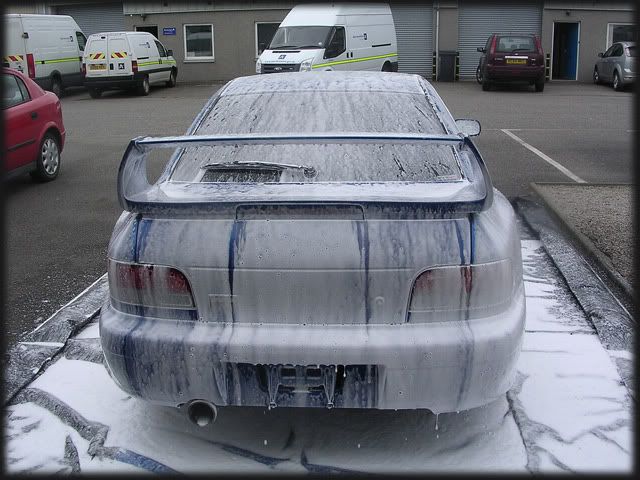
This was repeated 2 or 3 times and then rinsed off at high pressure:
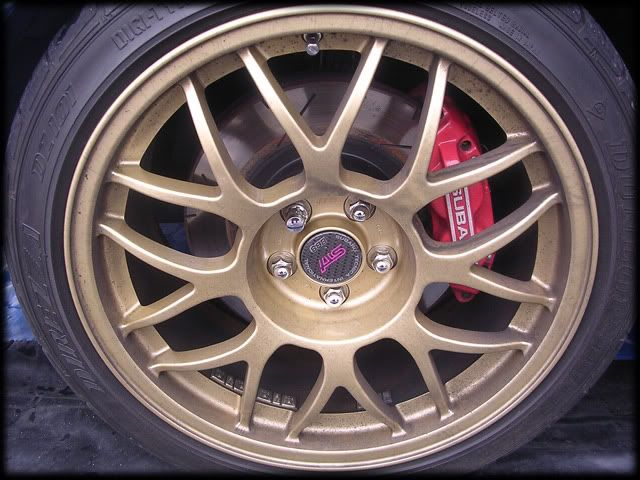
The wheels were cleaned with Gloss-It Wheel Gel, which cleaned the faces up nicely, but I quickly discovered alot of underseal overspray on the inner rims. It would have taken an eternity to remove this with the wheels on so off they came...
Overspray pictured below:
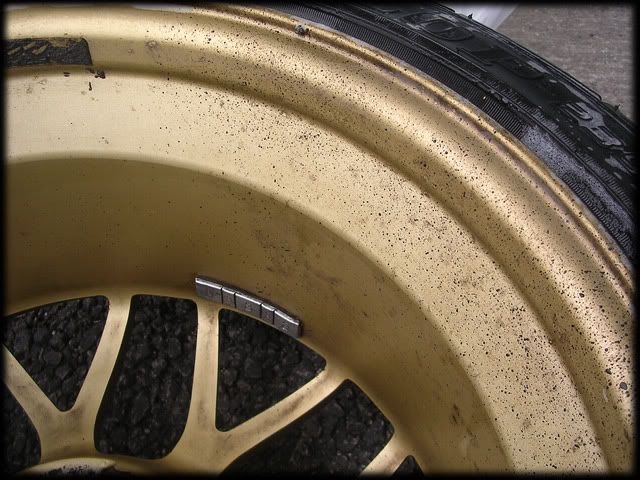
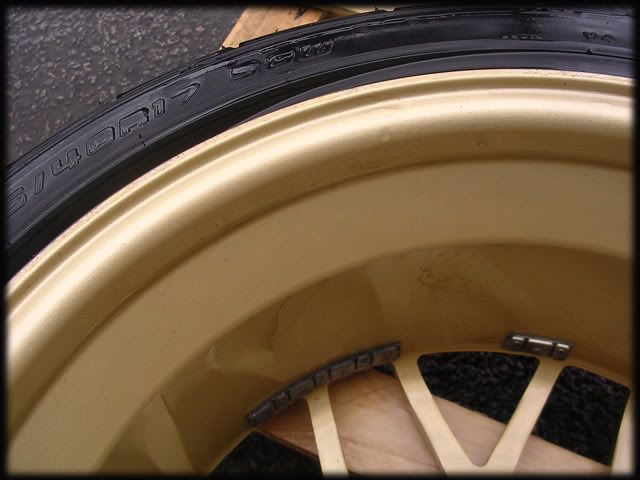
I soaked the wheels with Autosmart Tardis and left it for a minute or two:
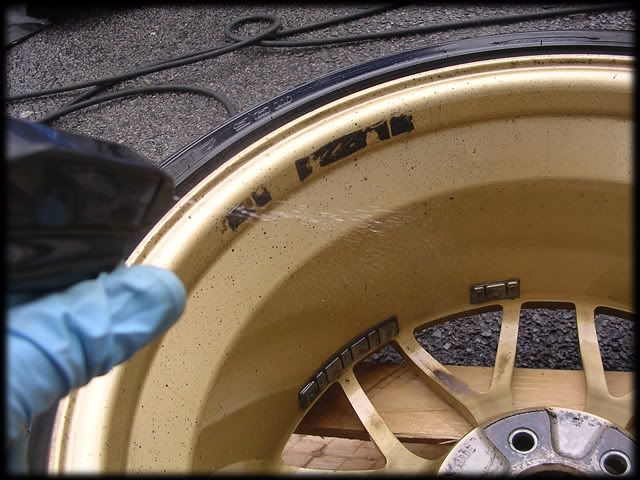
Then with the pressure washer @ 50 degrees and good old elbow grease I managed to remove all the overspray and old weight stickers with just some small areas of pitting and blistering remaining:
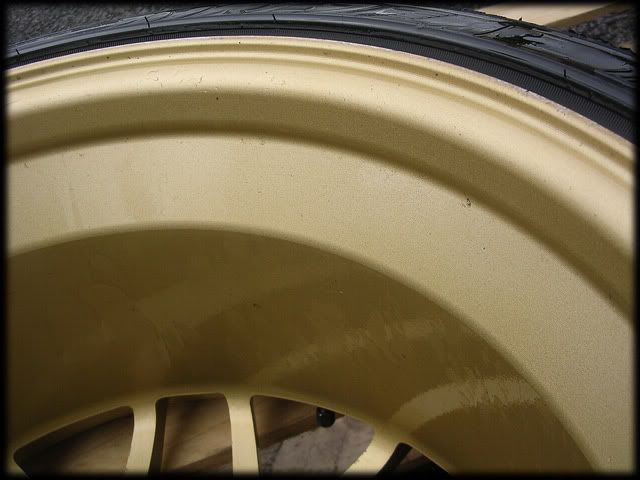
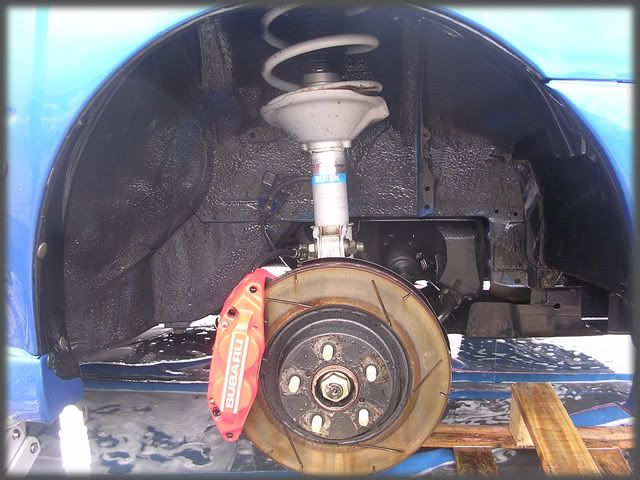
Each wheel was sealed with Blackfire Metal Sealant and while that cured I cleaned up the arches:
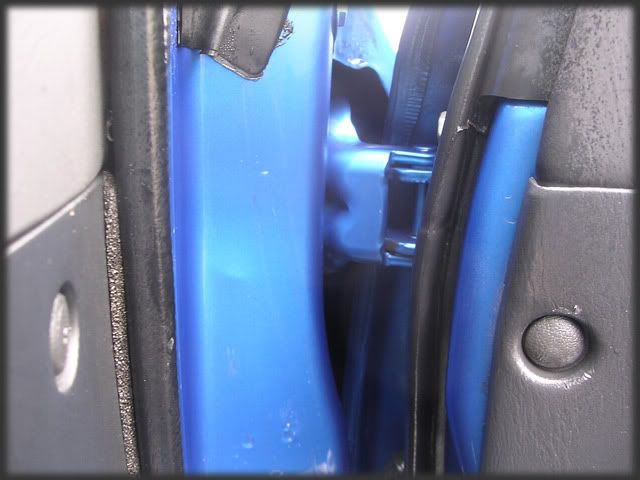
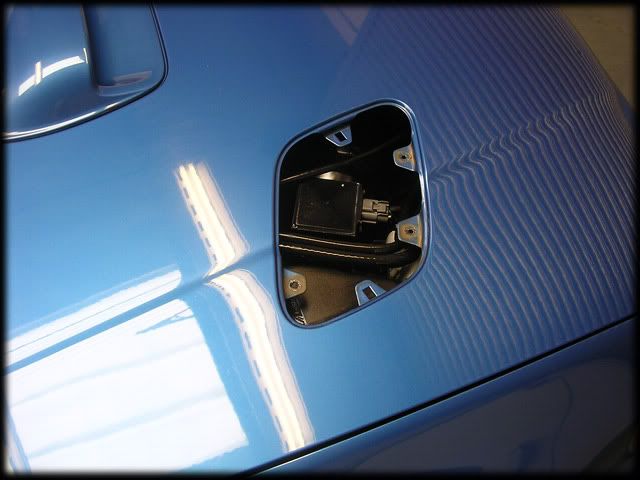
With the car back on all 4 wheels again I carried on with the rest of the jobs. All the exterior trim were cleaned with a Meguiars Slide Lock Brush and R222 and then I moved onto the shuts:
Before:
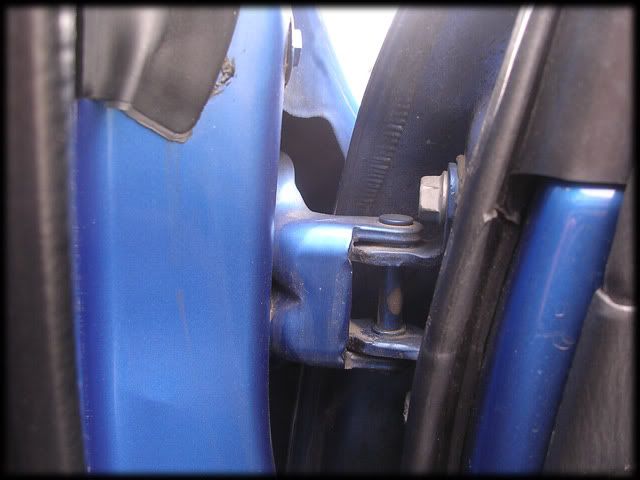
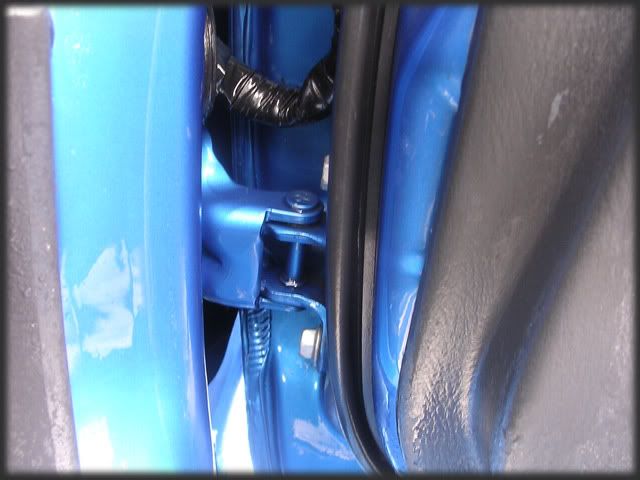
After:
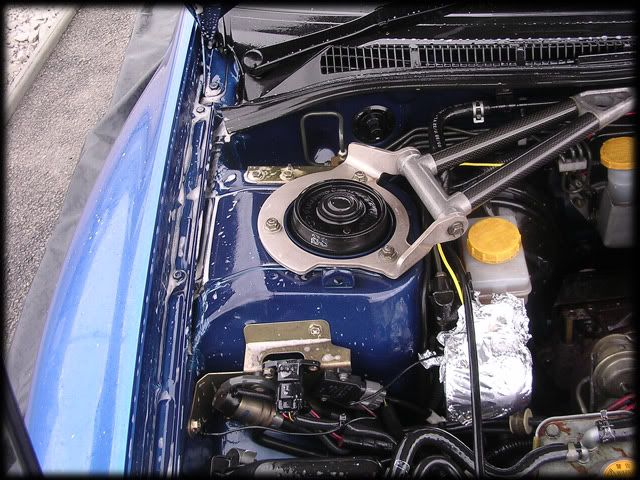
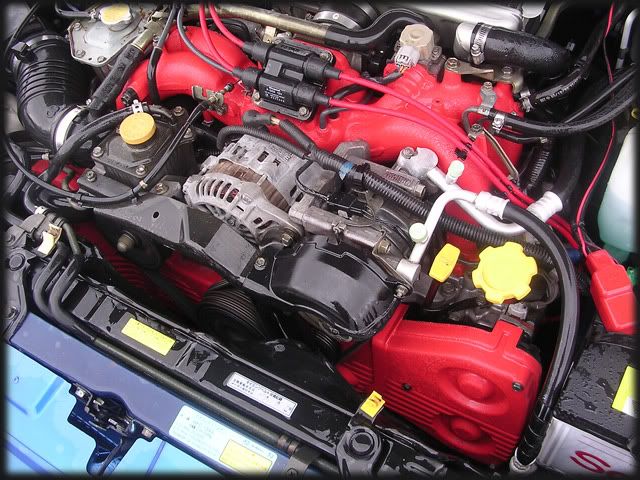
The engine bay was also sprayed with R222 and agitated (the alternator and alarm siren were covered up) before being rinsed at medium pressure (60 degrees):
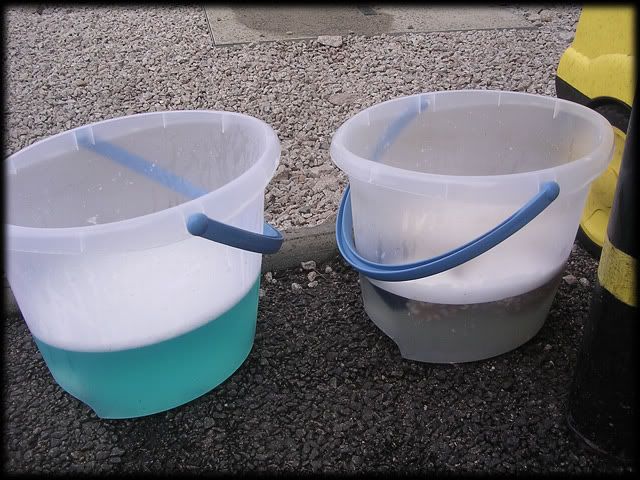
Finally it was then time to get the car washed, using Shampoo Plus and a lambs wool mitt:
After a going over with Tardis followed by a rinse I put the car inside for claying.
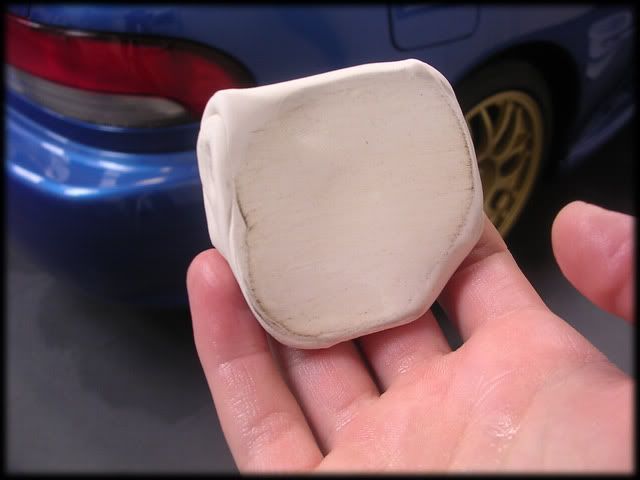
It wasn’t too bad contaminant wise so Meguiars Quick Clay was used:
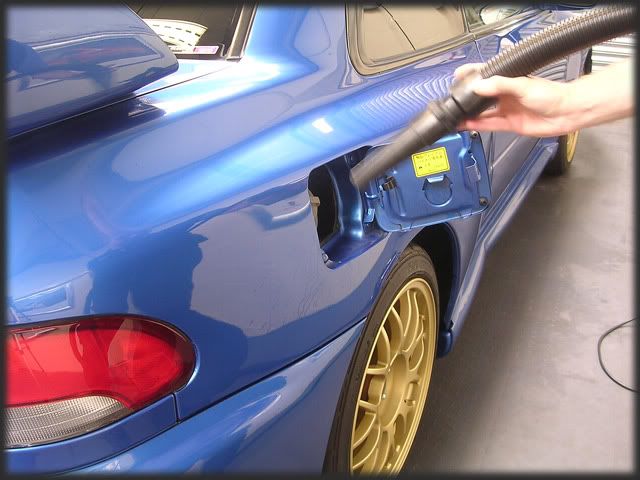
One final rinse was done and then I got the drier out and got rid of any water hiding in the panel gaps etc:
Paint readings next:

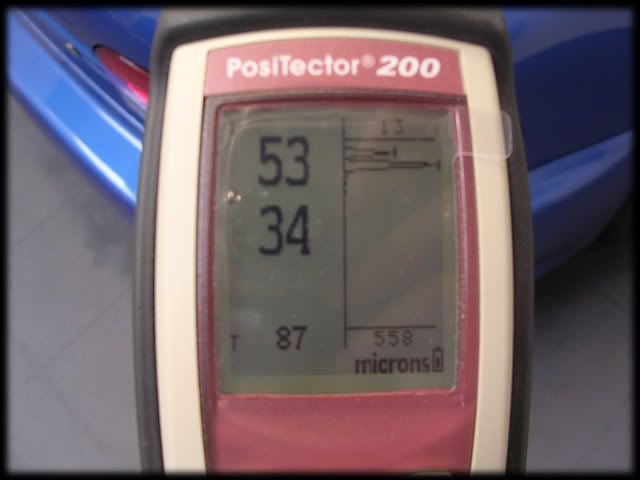
The gauges revealed that pretty much the whole car had seen paintwork at various times of its life with readings varying from 120-700 odd in places.
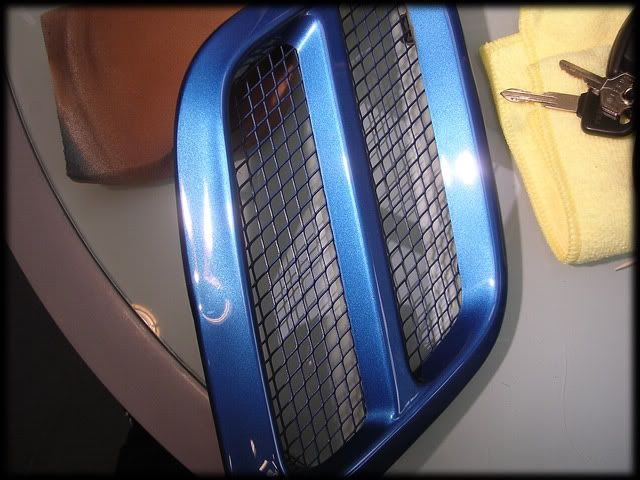
I made polishing the bonnet a bit easier by removing the vents:
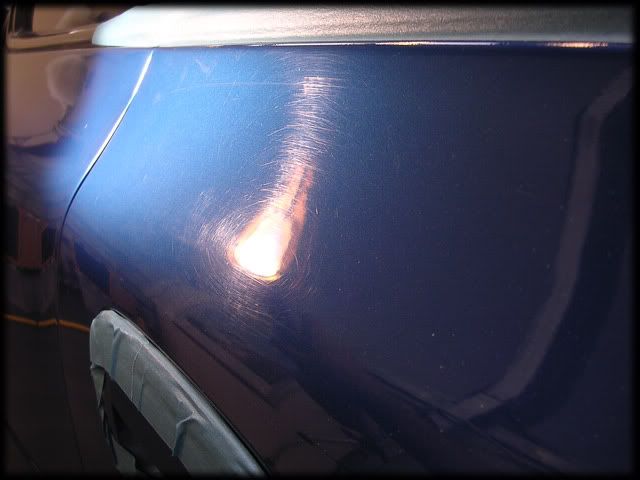
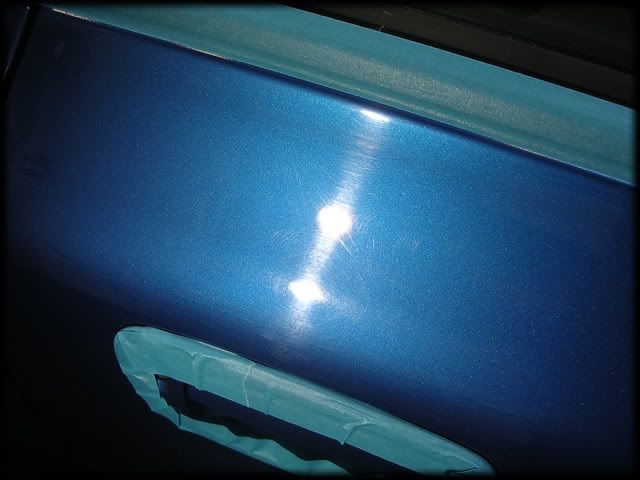
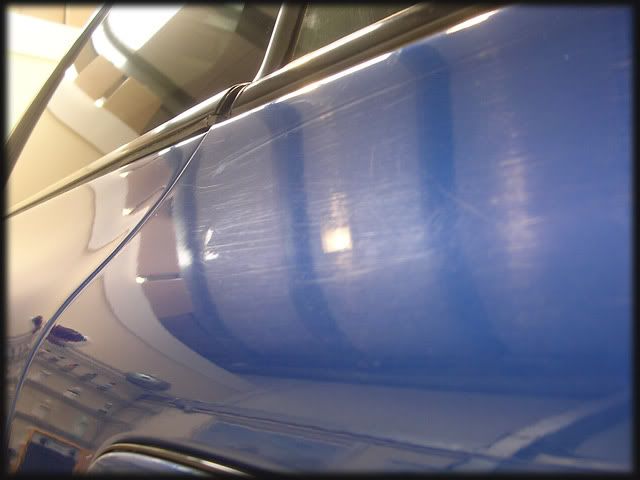
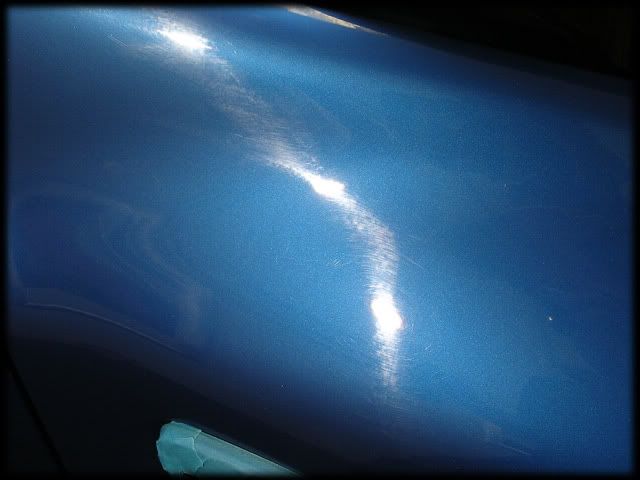
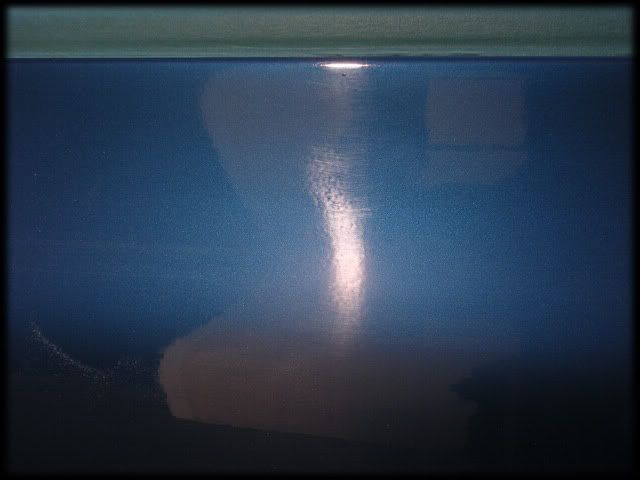
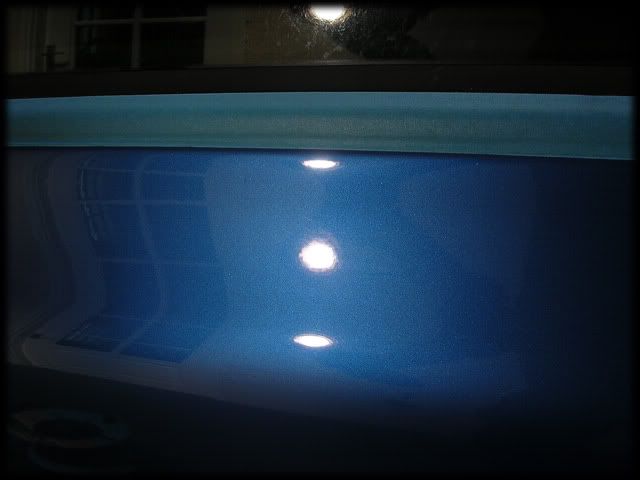
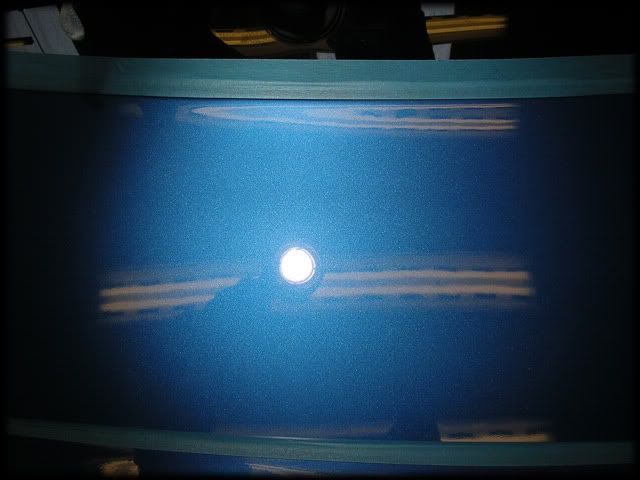
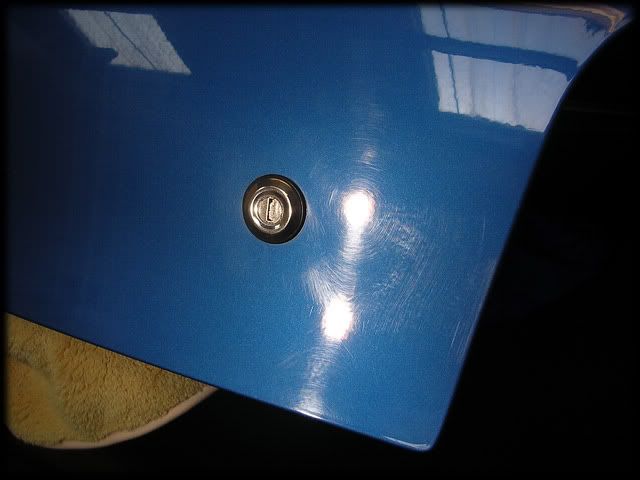
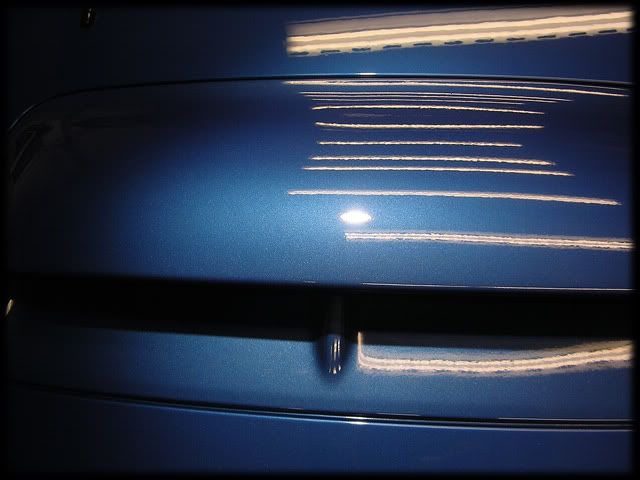
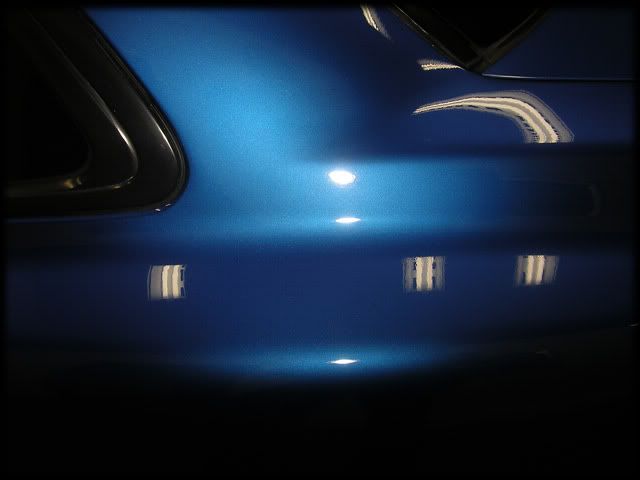
See what I mean about dull and lifeless? (not to mention some nasty scratches)

When it came to polishing the original panels I was expecting sticky paint but when I did my first test pass on the roof the polishes worked nicely, although the paint was alot harder than the last one which was a bit surprising...
I had to finally settle on Gloss-It Extreme Cut and Gloss-It Fast Cut Pads to achieve the desired results.
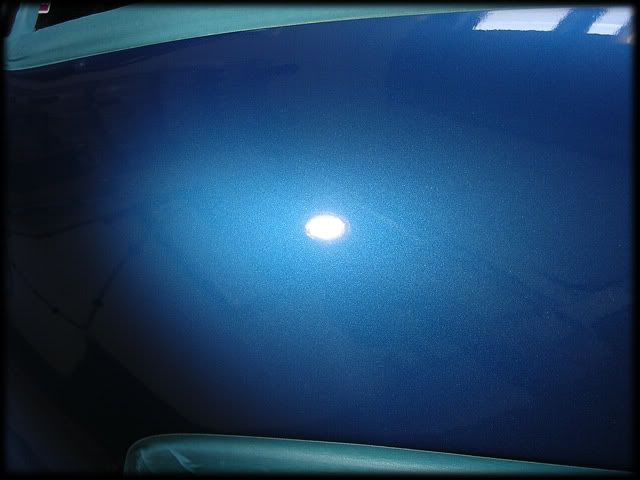
Moving from the roof to the bonnet:
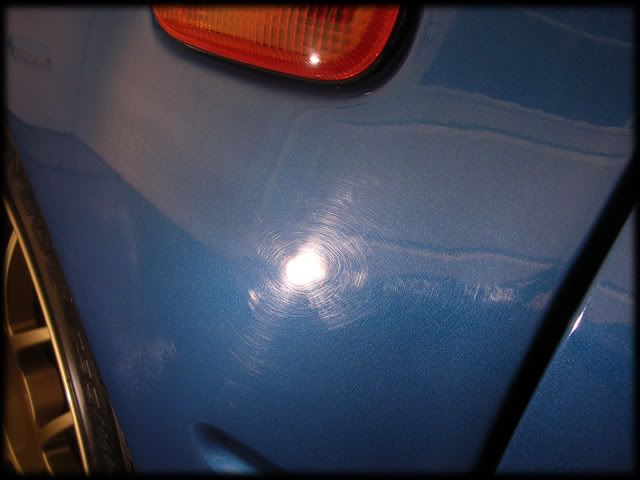
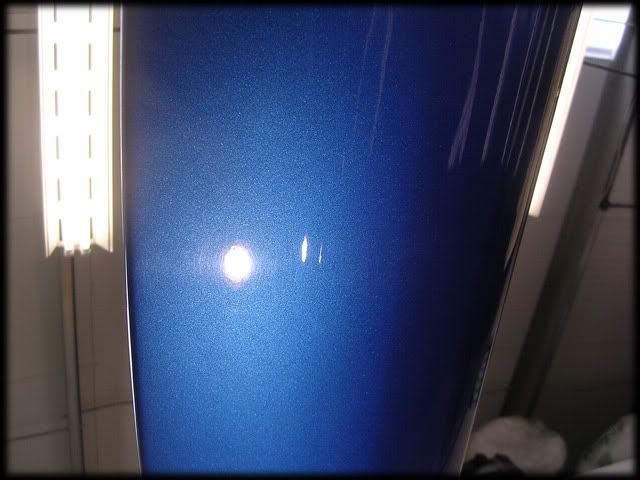
Before:
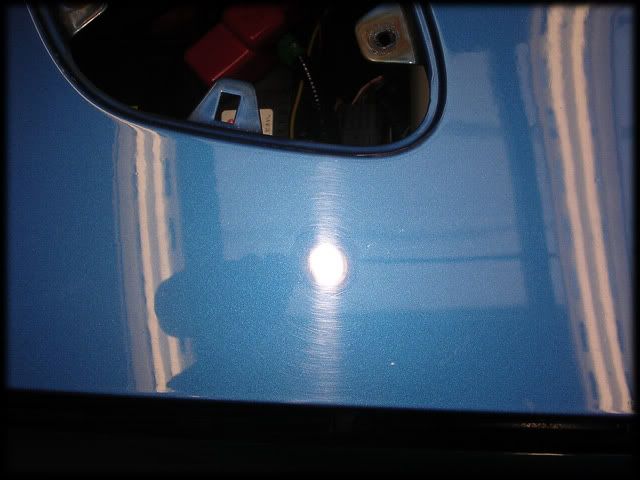
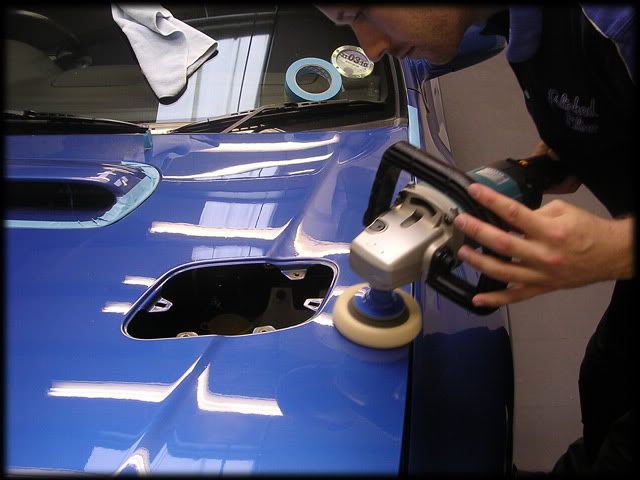
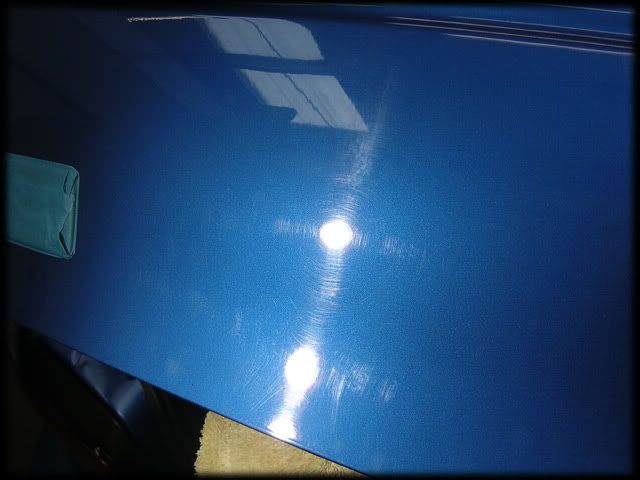
During:
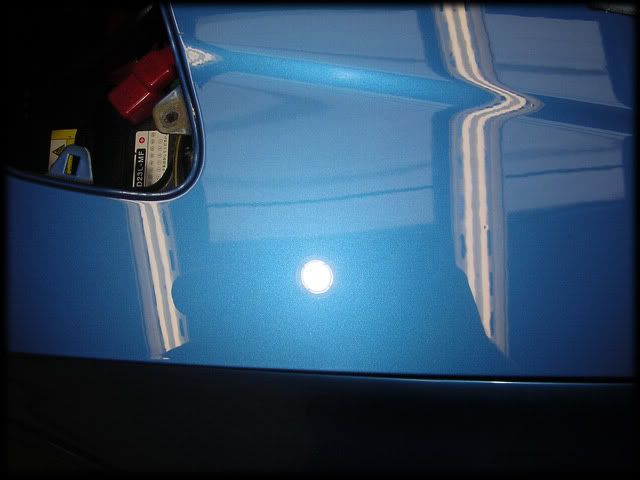
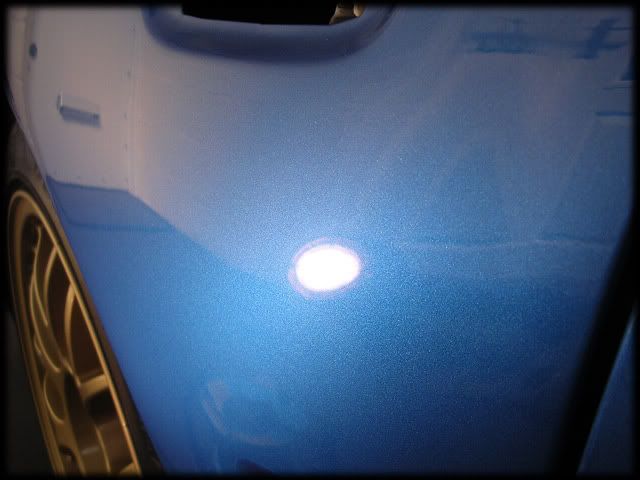
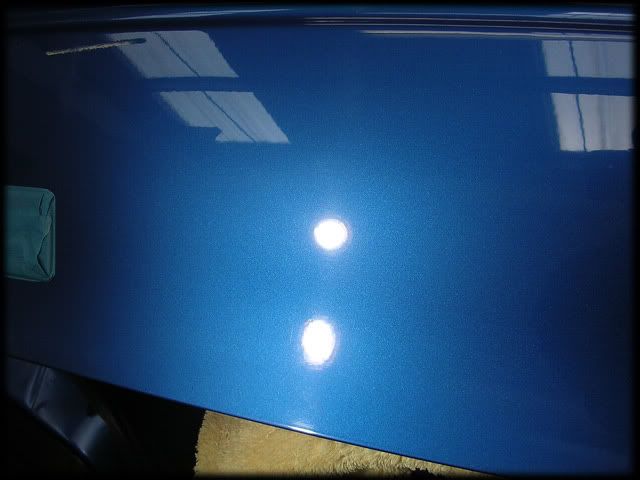
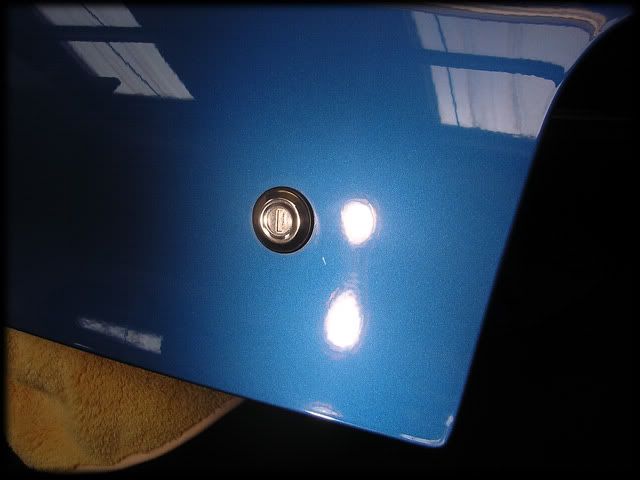
After:
Pleasantly surprised at the lack of sticky paint, as I moved onto the sides Sod's Law came into play :rolleyes:
I have never experienced such horrible sticky paint in all my life (and I've done a few now! ). The paint was just soaking up the polish instantly and the amount of EVP Pad Prime needed to keep the pad lubricated was starting to cause product sling which I cant stand so in the end I swapped over to the G220 but needed to step up to Menzerna Compounding Pads (and 2 or 3 drops of EVP Prime) to get acceptable correction.
Usually re-sprayed panels don’t ever present a problem when it comes to sticky paints but this was obviously an exception. The bumpers were ok though so I was able to polish these with the rotary
Still, even with the G220 the results were pleasing and the hard paint allowed the compounding pads to finish down pretty well
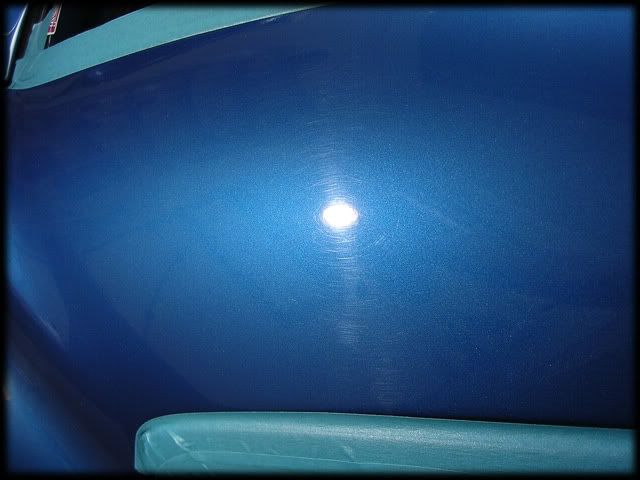
Before:
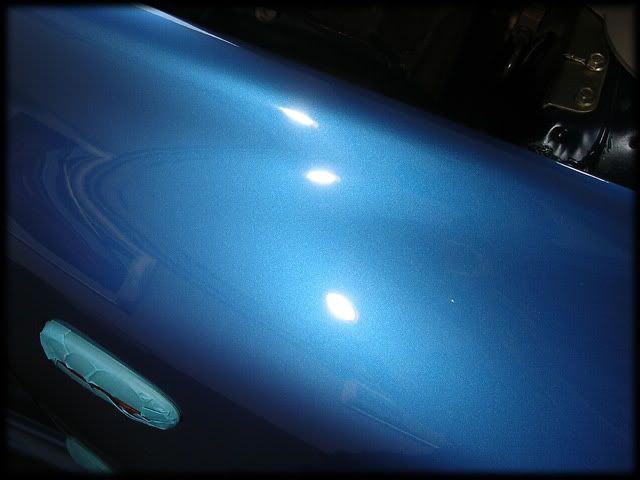
After:
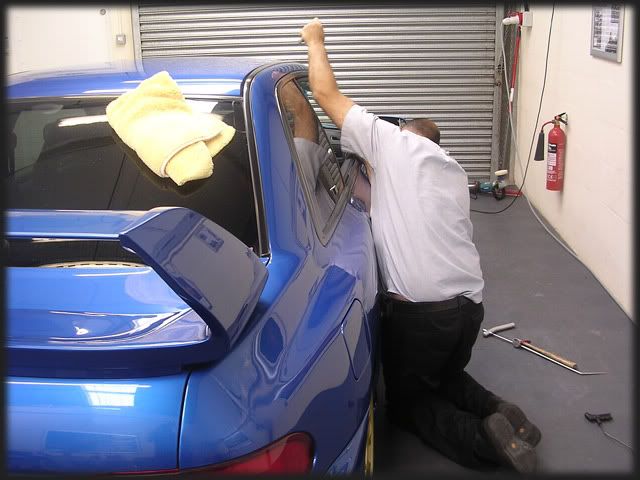
By this point Martin from Dent Devils had turned up to remove a few dings so I swapped sides for a bit...
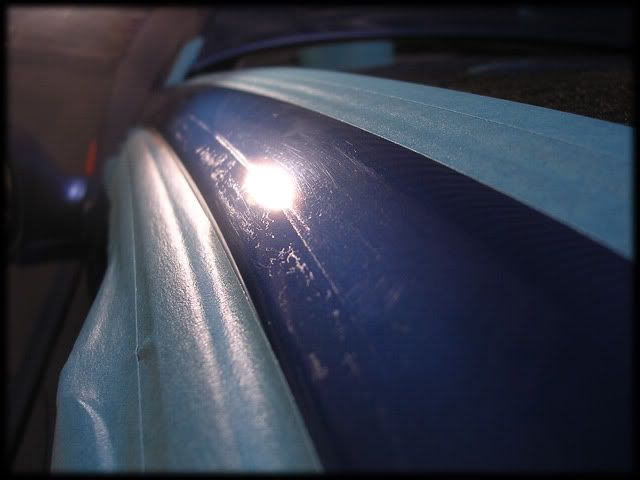
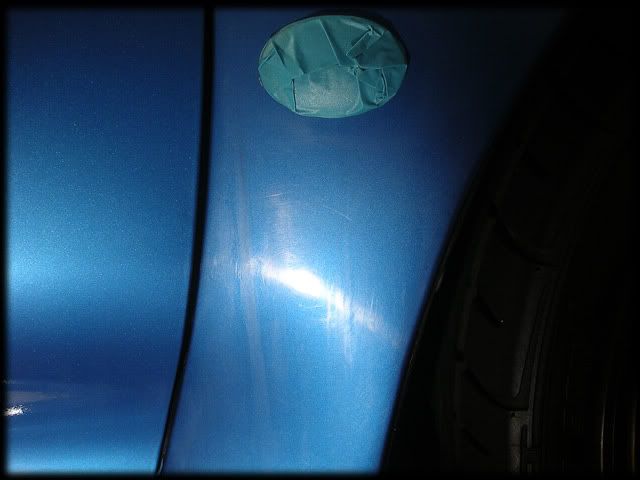
N/S A-Pillar showing signs of an old wind deflector that had marked the paint:
After:
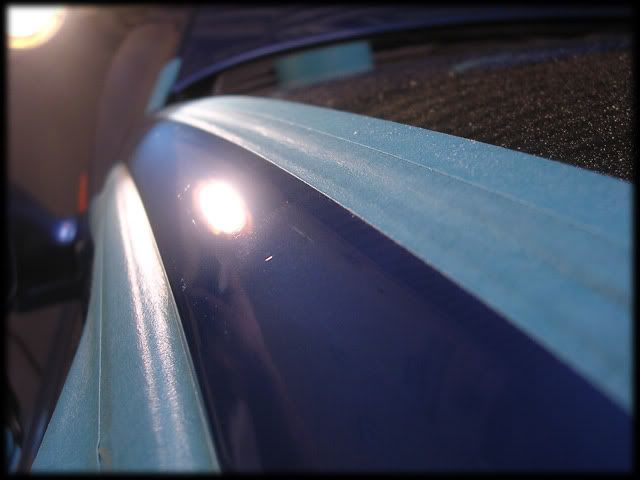
Some of the marks were too deep to fully remove as can be seen in the above pic.
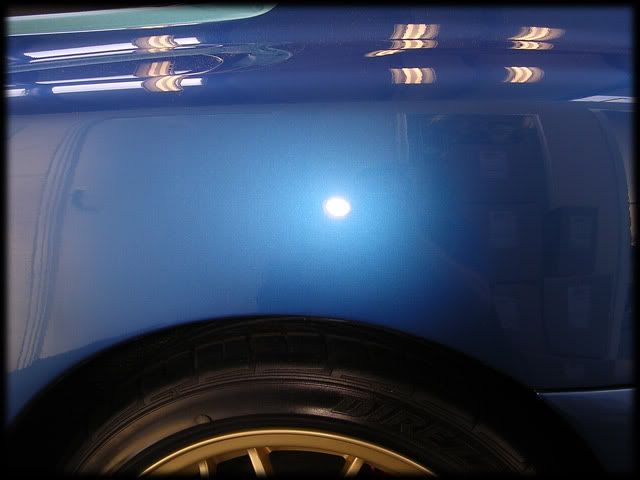
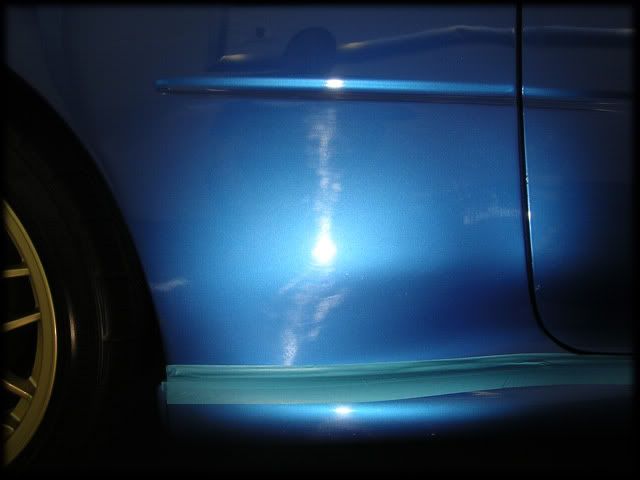
N/S rear quarter before:
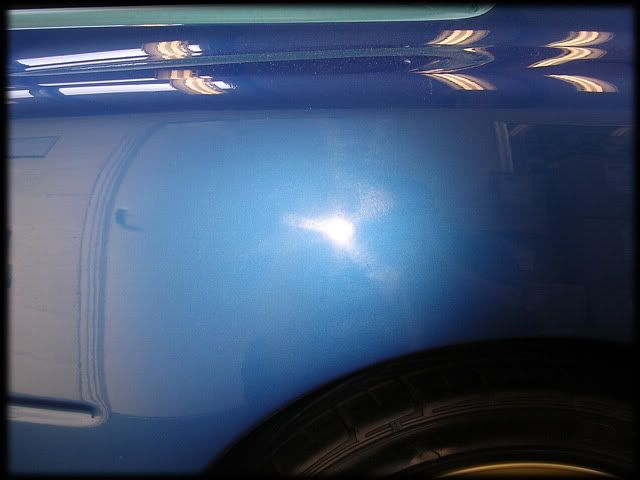
After:
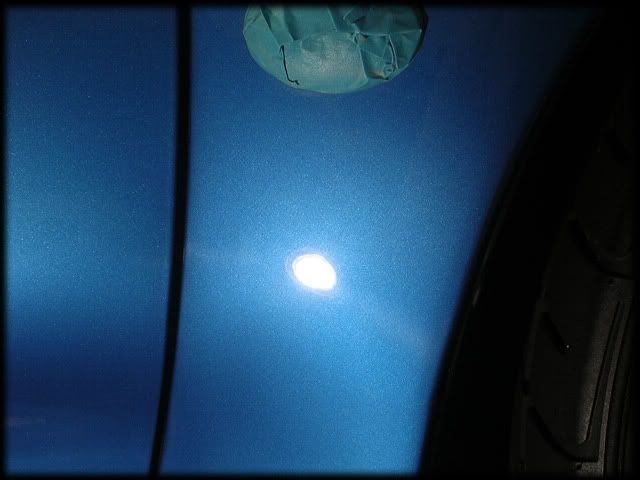
Before:
After:
Before:
After:
Before:
After:
Before:
After:

Before:
After:
Boot lid after:
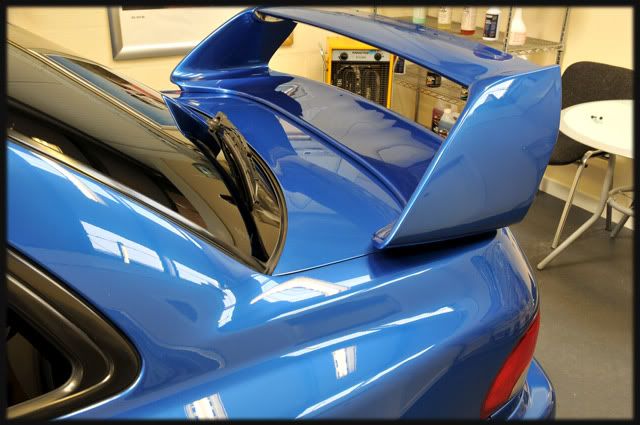
Underside of spoiler before:
After:

Boot lid before:
After:
Before:
After:
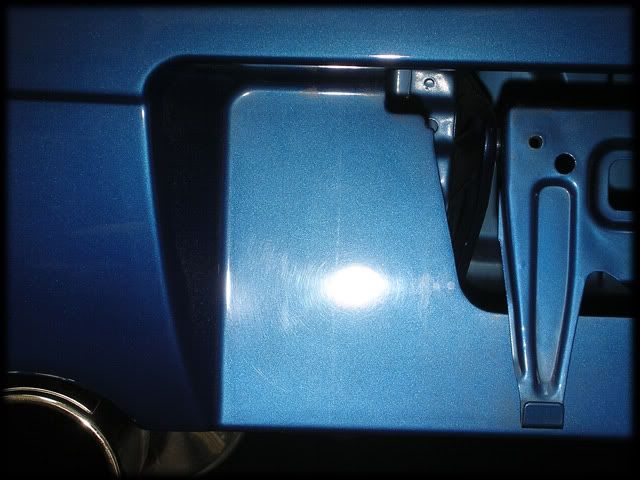
Number plate recess before:
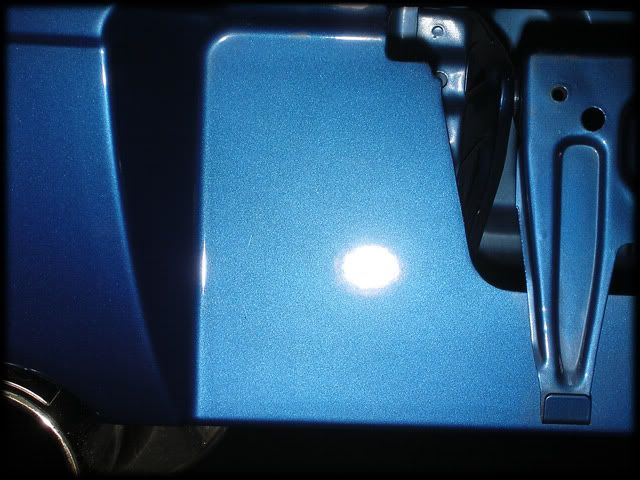
After:
Sideskirt corrected:
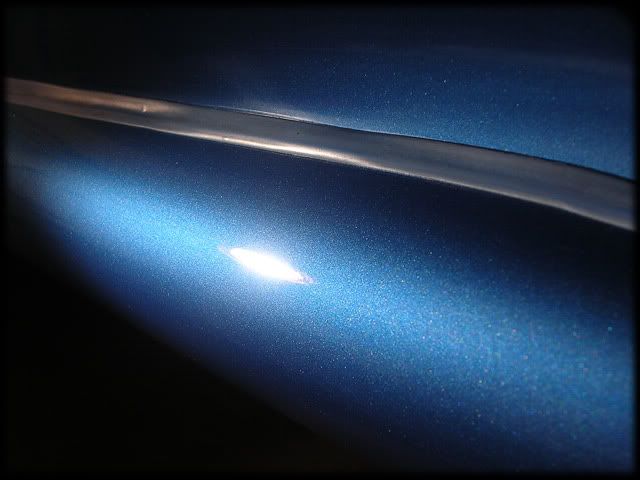
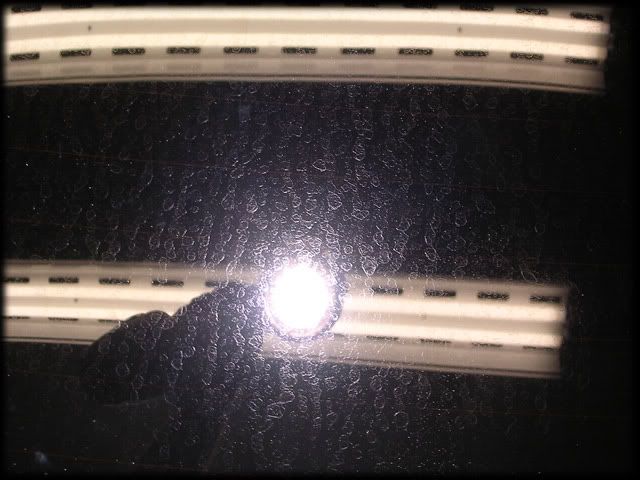
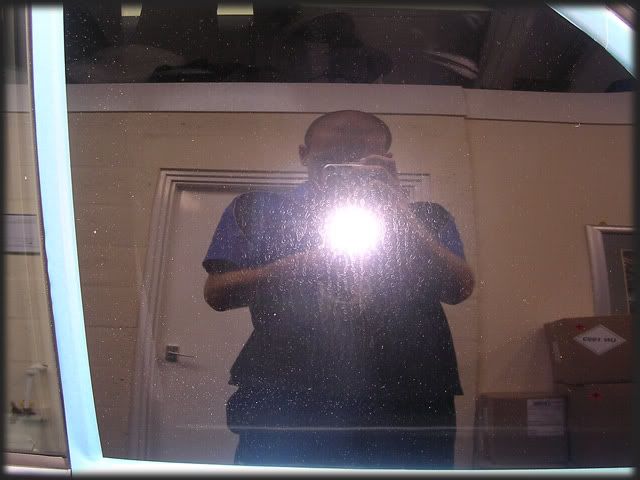
With all the 1st stage correction done on the paintwork it was time to turn to the exterior glass which had some of the worst water spot etching I've seen for a while:
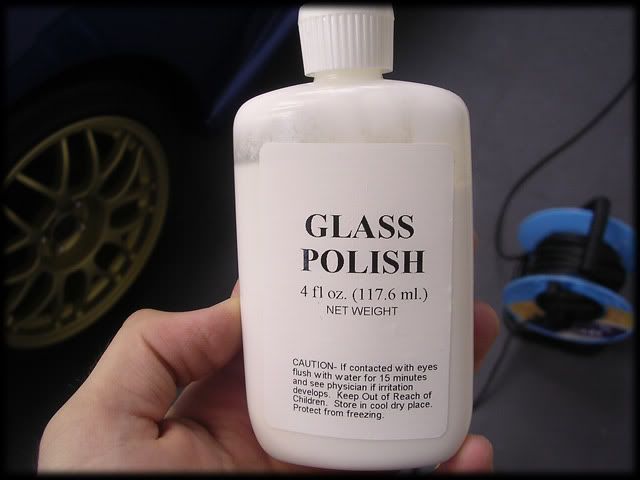
Just aswell we have the Lake Country kit to play with now

When going for scratch removal on glass you need to use the felt pads and polish provided but as I was only aiming for removal of the water marks (full glass correction could easily take a day or two in my experiences) I was able to just use the polish with a Menzerna Compounding Pad (80mm):
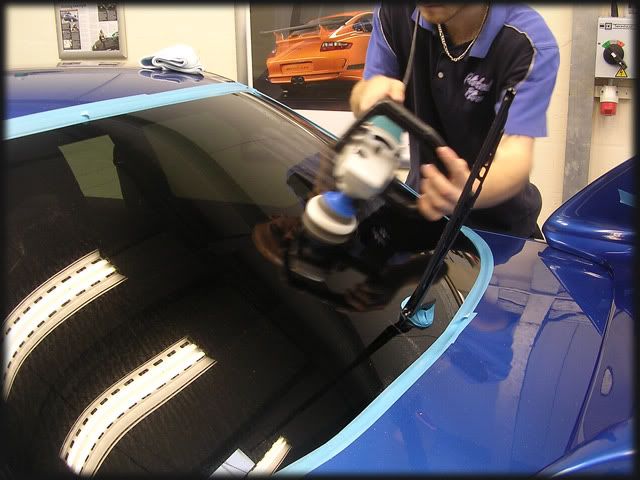
I worked the polish @ 1800rpm's with medium pressure, spritzing with water when needed to keep the polish working:
Before:
After:
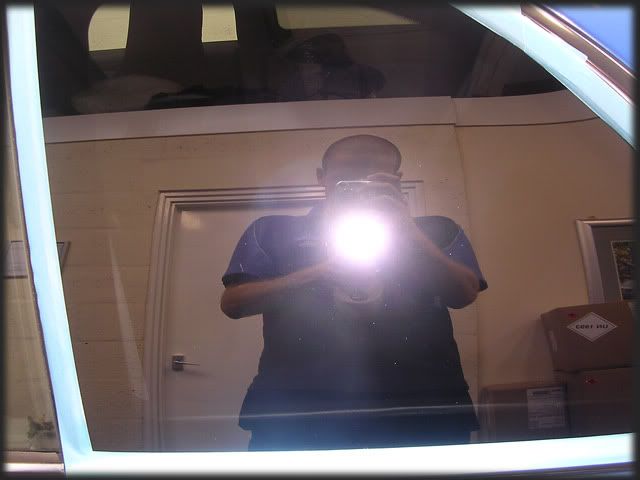
There were still some really deep etching marks on the rear screen in places but they were hard to see if you didn’t put the sun gun over them so overall I was happy
I gave the glass a thorough wipe down with Menzerna Top Inspection and then sealed with the Werkstat System.
The second polishing stage was done with Meguiars 205 and a Gloss-It Polishing Pad, spending a good amount of time lightly burnishing the paint to achieve as much clarity as possible.
Bonnet vents were polished by hand with US Intensive Polish and a CCS Light Cut Pad:
Another Top Inspection wipe down followed but this time for the paintwork and I then applied the LSP which was Zym0l Vintage.
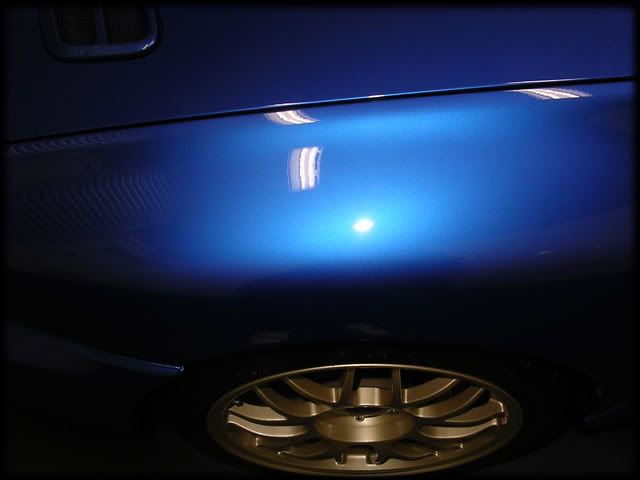
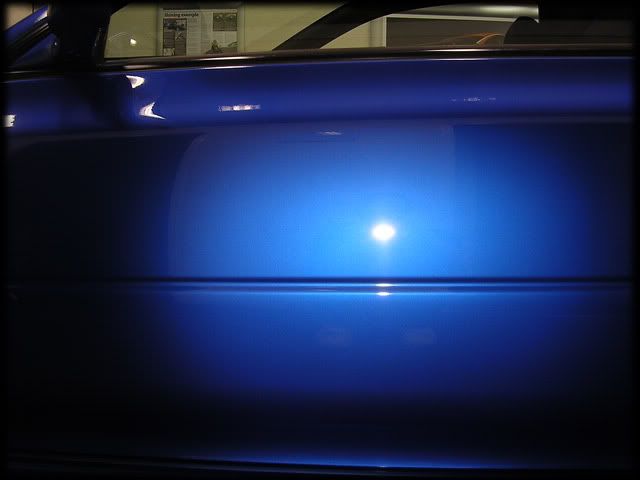
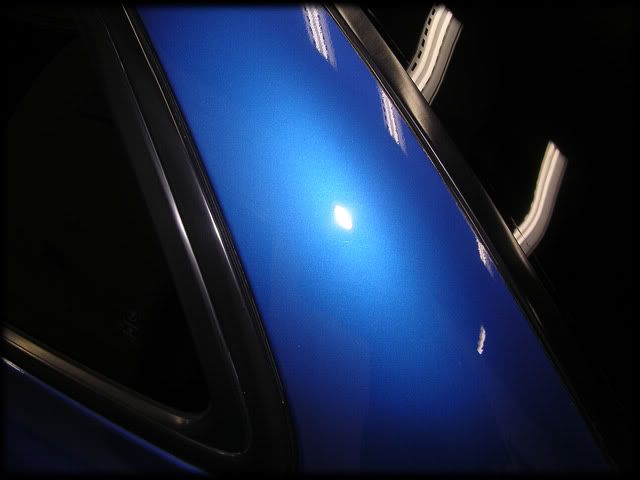
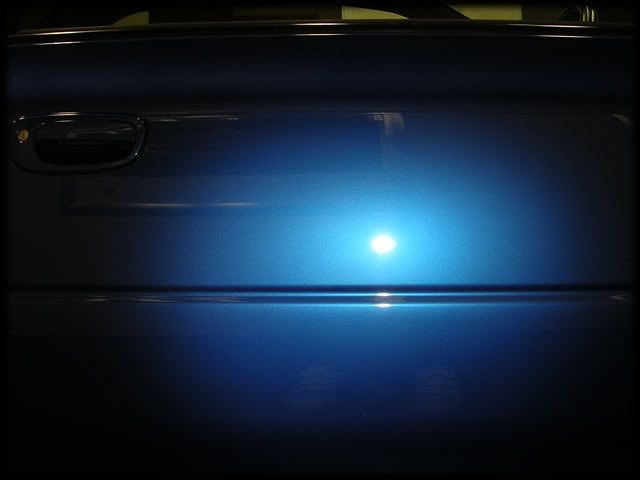
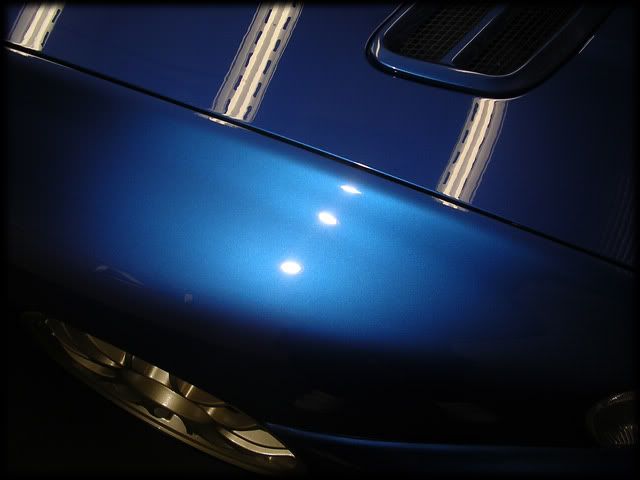
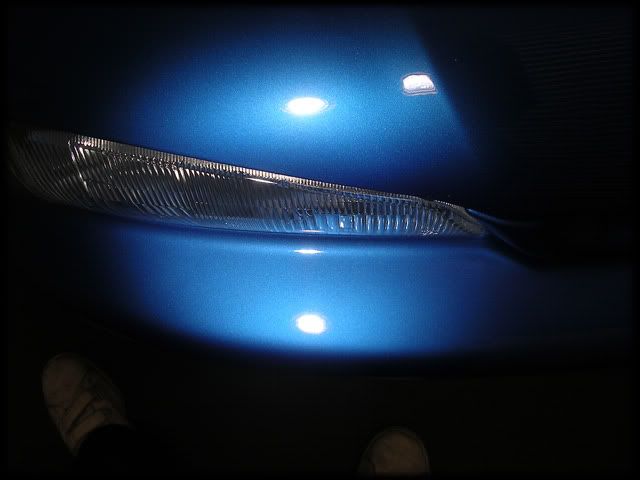
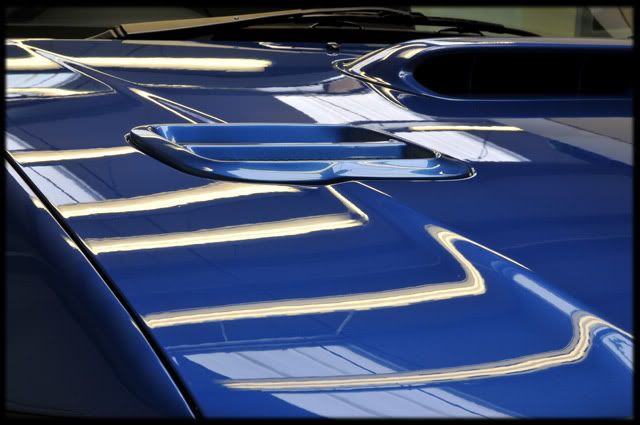
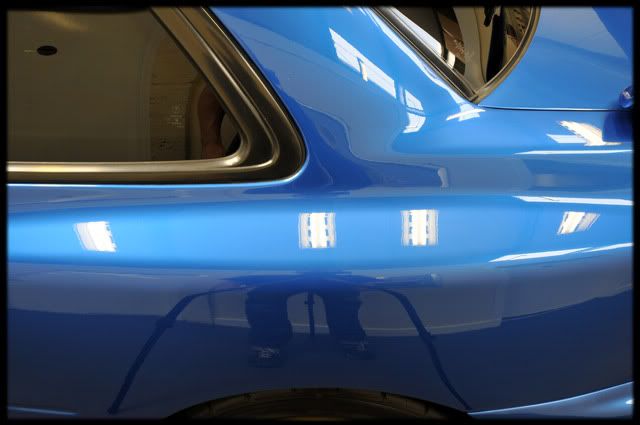
A few Sun Gun shots (no wipe down had been done at this point):


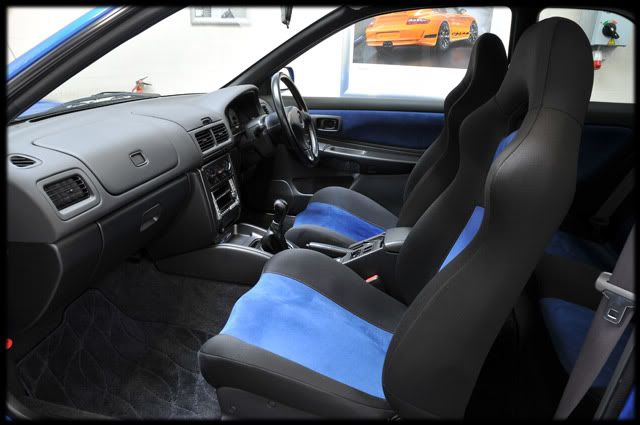
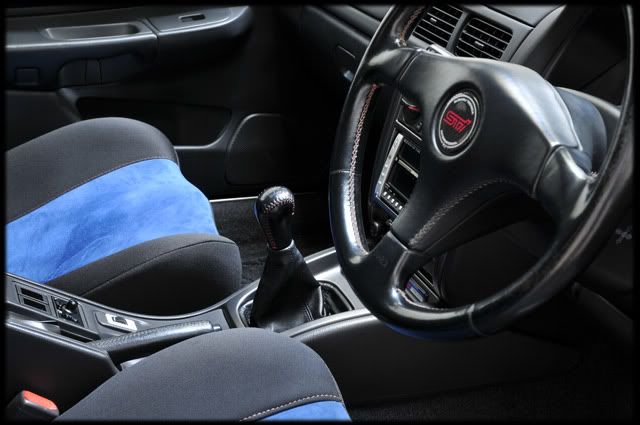
The interior was detailed, the tyres were given a final buff (after 3 coats of Gloss-It Signature Tyre Gloss), tailpipe polished with Brilliant Show Metal Polish and engine bay dressed and protected with Aerospace 303 Protectant.
It was then time to go to bed, although it was quite an early finish compared to some
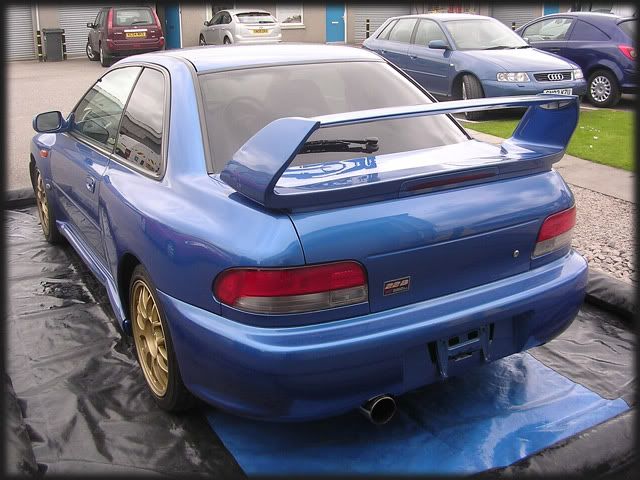
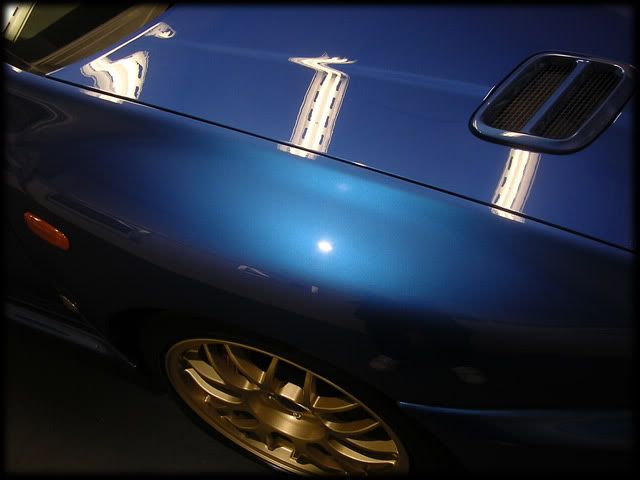
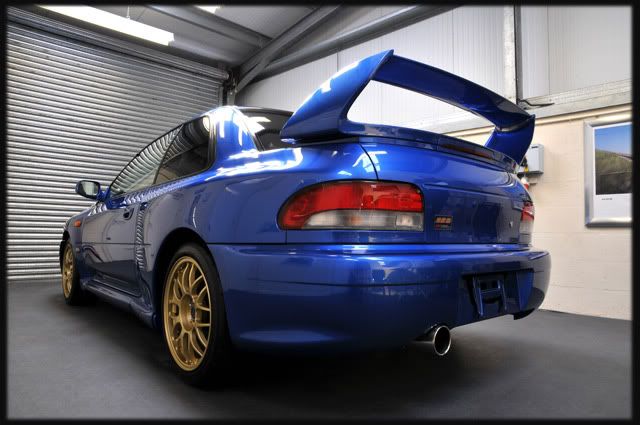
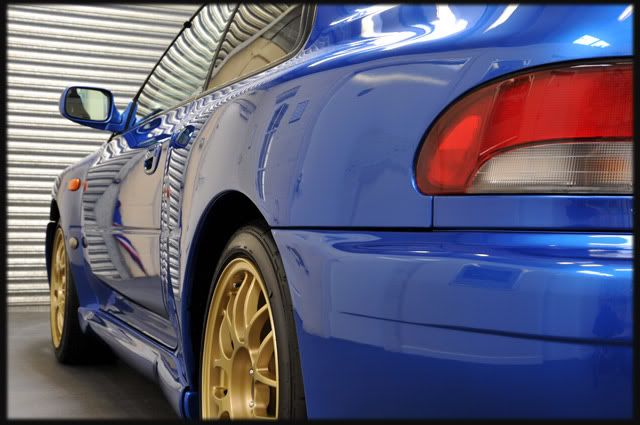
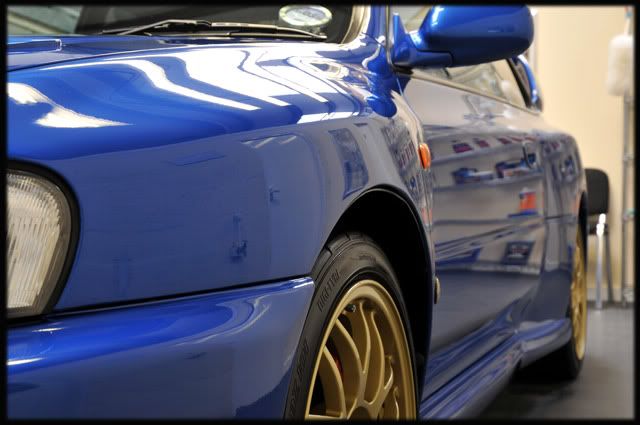
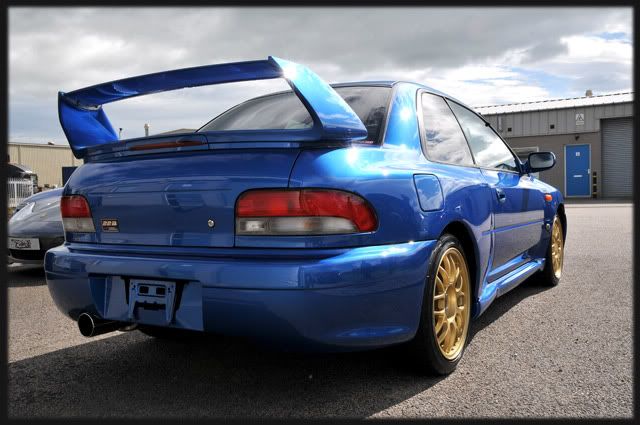
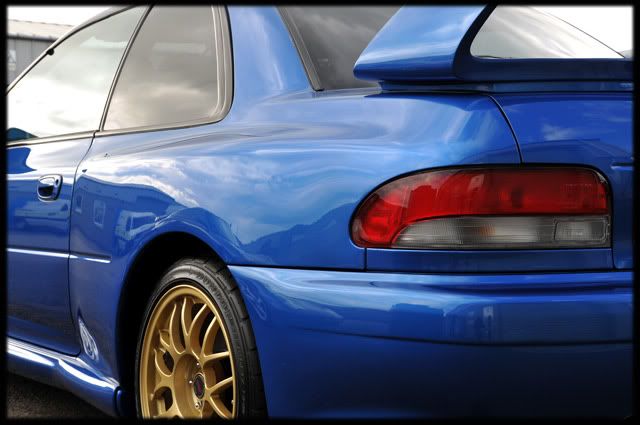
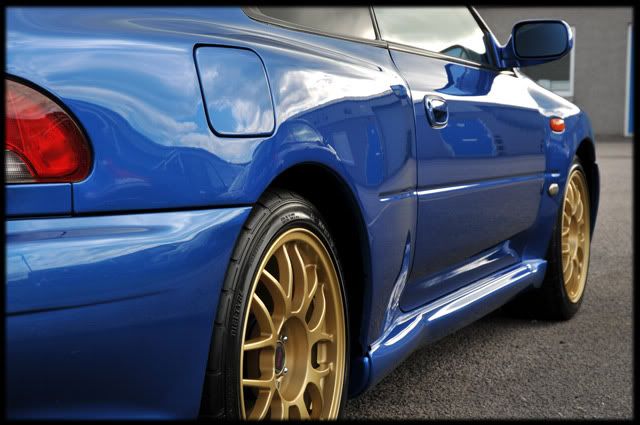
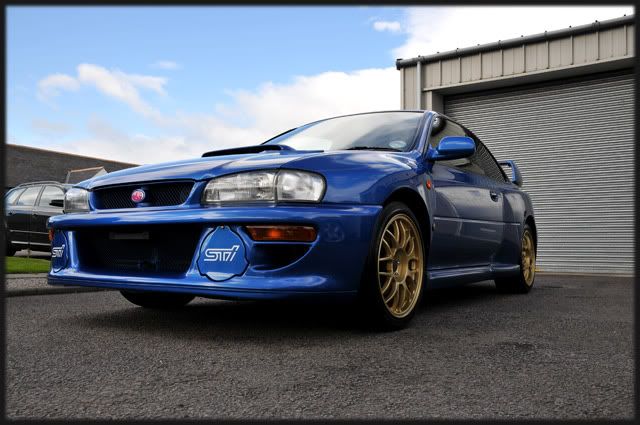
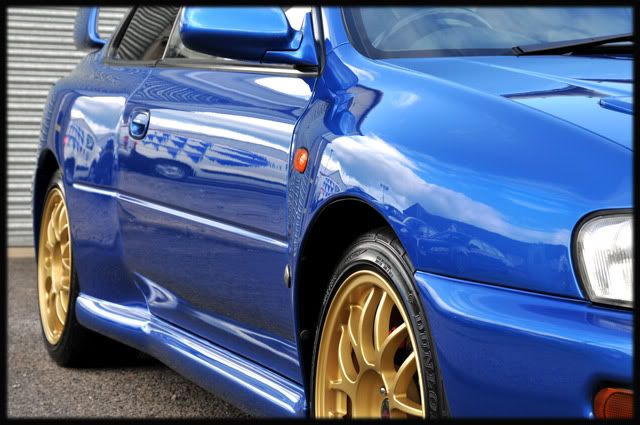
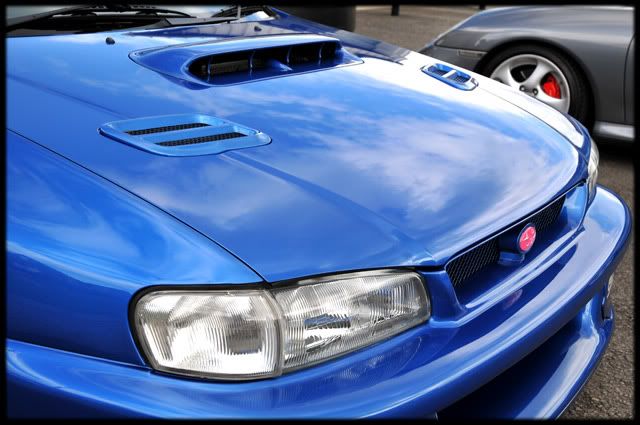
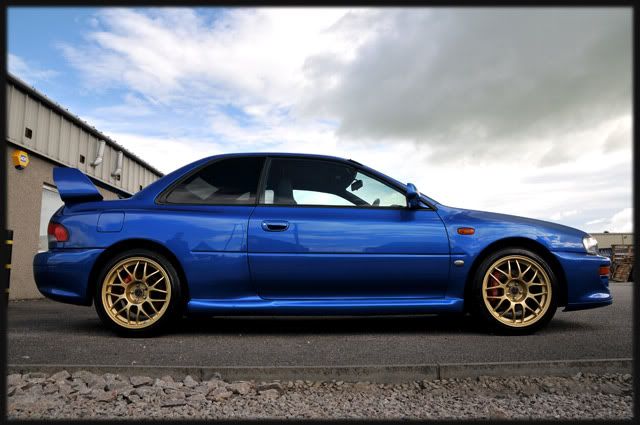
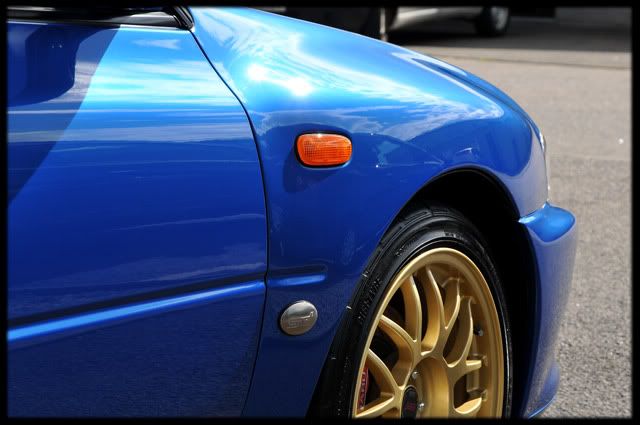
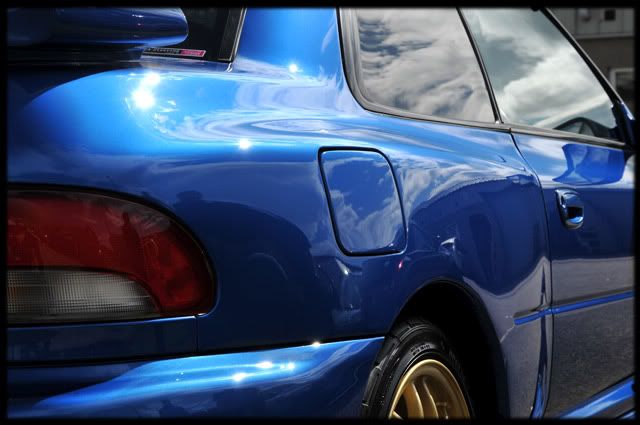
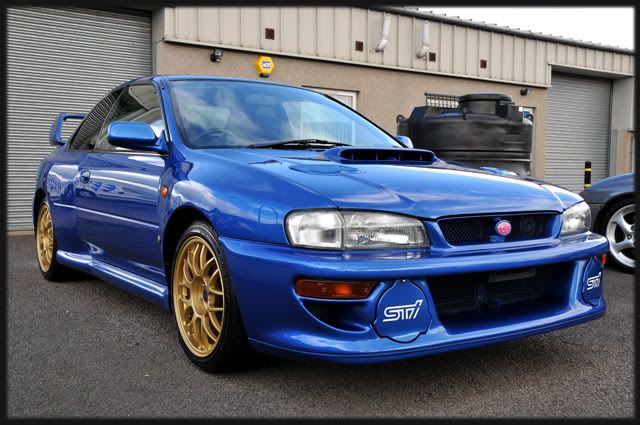
This morning the car was given a final wipe down with Gloss-It Gloss Enhancing QD and while I went to go and collect the owner Rich took the final pics
This is the result of just over 37 hours worth of work and I couldn’t have been much happier in all honesty


Thanks for taking the time to read,
Clark
Copied over from DW...
This was the latest one just completed this morning
You're lucky if you ever see a 22B on the roads but this was the second we've had in within 12 months, this one was booked in after the owner saw the write up from the previous one.
The car has just recently been imported from Japan and as with most imports it was looking a bit dull and lifeless with old product residue in just about every panel gap.
Onto the wash stage...
As usual, the pre-foam was first using R222 @ 60 degrees:
This was repeated 2 or 3 times and then rinsed off at high pressure:
The wheels were cleaned with Gloss-It Wheel Gel, which cleaned the faces up nicely, but I quickly discovered alot of underseal overspray on the inner rims. It would have taken an eternity to remove this with the wheels on so off they came...
Overspray pictured below:
I soaked the wheels with Autosmart Tardis and left it for a minute or two:
Then with the pressure washer @ 50 degrees and good old elbow grease I managed to remove all the overspray and old weight stickers with just some small areas of pitting and blistering remaining:
Each wheel was sealed with Blackfire Metal Sealant and while that cured I cleaned up the arches:
With the car back on all 4 wheels again I carried on with the rest of the jobs. All the exterior trim were cleaned with a Meguiars Slide Lock Brush and R222 and then I moved onto the shuts:
Before:
After:
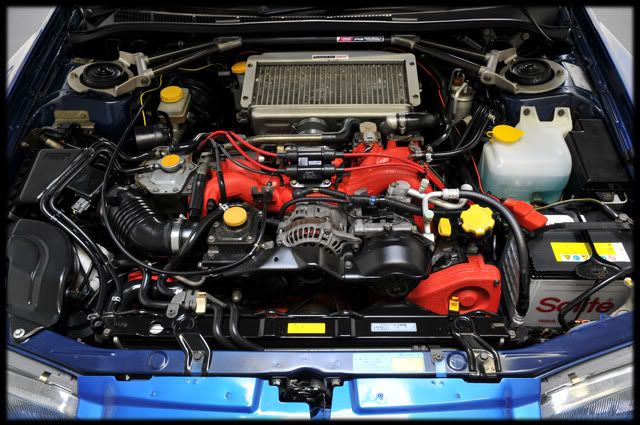
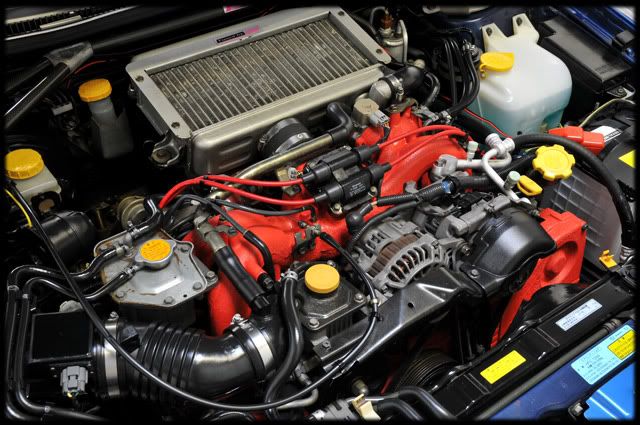
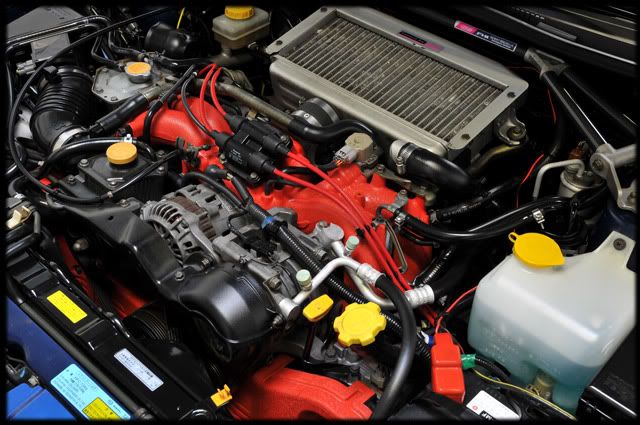
The engine bay was also sprayed with R222 and agitated (the alternator and alarm siren were covered up) before being rinsed at medium pressure (60 degrees):
Finally it was then time to get the car washed, using Shampoo Plus and a lambs wool mitt:
After a going over with Tardis followed by a rinse I put the car inside for claying.
It wasn’t too bad contaminant wise so Meguiars Quick Clay was used:
One final rinse was done and then I got the drier out and got rid of any water hiding in the panel gaps etc:
Paint readings next:
The gauges revealed that pretty much the whole car had seen paintwork at various times of its life with readings varying from 120-700 odd in places.
I made polishing the bonnet a bit easier by removing the vents:
See what I mean about dull and lifeless? (not to mention some nasty scratches)
When it came to polishing the original panels I was expecting sticky paint but when I did my first test pass on the roof the polishes worked nicely, although the paint was alot harder than the last one which was a bit surprising...
I had to finally settle on Gloss-It Extreme Cut and Gloss-It Fast Cut Pads to achieve the desired results.
Moving from the roof to the bonnet:
Before:
During:
After:
Pleasantly surprised at the lack of sticky paint, as I moved onto the sides Sod's Law came into play :rolleyes:
I have never experienced such horrible sticky paint in all my life (and I've done a few now!
Usually re-sprayed panels don’t ever present a problem when it comes to sticky paints but this was obviously an exception. The bumpers were ok though so I was able to polish these with the rotary
Still, even with the G220 the results were pleasing and the hard paint allowed the compounding pads to finish down pretty well
Before:
After:
By this point Martin from Dent Devils had turned up to remove a few dings so I swapped sides for a bit...
N/S A-Pillar showing signs of an old wind deflector that had marked the paint:
After:
Some of the marks were too deep to fully remove as can be seen in the above pic.
N/S rear quarter before:
After:
Before:
After:
Before:
After:
Before:
After:
Before:
After:
Before:
After:
Boot lid after:
Underside of spoiler before:
After:
Boot lid before:
After:
Before:
After:
Number plate recess before:
After:
Sideskirt corrected:
With all the 1st stage correction done on the paintwork it was time to turn to the exterior glass which had some of the worst water spot etching I've seen for a while:
Just aswell we have the Lake Country kit to play with now
When going for scratch removal on glass you need to use the felt pads and polish provided but as I was only aiming for removal of the water marks (full glass correction could easily take a day or two in my experiences) I was able to just use the polish with a Menzerna Compounding Pad (80mm):
I worked the polish @ 1800rpm's with medium pressure, spritzing with water when needed to keep the polish working:
Before:
After:
There were still some really deep etching marks on the rear screen in places but they were hard to see if you didn’t put the sun gun over them so overall I was happy
I gave the glass a thorough wipe down with Menzerna Top Inspection and then sealed with the Werkstat System.
The second polishing stage was done with Meguiars 205 and a Gloss-It Polishing Pad, spending a good amount of time lightly burnishing the paint to achieve as much clarity as possible.
Bonnet vents were polished by hand with US Intensive Polish and a CCS Light Cut Pad:
Another Top Inspection wipe down followed but this time for the paintwork and I then applied the LSP which was Zym0l Vintage.
A few Sun Gun shots (no wipe down had been done at this point):
The interior was detailed, the tyres were given a final buff (after 3 coats of Gloss-It Signature Tyre Gloss), tailpipe polished with Brilliant Show Metal Polish and engine bay dressed and protected with Aerospace 303 Protectant.
It was then time to go to bed, although it was quite an early finish compared to some
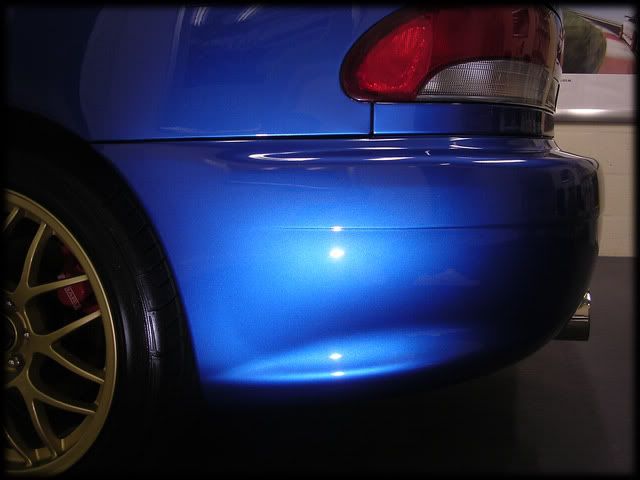
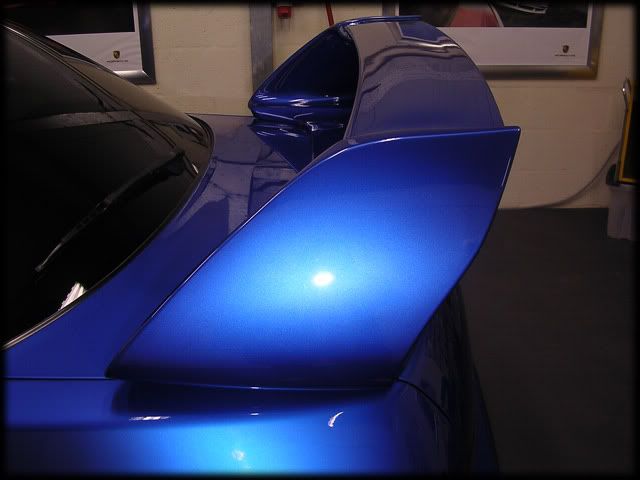
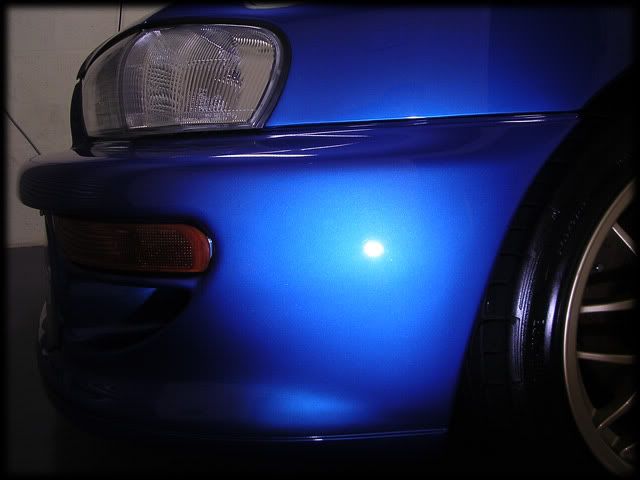
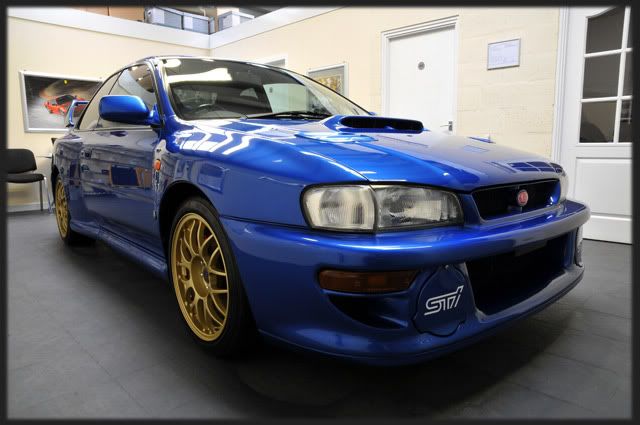
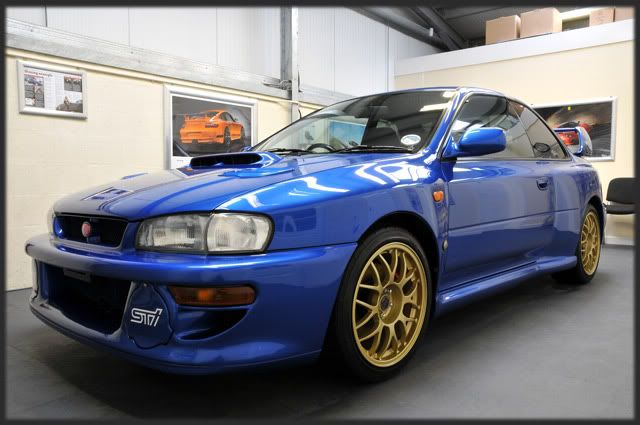
This morning the car was given a final wipe down with Gloss-It Gloss Enhancing QD and while I went to go and collect the owner Rich took the final pics
This is the result of just over 37 hours worth of work and I couldn’t have been much happier in all honesty
Thanks for taking the time to read,
Clark

